

If you’ve been around chickens for any length of time, you’ve probably observed a dust bath or two. Chickens will find an area of sand or soil, scratch out a hole with their feet, and then proceed to roll until they are covered with dirt and dust, which they then proceed to shake off. Some first-time chicken keepers think there is something wrong with their birds when they see this behavior, but in fact, the opposite is true: Chickens enjoy dust bathing, and it naturally controls external parasites, such as mites, as the dust and sharp edges of the particles kill and smother these pests.
Dust bathing is an essential part of being a chicken, and they’ll attempt to do it with or without a designated area. If you’d like to try to encourage your hens to dig their holes in the place you want, i.e., not in your garden beds, build your own dust-bathing area. It’s simple, and your chickens—and your plants, for that matter—will thank you.
The following directions are for one type of dust-bathing area. You can adjust the dimensions of your dust bath to meet your flock’s needs, and because the design is so simple, adjustments are easy to do.
One thing to keep in mind is that if your dust bath is too shallow, the birds may end up kicking dirt out of the box; we went with 9-inch sides to combat this. Obviously, the larger you make your box, the more material you’ll need to fill it, so plan ahead before you go too big. People with only a few chickens have had luck with something as simple as a kitty-litter box, though that’s pretty small and doesn’t hold much dust. The option we have provided should give your chickens enough room and enough dirt to dust bathe without dirtying up the grass around it.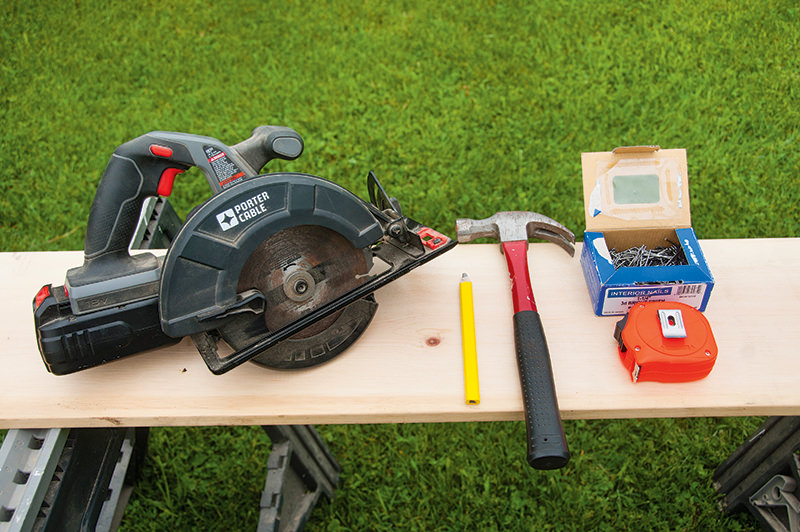
Materials
- 4 9-by-24-inch, 3/4-inch pine boards
- 1 box of 1 1/2-inch nails
- sand
- soil
- wood ash, cooled (optional)
- food-grade diatomaceous earth (optional)
Tools
- carpenter’s square
- circular saw
- hammer
- pencil
- tape measure
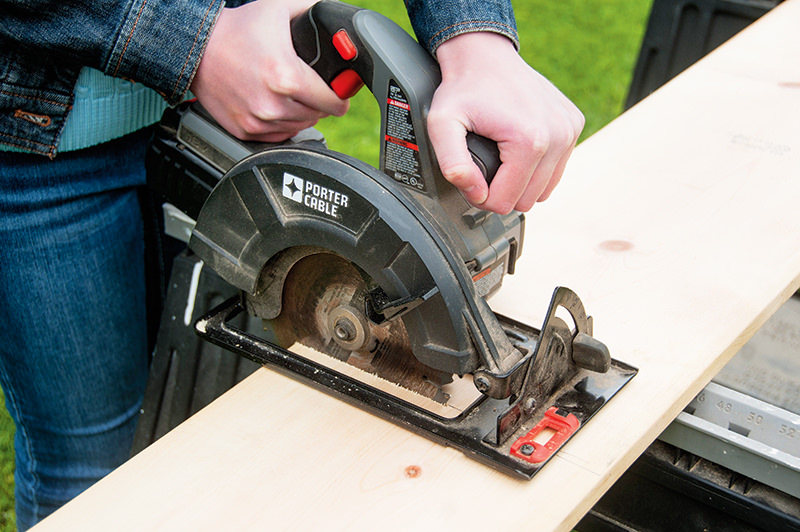
Step 1
Prepare the pieces for the sides of your dust-bathing box. Measure and cut an 8-foot piece of 9-inch pine into four equal 24-inch pieces using a circular saw.

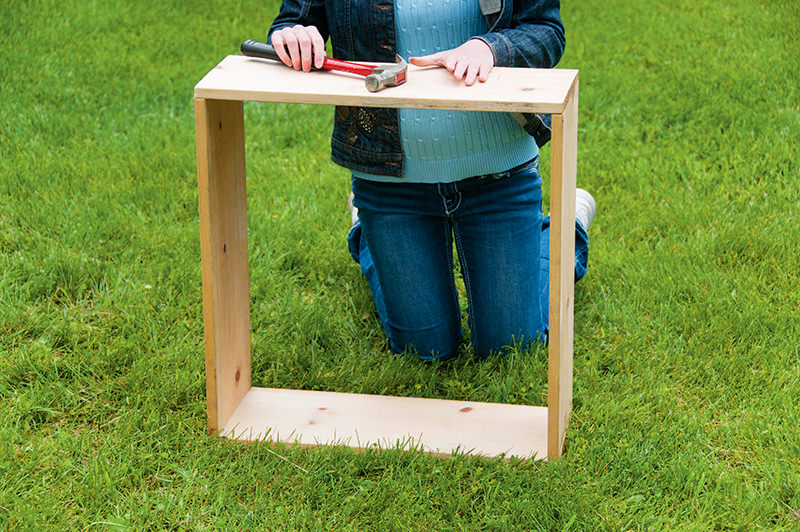
Step 2
Using the four 24-inch segments, form a simple box frame, and fasten it on all corners with 1½-inch nails.


Step 3
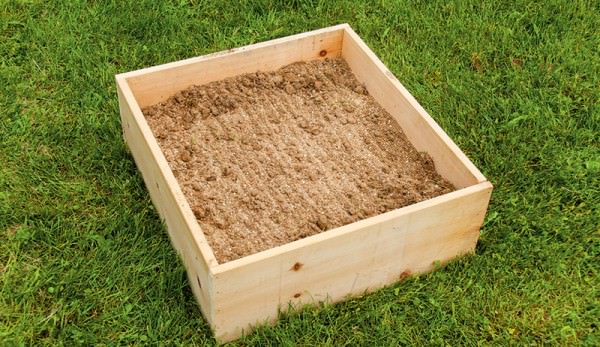
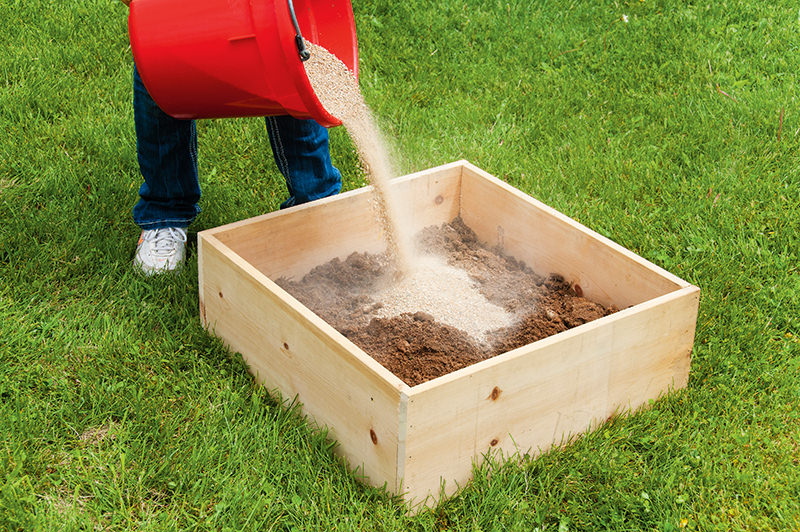
Choose a suitable place for your box near your coop before you add the dust material, as it will be quite heavy after you add it. Then, add your dust-bathing mixture. For this project, we used a 50/50 mix of soil and sand, adding the soil first, followed by the sand. The soil/sand combination is designed to provide the birds with a dust bath that is of a consistency to their liking. Chickens like a dusty dust bath—and a dry one—and the sand helps provide this while being balanced by the soil.
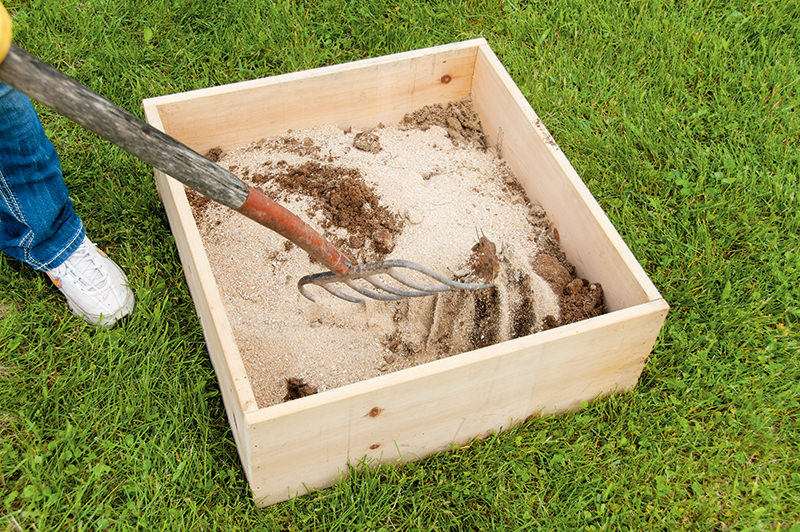
Step 4
Mix these together well until thoroughly combined (above), and allow your chickens to enjoy their new dust bath.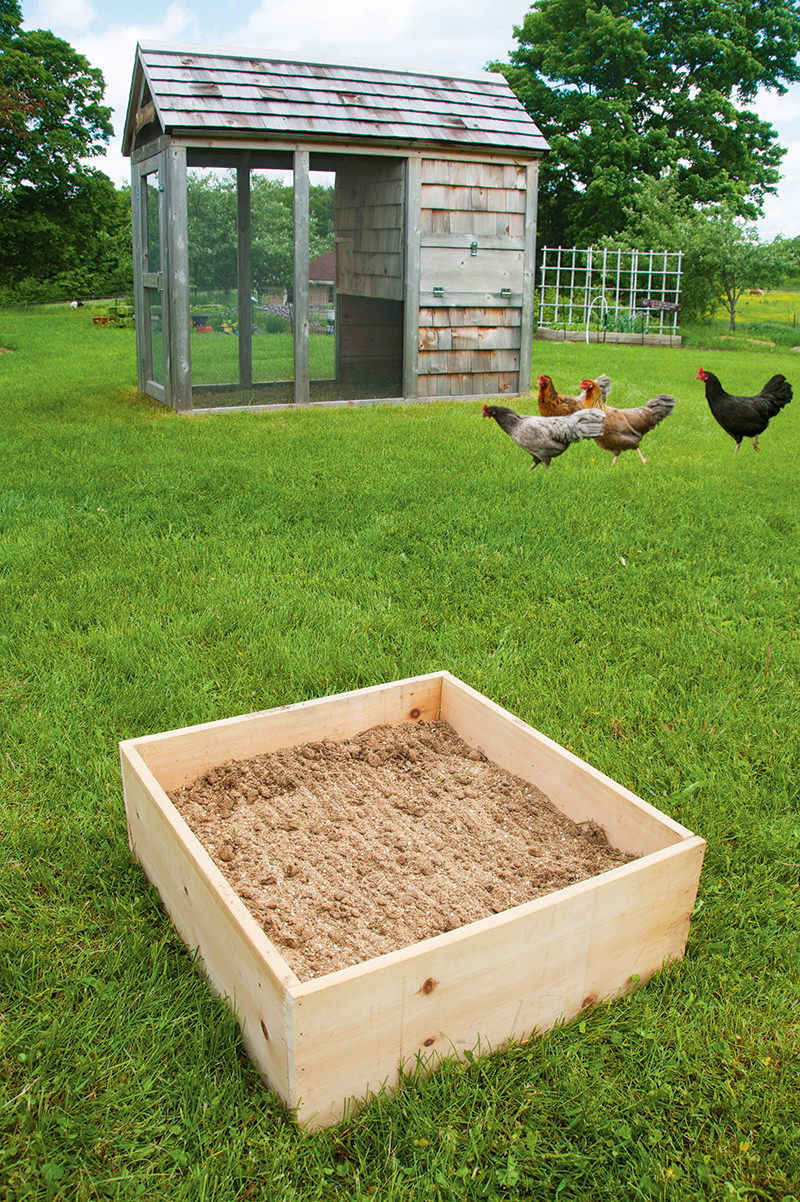
Other Additives
There are other dusty options you can add to your chickens’ dust bath. Many people find that their chickens enjoy cooled wood-fire ash, as this is very dusty. Be sure to only use cooled ashes from wood fires. Ashes from any other type of fire—charcoal, garbage, etc.—may be harmful to your chickens’ respiratory systems.
Food-grade diatomaceous earth is another common additive for dust-bathing boxes, as the particles are very sharp and thus good at killing parasites. One problem is that the dust from DE can pose a health hazard to you—those sharp particles can harm your respiratory system if you breathe too many of them—so take care when using it. Also, be sure to only use food-grade DE, not the pool-grade variety used for cleaning.
Whatever materials you choose, use an equal mixture of all of them. If you’re only using soil and sand, as we did here, you’ll want to create a 50/50 mixture; if you’re using all four ingredients, you’ll want to go with a quarter of each.
Daniel Johnson co-wrote this article with his sister Samantha Johnson. They have collaborated on several books, including How to Build Chicken Coops (2015).
This article appeared in the September/October 2016 issue of Chickens.
