Hatching chicks can prove more challenging, as it takes more than pure luck and an incubator to brood eggs. If you’ve never tried incubating eggs before, let’s dive into what you need to know for a successful hatch.
Key Takeaways for Hatching Chicks
- Maintain a steady temperature of 99.5°F in the incubator
- Keep humidity at 40–50% (days 1–18) and 65–75% (lockdown)
- Turn eggs 3–5 times daily until day 18
- Candle eggs to monitor embryo development
- Avoid opening the incubator during lockdown
- Always plan ahead for extra chicks—especially roosters
Choosing the Right Incubator for Hatching Chicks
Choosing a good-quality incubator is one of the most important decisions you need to make when hatching eggs. Before purchasing an incubator, here are several things to consider:
- Is the brand and incubator reliable?
- Does the incubator you are considering have positive feedback from other customers?
- Do you want to turn the eggs, or do you want the incubator to turn them automatically?
Why Fertile Eggs Matter
This probably sounds obvious, but if you want to hatch chicks successfully, fertile eggs are a must. Fertile eggs can be acquired through gathering your own eggs if a rooster is present in the flock or by purchasing eggs from a hatchery or breeder.
A rooster is often the best option for delivering fertile eggs if you are looking to save some money, as purchasing hatching eggs can be expensive.
When buying hatching eggs, be sure to do your research to ensure you are getting them from a reliable breeder/hatchery. Reading online reviews or asking for references from past customers is the best way to tell if the breeder’s eggs have a successful hatching rate.
Not all eggs are guaranteed to hatch regardless of how you acquire them, but eggs shipped through the mail often show a decrease in hatching success. Therefore, if you are hoping to hatch a specific number, consider purchasing a few extra.
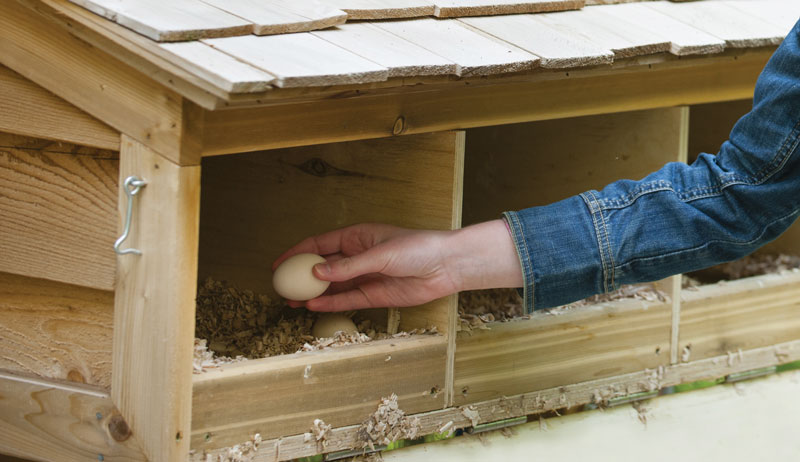
How to Select Hatching Eggs
Before you set some eggs into an incubator from your own flock, here are a few things to double-check to ensure a successful hatch.
- All the eggs are clean and free of manure without being washed.
- Eggs were selected from hens free of health concerns and disease. Some health conditions in chickens are hereditary, so if you have a hen or rooster with health problems, it’s best to avoid breeding them.
- Eggs are a good size. Egg size is critical, as abnormally small eggs do not allow enough room for the chick to breathe, while abnormally large eggs could mean a double-yolked egg. For the best results, avoid hatching eggs that are abnormally small or large.
- Eggs have been set in a cool, dark environment with the pointed end facing down for seven to ten days.
Setting Up an Incubator for Hatching Chicks
Before you can begin to fill your new incubator with hatching eggs, there are a few things that need to be done first.
To ensure the incubator is working correctly, let it run for twenty-four hours before beginning the incubation period. If your incubator doesn’t already have one, place a non-breakable thermometer at the same height as the top of the eggs. The temperature should hold steady at 99.5°F.
Place a hygrometer at the same level as the eggs to ensure accuracy. Humidity levels must remain steady between 40–50% (days 1–18) and 65–75% (days 19–21) for the most successful hatch.
To be sure the hygrometer is working correctly, place it in a sealable freezer bag with a damp rag for several hours. The hygrometer should read around 95%. If the levels are too high or too low, calibrate the hygrometer and try again. Repeat these steps until you reach the desired results.
Once the incubator and humidity levels have passed the test, you can confidently place the hatching eggs inside the incubator.
How Often to Turn Eggs When Hatching Chicks
Eggs need to be turned a minimum of twice daily (preferably three to five times a day) for the first eighteen days of incubation. While you can purchase an incubator that automatically turns the eggs for you, it is better to do it yourself. Some experts suggest that eggs turned by hand while being talked to hatch more successfully than eggs turned automatically.
Candling Eggs During Incubation
Eggs need to be candled on days 7, 14, and 18 of the incubation process to check for non-fertile eggs or early embryo deaths. To candle eggs, stand in a dark place free from any light. Hold a bright flashlight against the egg to see if the egg is viable.
Keep candling time to a minimum to avoid chilling the developing embryos by removing only a few eggs from the incubator at a time.
How to Tell if Hatching Eggs Are Viable
Day 7: Look for a dark spot showcasing the developing embryo and spiderweb veins throughout the egg.
Day 14: The embryo is fully formed and is now taking up most of the egg. The egg should appear dark and hard to see. There isn’t much movement during this period.
Day 18: Check to see if the air sac has developed correctly at the rounded top of the egg. After placing the eggs back into the incubator, do not remove the lid unless monitoring humidity during the final days of incubation.
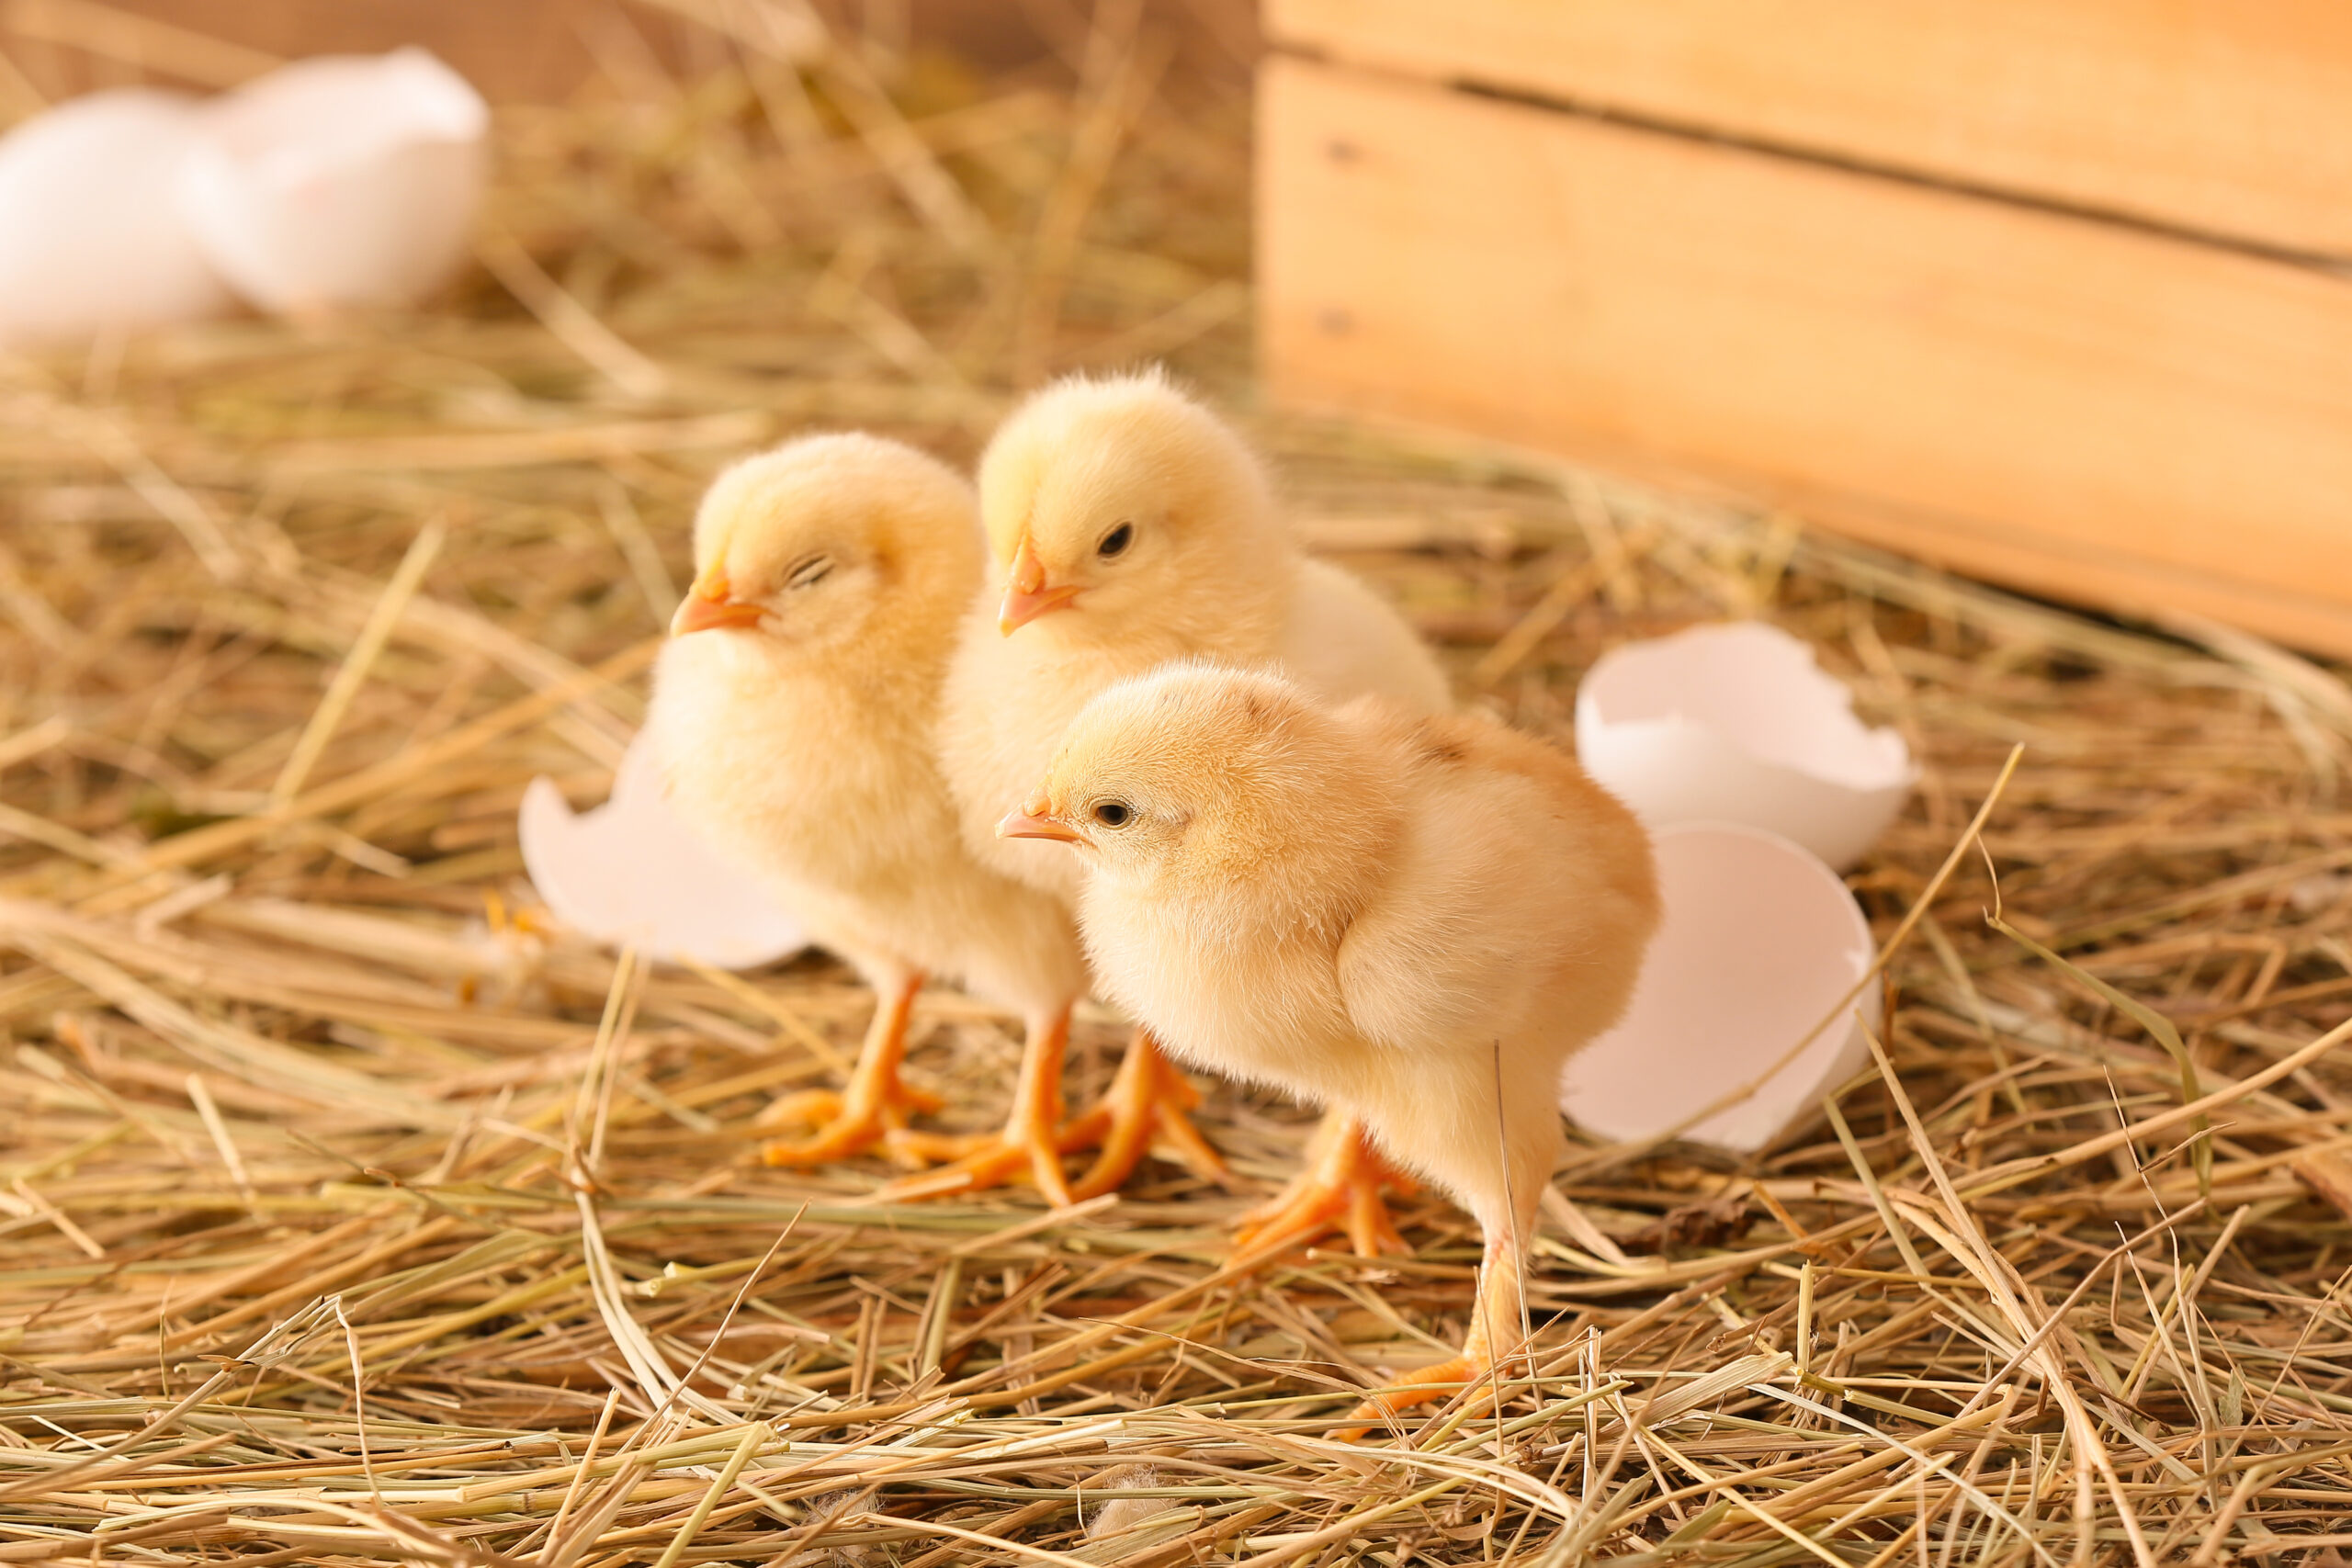
What to Expect When Chicks Start Hatching
The big day has finally arrived, and you can’t wait to meet your new chicks. But before you can meet them, there are a few things the chicks need to do to be ready for the big day.
On day 19 of the incubation, you should expect to hear the sounds of tiny cheeps coming from the eggs. As the surrogate mother hen, it is your job to talk to and encourage the developing chicks. Although they don’t need constant chatter, talking to them several times a day can increase the chance of a successful hatch.
On day 20, you might start to notice the eggs wiggling and jumping about as the chick works to remove the membrane before pipping a tiny hole in the shell. The chick will then rotate between resting and hatching for a period of twelve to forty-eight hours after making the initial pip as it breaks free from the shell on day 21.
Let chicks dry in the incubator for twelve to twenty-four hours before removing them to the brooder. During this time, chicks do not need food or water, as they have just absorbed the egg yolk and can survive without food or water until they are moved to the brooder. Note: Check on hatched chicks frequently to be sure they are not showing symptoms of overheating. If chicks appear to be dry or overheated, remove them from the incubator.
Common Chick Hatching Mistakes and Solutions
Mistake: Failing to monitor temperature and humidity levels.
Solution: Keep a thermometer and hygrometer in the incubator to monitor heat and humidity levels.
Mistake: No backup brooding emergency plan.
Solution: Even the best, well-thought-out plans can go awry. Therefore, having an additional heat source is a good idea should your incubator stop working. Whether a spare incubator or a broody hen, have a backup plan in place to ensure the embryos do not die from lack of heat.
Mistake: Sick chicks or early embryo deaths from contaminated or shared incubators.
Solution: To avoid contaminating new arrivals and developing embryos, be sure to thoroughly clean your incubator after every use and avoid borrowing equipment.
Mistake: Failing to turn eggs.
Solution: Turn eggs three to five times daily for the first eighteen days of incubation to prevent the embryo from getting stuck to the eggshell.
Mistake: Expecting all the eggs to hatch.
Solution: Know that even when incubated by the most experienced mama hens and humans, not all eggs hatch.
Planning Ahead Before Hatching Chicks
A common ratio for hatching eggs is fifty/fifty pullets and cockerels. If numbers tip in favor of one sex, the males almost always win out. Due to the number of homeless roosters, be sure to have a plan in place for extra cockerels before placing eggs in the incubator.
Hatching Chicks Successfully FAQ
Should I wash eggs before hatching?
No. Eggs should never be washed before incubating, as washing them removes the bloom (a protective coating that blocks bacteria and other harmful pathogens from entering the egg and causing the developing embryo to become ill and even die).
Why is lockdown during incubation important?
After day eighteen, lockdown occurs (meaning you do not remove the lid of the incubator) to keep humidity levels consistent. Without lockdown, the embryo runs the risk of drying out and sticking to the eggshell.
What should I do if my incubator’s humidity is too low or too high?
If the hygrometer inside the incubator is reading low humidity, try placing a wet rag or small recyclable plastic cup filled with a little water inside the incubator to raise humidity levels.
For too-high humidity levels, remove all water sources and open air vents. Continue to monitor the temperature and humidity levels to be sure the eggs do not become chilled or dry. For humid environments, dry incubating is possible until day eighteen, when humidity should be added to the incubator.
How long do eggs take to hatch?
Chicks hatch in twenty-one days, but the amount of time it takes for eggs to hatch depends on the species of the bird.
Can I help a struggling chick hatch?
While it may be tempting to help a struggling chick hatch, it is not advised. Chicks can be severely injured and even die when assisted with a hatch. Although it is never easy to watch a chick struggle or possibly not survive, it’s best to mimic a mother hen and let only the strong survive.
Final Thoughts on Hatching Chicks Successfully
Hatching chicks with an incubator successfully isn’t always easy, but knowing what mistakes to avoid and learning the best tips for a successful hatch can turn your experience into a victory.
This article about hatching chicks was written for Hobby Farms and Chickens magazines. Click here to subscribe.