Container gardening remains a hot trend. With Boomer gardeners downsizing and Millennials choosing pared-down flats over suburban Colonials, small-scale growing is where it’s at. This DIY planter shelf puts you on the container gardening bandwagon by combining a vertical element with containers to maximize your growing space.
With just a few spare minutes and a short list of supplies, you can grow herbs, veggies or flowers on a balcony, patio, deck or porch. Each of the three tiers on this DIY planter shelf holds four to six different plants. Though I grow shade-loving perennials and annuals in mine, if you’re looking to fill this shelf planter with homegrown produce, try growing a combination of dwarf veggies like Fairy Tale eggplants, Tom Thumb tomatoes and Jingle Bell peppers in yours.
Materials & Tools

Jessica Walliser
- 2 three-step stair stringers
- 1 2-by-4 treated lumber board
- 1 1-by-8 treated lumber board
- 1 box 3-inch wood screws
- 3 plastic window boxes
- tape measure
- circular or table saw
- cordless drill
- screwdriver bit
- safety goggles
- work gloves
Step 1: Measure & Cut The Shelves

Jessica Walliser
Begin by measuring the length of your plastic window box planters. Add eight to 10 inches to that length and use a circular or table saw to cut the 1-by-8 treated lumber board into three pieces, each equal to this length. In my example, each of the cut boards measure 36 inches long. These boards will become the “steps” of your DIY planter shelf.
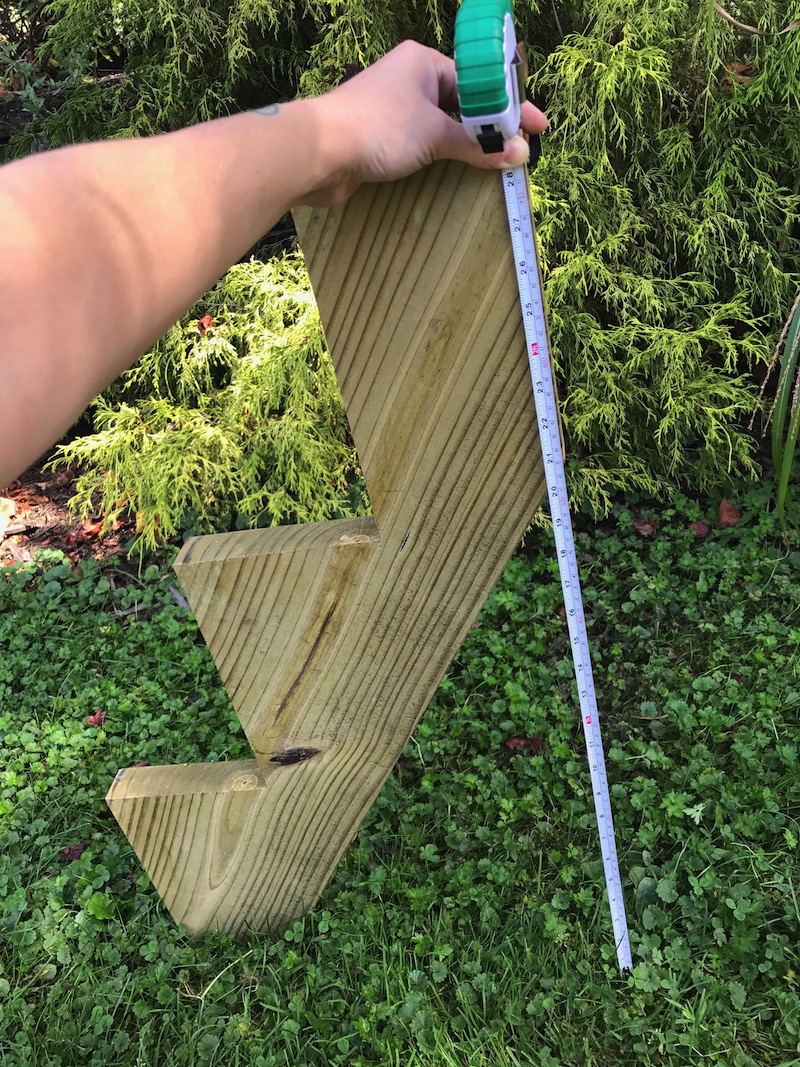
Step 2: Measure & Cut The Back Legs
Jessica Walliser
On a level surface, take one of the stair stringers and flip it upside down so the smaller end is flat against the ground. Use a tape measure to measure the distance between the top edge of the stair stringer and the ground, doing your best to make sure the tape measure meets the ground at a 90 degree angle. Use a circular or table saw to cut the 2-by-4 into two pieces, each equal to this measurement. These will be the back legs of your DIY planter shelf.
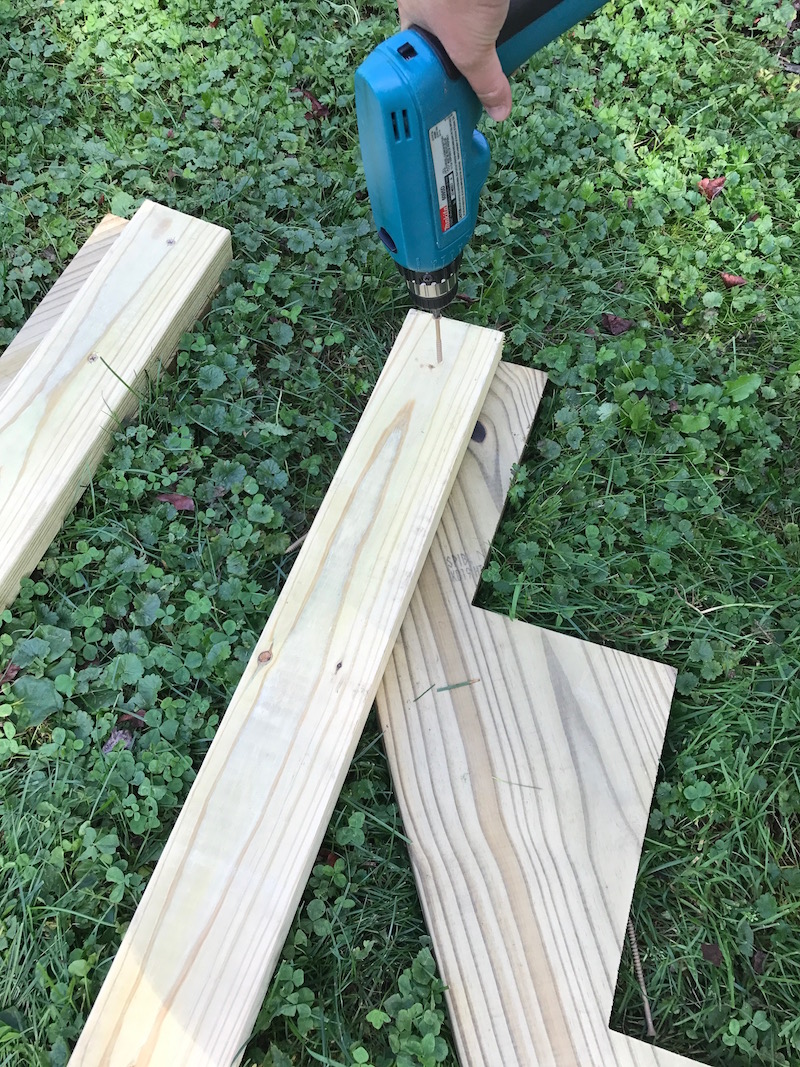
Step 3: Attach The Legs To The Stair Stringers
Lay one of the stair stringers on the ground upside down, with the end that will be the top of the planter shelf pointing away from you. Lay the other stringer on the ground next to the first one so the stair notches of both stringers are facing away from each other. Lay one of the cut 2-by-4 sections on top of one of the stringers so the top edges are flush and the back of the stringer is flush with the edge of the 2-by-4 (see photo).

Jessica Walliser
Lay the other cut 2-by-4 section on top of the other stringer, again keeping the top edge and the back flush. Use two wood screws to attach the leg to the stair stringer, locating the screws approximately 10 inches apart. Repeat with the other stair stringer and 2-by-4. These will be the two supports of your DIY planter shelf.
Jessica Walliser
Step 4: Prepare To Attach The Shelf Boards To The Stair Stringers
Lift one of the stair stringers with the support leg now attached and set it upright, so the base of the stringer and leg are resting on the ground (and the leg is facing what will be the inside of your DIY planter shelf). Ask a partner to hold it upright, or prop it against a chair, table or other support. Lift the other stringer and leg, and position it so it’s apart from the first stringer by the same width as the base of your window box planter (again, keep the leg facing what will be the inside of your shelf). Next, lay one of the 1-by-8 shelf boards across the bottom stair notch so the board is resting on both of the stair stringers at the same time. Measure the overhang of the shelf board on each side to ensure the board is centered between the two stair stringers.
Step 5: Attach The Bottom Shelf Board To The Stair Stringers

Jessica Walliser
Once the bottom shelf board of your DIY planter box is centered between the bottom stair notches, screw it into place using two wood screws on either end, positioned about four inches apart. Make sure the screw travels through the board and down into the stair stringer.
Step 6: Attach The Remaining Shelf Boards To The Stair Stringers

Jessica Walliser
Once the bottom shelf is in place, repeat the process with the middle and top board shelves. Again, be sure to measure the overhang on either end of the shelf to ensure it’s centered and aligned with the other shelf boards.

Jessica Walliser
Step 7: Add The Window Boxes

Jessica Walliser
After all three steps are screwed into place, position a plastic window box on each shelf, keeping it centered.
Step 8: Fill & Plant The Boxes

Jessica Walliser
Fill each of your widow box planters with a 50/50 mixture of high quality potting soil and compost. Your DIY planter shelf is now ready to be planted.