Raising baby chicks is an exciting experience for new and seasoned chicken keepers alike. While many beginners spend a great deal of time deciding which chick breeds to raise, it’s just as important to prepare the right setup before your chicks arrive. Creating a simple chick equipment checklist ensures you have everything in place—from brooders to feeders—so your new flock starts off healthy and comfortable.
Brooder Setup for Raising Baby Chicks
The first thoughts for your new arrivals are probably about where to put them. The brooder, no matter how rudimentary, should be your first piece of chick equipment to consider. Chicks, whether to-be layers or broilers, are generally the same size for the first couple of weeks, after which the broilers really start to develop their figures. We have a mixed flock each year, so I have witnessed that period of divergence time and again.
The numbers say that for ample room, your brooder for raising baby chicks should provide roughly a half a square foot per chick until they reach 5 weeks of age. From there, your chicks (broilers, in particular) will require an entire square foot as they progress to 8 weeks.
This room need not come entirely in the form of indoor floorspace. Though they do receive more housing space, during this period, our chicks will spend all the daylight hours possible in their outdoor pen.
In all corralling scenarios, your brooder space must be very adaptable. If you’re beginning with a cardboard box, start looking for its larger replacement almost immediately. If you have built straw bales into a pen in a room, make sure there are bales and enough space to expand in short order.
As chicks will need more space so quickly, why not start them with the extra space to begin with? Not only do they require adequate space, but they also need that space at a certain temperature. Chicks need to be kept at 95°F for the first week of their lives. By the second week, the temperature should drop to 90 degrees; by the third, 85; 80 for the fourth; and 70 degrees thereafter.
These toasty temperatures are achieved with infrared heat bulbs when dealing with smaller chick quantities (of 200 or fewer). At 250 watts and 110 volts, you must make sure you have lamps with porcelain sockets and adequate wiring to accommodate them. Brooder lamps usually have guards over the bulbs as well.
Naturally, these are hung low enough so heat is not lost and not so low as to overheat any chicks or create a fire hazard. This typically means adjusting lamps from 1 to 1 1/2 feet above ground level. A thermometer will help you keep temperatures on track, as will watching your chicks’ behavior.
Crowding under the lamps means they are too cold. Crowding to get away from lamps and panting means they are too hot.
Setups for raising baby chicks usually concentrate heat at the center of the brooder, as it’s important to provide room for chicks to move away from it. They’ll exercise themselves and feather better when given access to slightly cooler areas (if they can make it back to the heat when they wish to).
Though one lamp is adequate for 50 to 75 chicks, bulbs can always go out (as with any bulb). Having an additional lamp going during the colder, unsupervised night periods is advisable, as well as having replacement bulbs on hand and the means to cover your brooder up in cases of extreme cold. With annual April deliveries, we have a lot of experience with cold nights!
Use tarps, cardboard or blankets with supports to do this. No matter what you use, though, don’t let it sag into your brooder or sit too near the lamps.
Note: Never close your brooder tightly when it isn’t necessary. Chicks need fresh air, so whenever possible, provide good ventilation and even open windows. Ventilation will also remove moisture from the pen and help keep bedding drier, all of which results in healthier chicks.

Leah Smith
Another important component of brooders is the bedding, which will help to control moisture levels, offer some insulation, and aid in cleanliness. Chicks must never be housed on slick surfaces such as cardboard or newspaper, as this could lead to leg problems. They also should not have any dusty bedding materials, which may compromise their breathing.
Though many mediums are often suggested, including sand, shredded newspaper, rice hulls, peanut shells and burlap, I find straw or big-flake pine chips to be the best choices. If you opt for wood chips, avoid cedar or other aromatic woods as well as any shavings or small chips that the chicks may ingest. Start with a 2-inch-thick layer, adding to it as needed to provide a clean surface.
Read more: These are the 5 essential nutrients in any chicken feed.
Starter Feed for Baby Chicks
One of the most fundamental requirements of raising baby chicks is their feed. Starter feed is absolutely required. It typically contains a 19- or 20-percent protein level. Hen layer crumbles and pellets are down to 17 or 18 percent protein. Though this may not seem like a significant difference, rapidly growing chicks require the extra protein found in their formulation.
When they’re small, they don’t eat much, so what they eat must be the best. Feed consumption will seem slight at first, but be prepared for a dramatic increase as they really begin to grow.

Leah Smith
Provide enough feeder space so that each chick can eat simultaneously. This may certainly be the case if you practice any food withdrawal, and in a mixed flock, your pullets will lose out to the broilers. The prescribed length is 1 1/2 inches per chick for their first 4 weeks, increasing to 2 1/2 inches from there on out.
Clearly, you’ll need additional feeders to add to the initial ones. Do yourself a favor from the start by selecting stable ones unable to be flipped or tipped.
Many homesteaders are tempted to try providing their chicks with rations or partial rations that are home-produced. With extra milk on the homestead, we get to enjoy milk-fed broiler meat from our birds. But, as with other homegrown feedstuffs, this should be done supplementally and never to the exclusion of the starter feed, and not at all during the first few weeks of life.
Again: Pay attention to labels and protein percentages. There are chick feeds (as opposed to “starter”) which are typically down to 18 percent, and “meat bird” formulations as high as 22 percent. If you feel there is a cost incentive for switching to either of these or the need to ramp up or slow down growth, this may be done after the month-old milestone.
As a boost to our new arrivals after their trip through the mail, we give them sugar water (instead of plain water) on their first day with us. Our mixture is 3/4 cup of sugar for a gallon of water.
Hatcheries and other suppliers have in-house brands of different chick(en) supplements. For chicks, this combination of vitamins and electrolytes can counteract shipping stress and give an overall boost for the first few weeks. We use a basic chick formulation. There are special ones for heavy breeds (Jumbo Cornish Cross or Cornish Roasters, other broilers or other especially heavy chicken breeds) as well as more elaborate supplements that include proteins, carbohydrates, fats and even probiotic bacteria.
You can also find chick grit, which should promote the fuller digestion of feed with its grinding action. If you ever feel your chick growth isn’t what it should be, try grit or a more elaborate supplement mix. Again, access to the outdoors will be an asset here, offering grit and bugs for free!
Read more: Make sure your chickens always have water—no matter the weather.
Watering Baby Chicks Properly
Clean water is equally as important as food when raising baby chicks, and a good waterer is a critical piece of chick equipment. Chicks have a habit of fouling their waterers, and you should freshen them, at a minimum, every day. To begin, use suitably small ones or don’t completely fill larger ones, which will be needed in the future.
During their first week of life, 70 chicks consume something like a gallon of water a day. After 4 weeks, that same daily gallon will only provide for 10 chicks.
If you begin by using a large waterer with a large trough, displace the water with marbles or stones so the chicks can’t wade through the trough, only drink from it. Wet chicks don’t just look untidy. If they manage to move too far from the heat when wet, they can get very cold, very fast and die.

Leah Smith
As with feeders when raising baby chicks, waterers must allow enough “elbow room” so that each chick is able to drink at the same time. Again, smaller chicks will lose out in any crowding scenarios. And life is short (especially with meat birds), and they have a lot to do in a short time, which they can’t afford to waste. Never let waterers go dry!
Have waterer lifts of some sort (pavers, board scraps, etc.) to raise their height as your chicks grow. Waterer/water levels at back height are ideal to minimize the dribbling of water while drinking, which is inefficient and another source of dampness in the pen (dampness being one more potential health hazard).
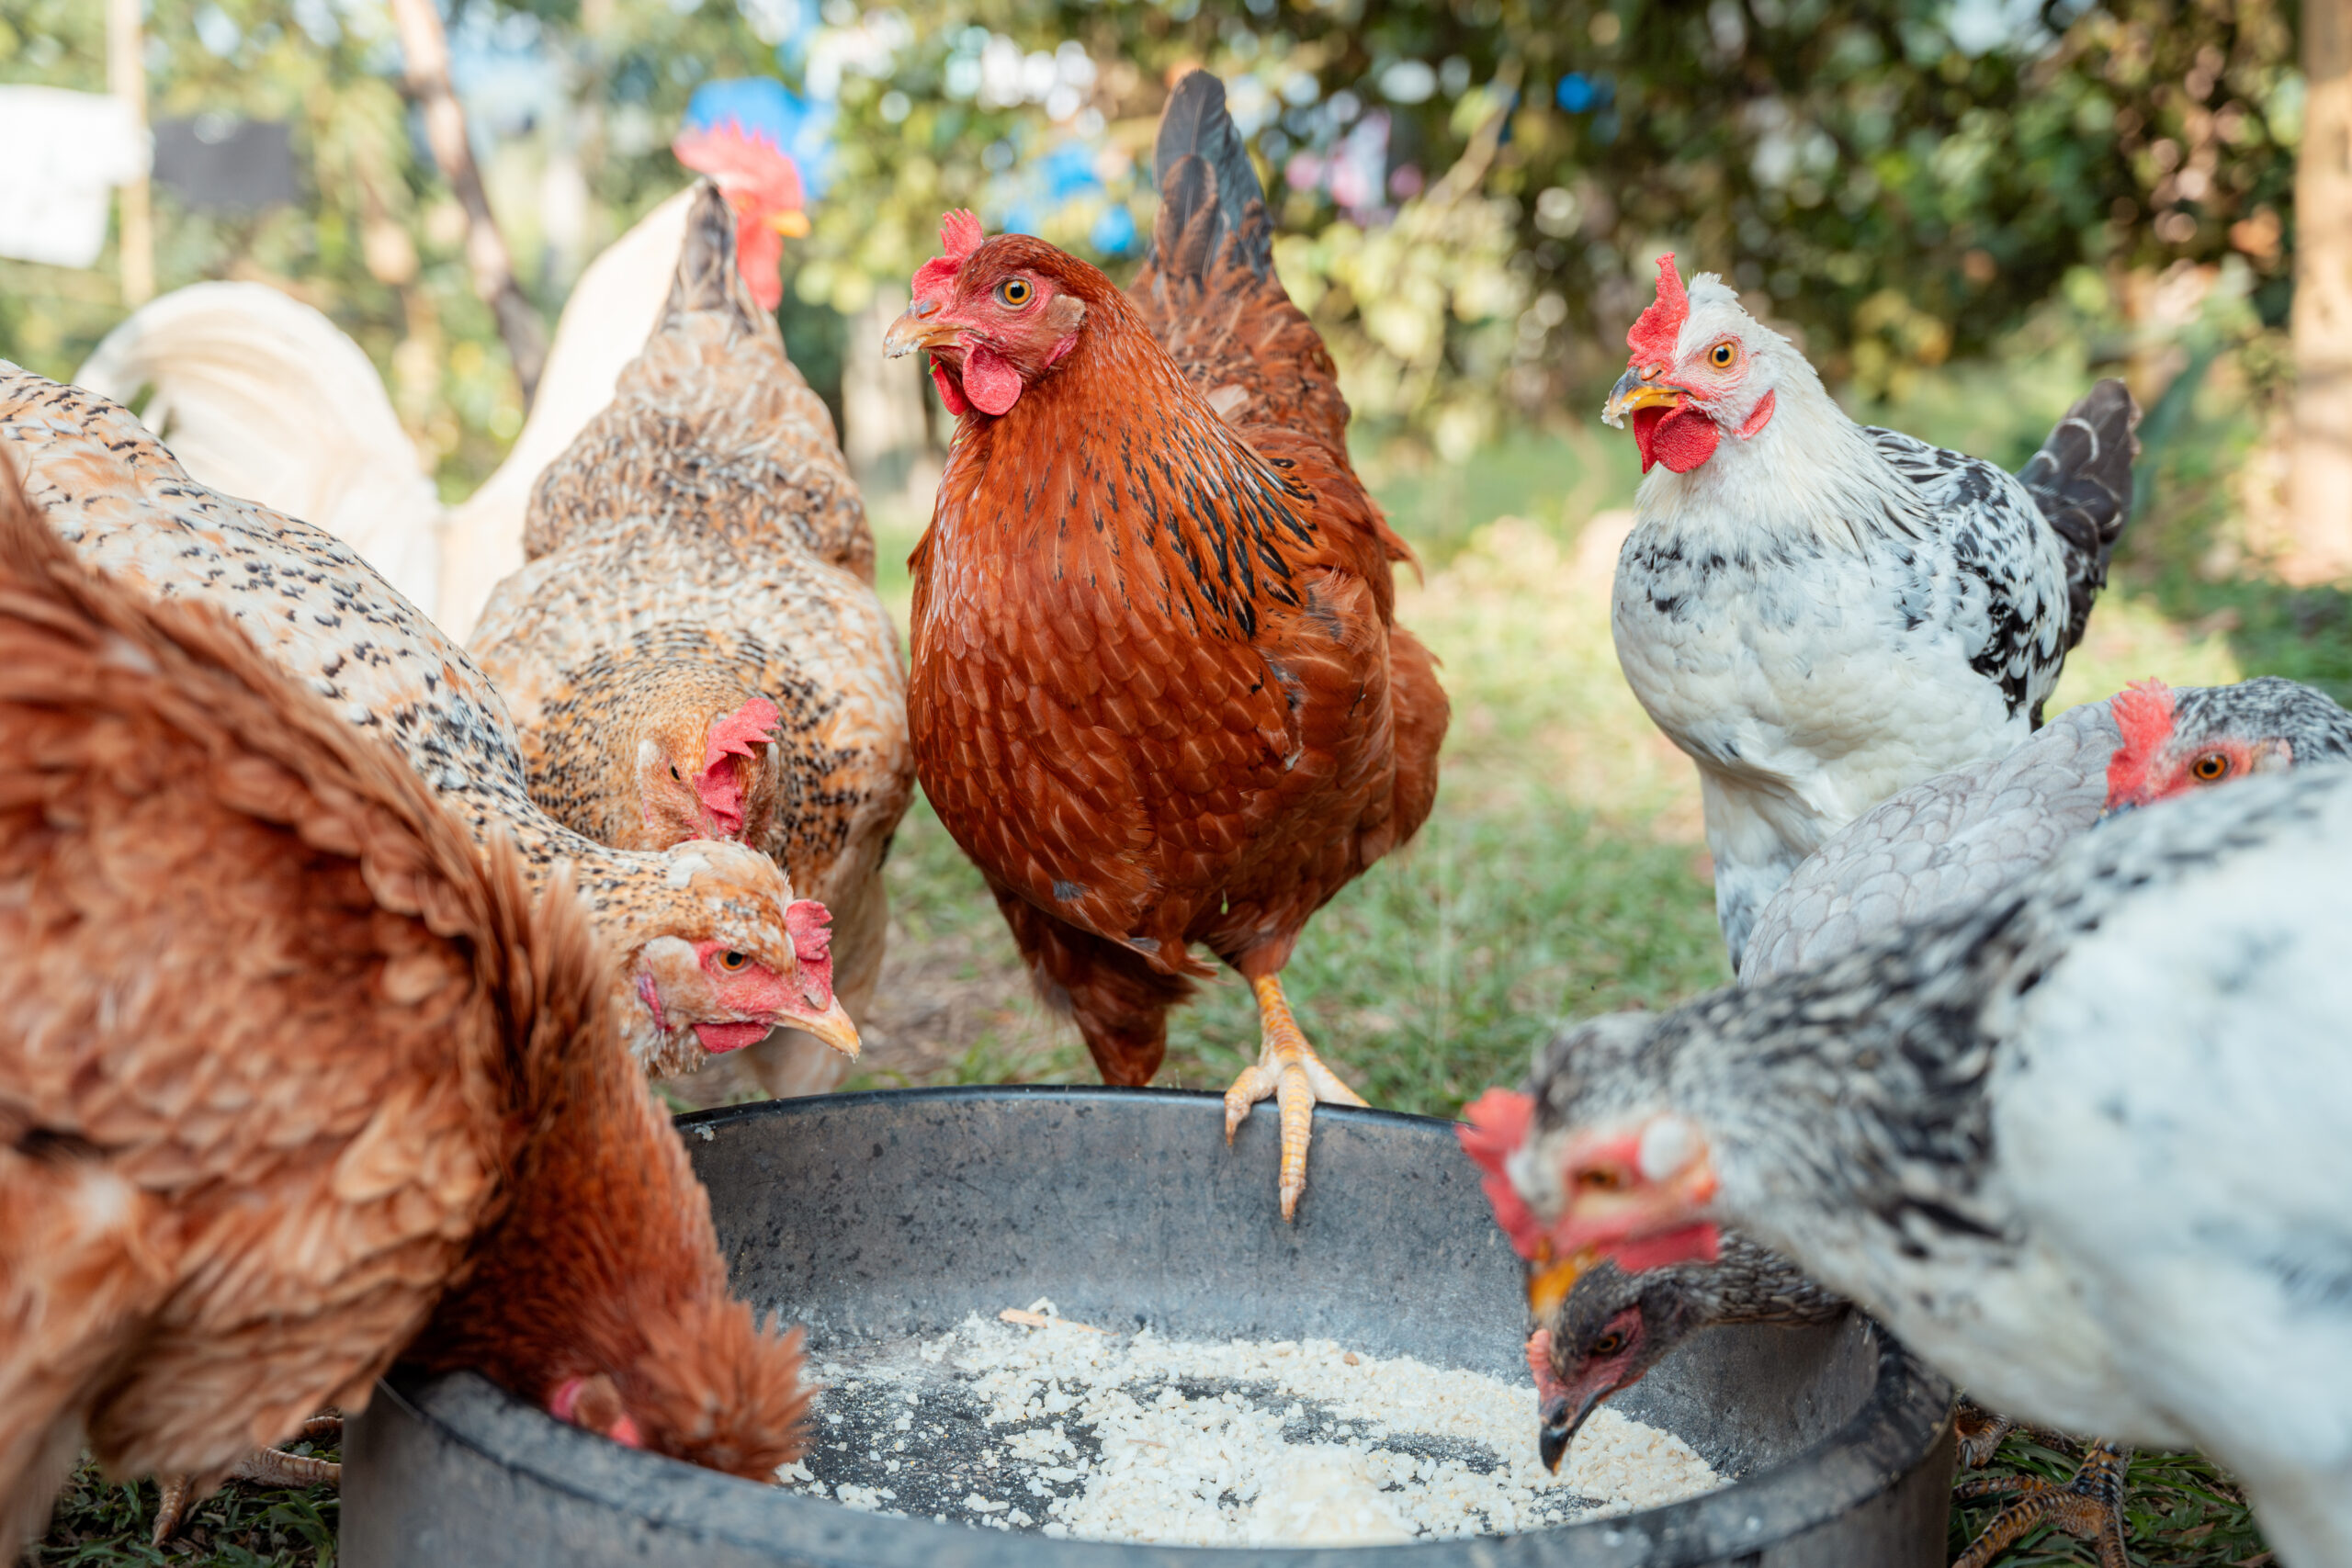
If you have month-old chicks when outdoor temperatures exceed 70°F, get them outside. The fresh air is good for their health and reduces the dirtiness of bedding material (and, therefore, its cost) as well.
Of course, food and water must be moved outside with them. They must be well protected from aerial and ground predators (even of the pet variety!) and must be shut in at night to guard against aggressive nocturnal predators. They also shouldn’t be out in stormy weather.
Chicken wire, put up firmly and with no ground-level gaps, is critical chick equipment to contain them as pullet chicks are eager to escape!
Chick Brooder Safety Tips
Using Chick Guard Rings in the Brooder
You’ll frequently see chick guard rings or circular shields offered from poultry suppliers, usually made of corrugated cardboard or plastic. They aren’t trying to sell you unnecessary paraphernalia, as shields serve a good purpose. However, you can always craft this piece of chick equipment yourself (as we did).
For piecemeal pens such as ours, shields provide a solid, draft-free wall. Perhaps more importantly, you’ll learn that chicks have a habit of sitting together in clusters. While a sweet image, it’s frequently the case that someone will get squeezed into a corner and suffocate.
Remarkably, removing corners with these rings and shields goes a long way to preventing anyone from feeling the squeeze! Rings are also an easy way to create your initial, smallest brooder space that can be easily removed. In a week or two, the chicks will already have outgrown it.
Raising Baby Chicks: Frequently Asked Questions
How warm should a brooder be for baby chicks?
When raising baby chicks, the brooder should start at 95° F during the first week of life. Reduce the temperature by about 5 degrees each week until the chicks are fully feathered, usually around 5 to 6 weeks old. Watching chick behavior helps: chicks crowding under the heat source are too cold, while those avoiding it may be too warm.
What do baby chicks eat?
Baby chicks should be fed a commercial chick starter feed containing about 19 to 20 percent protein. This higher protein level supports rapid growth and healthy development during the first weeks of life. Avoid feeding kitchen scraps or alternative feeds until chicks are older and well established.
How often should baby chicks be given fresh water?
Clean water should be available to baby chicks at all times. Because chicks often dirty their waterers, it’s best to refresh their water at least once a day, and more often if it becomes contaminated with bedding or droppings.
When can baby chicks go outside?
Baby chicks can begin spending time outdoors once they are about 3 to 4 weeks old and outdoor temperatures are warm—generally above 70°F. Always provide protection from predators, wind, and rain, and bring chicks back inside to their brooder if temperatures drop.
This article about raising baby chicks was written for Chickens and Hobby Farms magazines. Click here to subscribe.