


For many chicken keepers, the prospect of free-ranging birds is appealing because it’s a way to offer a healthier and more natural lifestyle for their flocks. The downside to free-ranging is that the chickens are more vulnerable to predators and accidents, along with the fact that the birds could free-range into areas where you may not want them, such as lawns or porches.
A chicken tractor can help bridge the gap between confinement and free-ranging. Essentially a portable chicken run, a chicken tractor is a simple structure that is wired off to protect the chickens but still offers some form of shade. Some chicken tractors can be quite elaborate, complete with roosts and nest boxes, but the following design is for a basic chicken tractor that is intended for daytime use in warm weather. The goal was to build a movable pen that could be constructed mostly out of scrap material. It’s a great way to use up some shorter sections of 2-by-4s and other lumber that might not be useful otherwise. In fact, this model was built entirely out of scrap except for the hardware cloth and fasteners, so the cost was very low.
Keep in mind that this is just one type of chicken tractor; you can easily make yours larger, smaller, longer or shorter by making simple adjustments to the measurements. This design is reasonably lightweight for maneuvering—an ATV, a lawn tractor or even a couple of people, should be able to move it easily—and should hold a handful of chickens comfortably.
What You’ll Need
- 3 6-foot 2-by-4s
- 6 3-foot 2-by-4s
- 1 34 3/4-inch 2-by-4
- 2 35-inch 1-by-1s
- 12 7-by-37 1/2-inch cedar shakes
- 6 37-inch cedar 1-by-4s
- 1 75-inch cedar 1-by-4
- 1 37-by-75-inch piece of 1/4- or 1/2-inch hardware cloth
- 2 33-by-33-by-33-inch triangles of hardware cloth
- screws of a few lengths (20 3-inch, eight 4-inch and a good supply of 1½ inch
- 2 3-inch hinges
- 1 hook-and-eye latch
- screwdriver
- roofing nails
- framing square
- hammer
- chop saw or circular saw
- level
Step 1

Begin by assembling the tractor’s footprint: Create a large rectangle out of two 6-foot 2-by-4s and two of the 3-foot 2-by-4s. Use screws to fasten them together. Throughout the project, using two screws per connection is usually adequate. A framing square will help you keep everything straight and square.
Step 2

Assemble two ends by using a chop saw or circular saw to modify the remaining four 3-foot 2-by-4s. Make a 30-degree cut on each of the ends as shown, but notice how each of the cuts is made from a different orientation. It’s important to get this correct in order for the pieces to fit together, so use the photo as a reference. Then screw the two sets together and attach them to the lower frame to create two triangles. Use the 4-inch screws for connecting the triangles to the lower frame.
Step 3

Using screws, attach the remaining 6-foot 2-by-4 (the ridgepole) across the top of the chicken tractor between the two end triangles.

Step 4
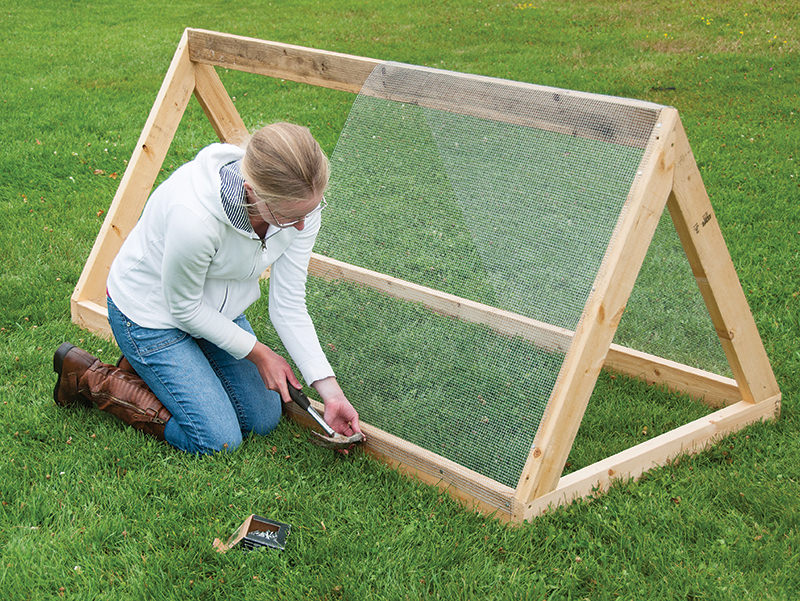
Hardware cloth is used to give the chicken tractor plenty of ventilation and to give the chickens light, while still protecting them from predators by keeping them contained. Chicken wire isn’t the best option, as it’s easily damaged by predators. Use one 37-by-75-inch section, and create half-length sides for the chicken tractor. The remaining areas will be covered with a shade/shelter.
Attach with roofing nails spaced about 8 inches apart, or more if needed, to keep the hardware cloth from bowing.
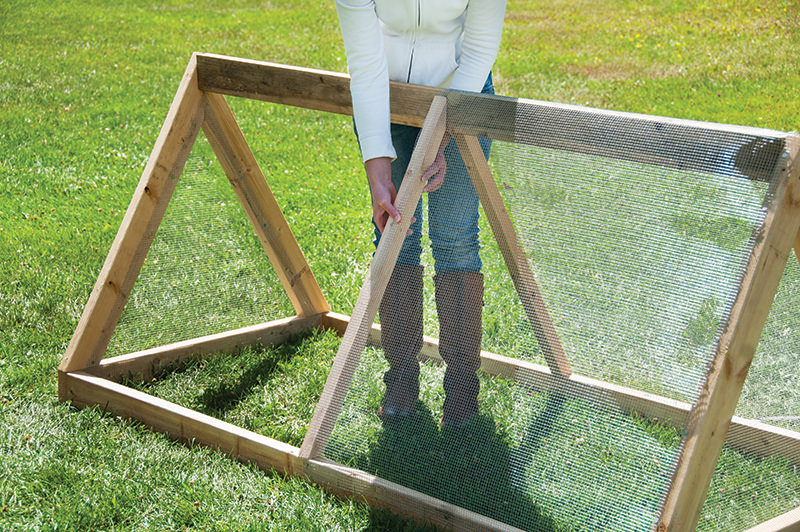
Step 5

Take two 33-by-33-by-33-inch triangles of hardware cloth, and use them to cover the ends of the chicken tractor. Attach from the inside (for a cleaner look) with roofing nails, again spaced about 8 inches apart.
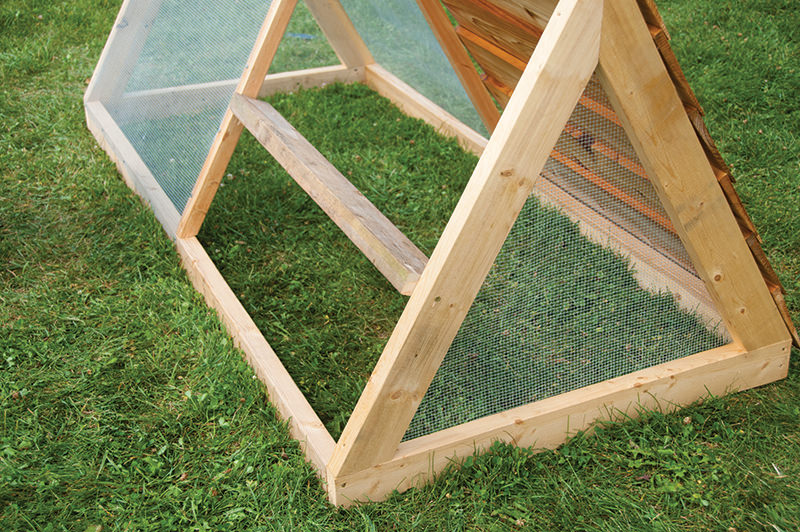
Step 6
Next, install two modified 35-inch 1-by-1s to act as braces for the hardware cloth and shade. Like the triangular ends of the chicken tractor, you’ll need to make two 30-degree cuts in the same way, as shown in the photos. Using four 1½-inch screws, screw these into the frame about 37 inches from the end without hardware cloth, and then pin down the hardware cloth with roofing nails.
Step 7

The shade portion of your chicken tractor can be created out of whatever you have handy. We used some scrap cedar shakes—which have a natural rot-resistance—that were long enough for the job (37½ inches) and around 7 inches wide. Using 1-inch screws (one or two per side should be enough), attach these on one side of the chicken tractor. Use a level to keep everything straight.
Step 8
Build a door, so your chickens have some way to enter and exit the chicken tractor.
Using four 3-inch screws, install a 34 3/4-inch 2-by-4 about 12½ inches up from the bottom (a).
For the door, we used two of the cedar shakes fastened together with a couple of roofing nails, but you can use other materials (b).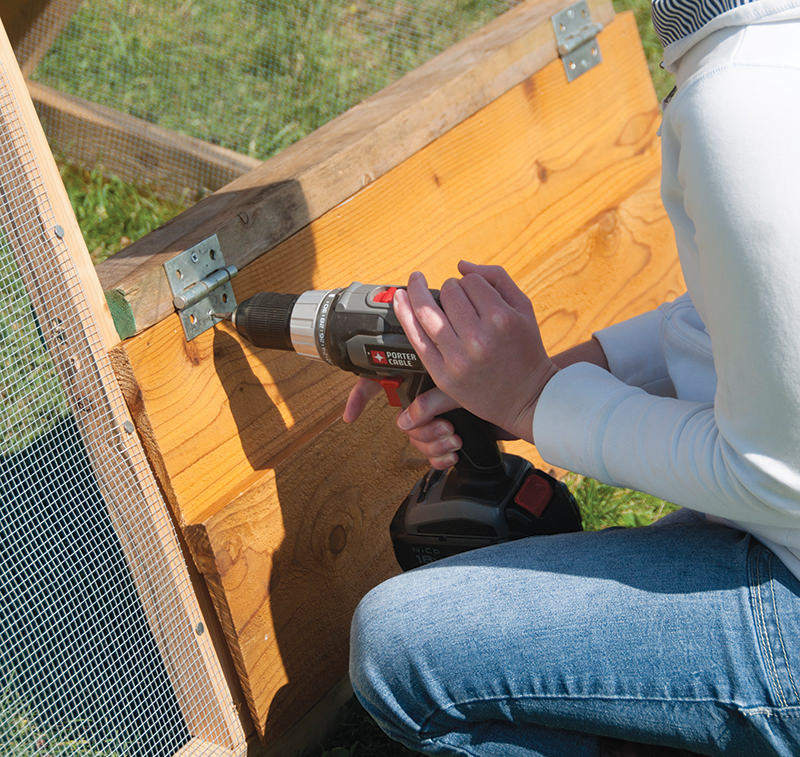
Two 3-inch hinges complete the job, creating a chicken-sized door (c).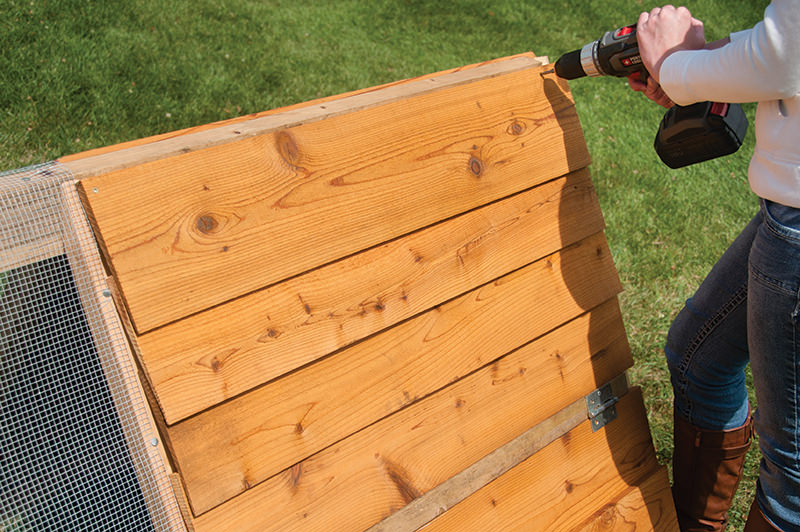
Four more cedar shakes close off the remaining opening (d).
Step 9

A few trim boards will make the chicken tractor a little nicer and cover some of the rough edges of the hardware cloth. We used some cedar 1-by-4s that we had handy.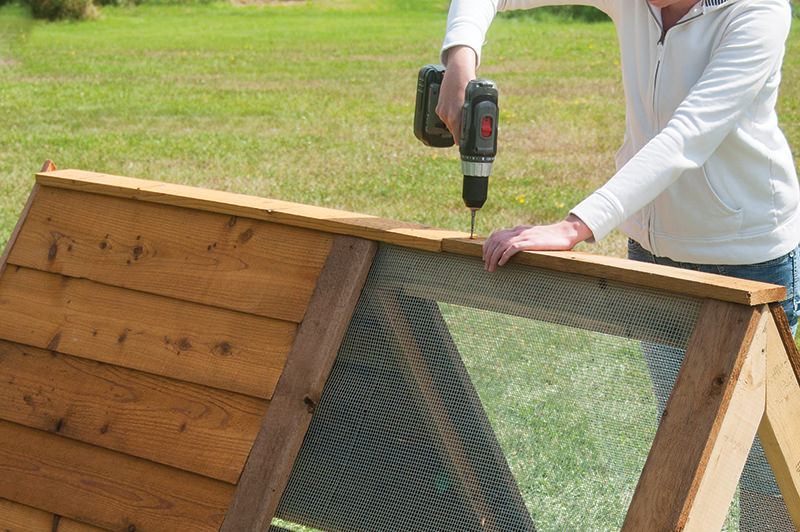
Use four 37-inch 1-by-4s to trim the middle edges of the chicken tractor and the hardware cloth end. Then use two more for the shaded end, but modify them on the top to 30 degrees. A final 75-inch cedar 1-by-4 can be used as trim across the very top, although we actually used two shorter pieces.
Finally, simply add a hook-and-eye latch to keep the door shut. It’s also a good idea to place a couple of handles near the bottom for easy attaching to an ATV or to move the chicken tractor by hand.
This article originally appeared in the November/December 2016 issue of Chickens.
