I’ve been tearing a lot of paper lately to make journals and ended up with a bag of scraps. You may have some scraps from those sheets from the printer, that only print a couple lines at the bottom of an invoice or e-mail you need to keep in printed form. There’s only so much “scratch” paper you can use. It’s frustrating, but now you have the fodder to make homemade paper. Paper from paper? I know, it sounds crazy. But it works.
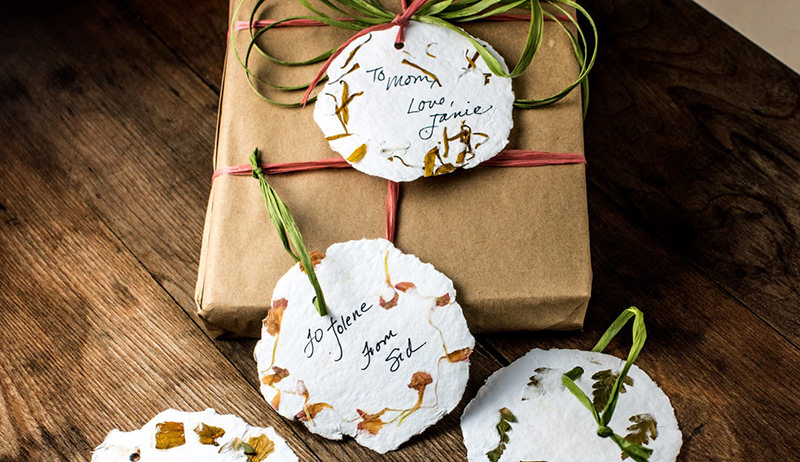
This combined with the flowers from a bouquet that were waning provided me the inspiration to create poured paper gift tags. Making poured paper gift tags is a fun project that you can do with the kids and doesn’t require any special equipment other than a craft dedicated blender, which is easy to find at garage sale or second-hand store for a few dollars.
I plucked the petals from the bouquet and laid them out on newspapers to dry for a week or so. Not only does our scrap paper get new use in this project—our flowers get an “upcycled” life, as well. You’ll be able to make about dozen tags from a handful of paper and petals.
What You’ll Need

Patricia Lehnhardt
Equipment
- blender
- embroidery hoop or old frame
- fine netting
- cookie cutter
- felts—old cotton napkins, cotton feed sack towels, etc. (12-inch squares work great—no nap.)
- bowl or container to hold the frame and catch the drips
- scoop or measuring cup
- cookie sheet
- weights
- hole puncher
Materials
- scrap paper torn into 1-inch pieces
- water
- dried flowers
- ribbon or raffia
Step 1
Place a handful of paper scraps in the blender, and add water to fill it three-quarters full. Blend on high for a minute or more, until the paper has broken down into fibers.
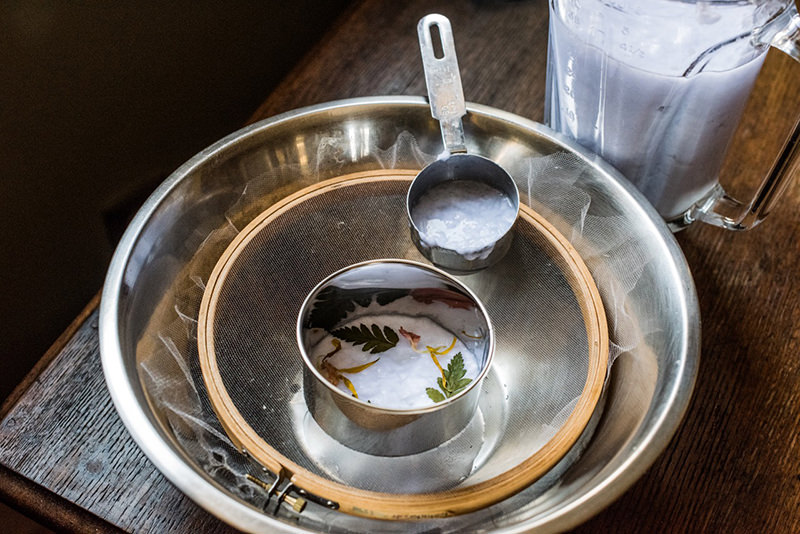
Set up the net screen in a container of some sort to catch the water, or work over a sink.
Step 2
Patricia Lehnhardt
Place the cookie cutter on top of the screen as a mold, and pour the paper pulp into it. The 4-inch circle cutter I used required about 1/4 cup pulp. Spread it to the edges with the back of a spoon if necessary.
Step 3

Patricia Lehnhardt
Lay dried flowers and leaves in a pattern or scattered all over the top of the pulp. Dip your hand into the pulp, and layer a very small amount of pulp over the botanicals to secure them into the paper. You don’t have to cover them completely—just to tack them down.
Step 4
Let the water drain for a minute and remove the cutter.
Step 5

Patricia Lehnhardt
With the felts laid out next to your screen, set the edge of the screen on the cloth and quickly turn it over so the wet paper is lying on the cloth. Use another cloth to sop up the water in the paper and carefully remove the screen. Repeat with as many tags will fit on the felt. Lay another felt directly on top and continue, making a stack of felts, each with three to four tags on it.
Step 6

Patricia Lehnhardt
Lay a cookie sheet on top of the stack and weigh it down with bricks, heavy iron pot or several heavy books. Lay some towels around the stack to soak up excess water as it drains from the paper.
Let set for three to four hours.
Step 7

Patricia Lehnhardt
Remove the weights and lay out the felts to dry. If the paper curls as it dries you can weigh it down again overnight under heavy books.
Step 8
Punch each tag with a hole punch, and thread with ribbon or raffia.


