Any properly functioning ecosystem should be self-supporting: Things grow, they use energy, they die and are eventually recycled back into “food” to begin the cycle anew. As a result, there is no waste.
Consider the forest, whose fallen leaves and dead organisms go on to nourish the next generation of trees. Organic farmers must think of their soil as such an ecosystem.
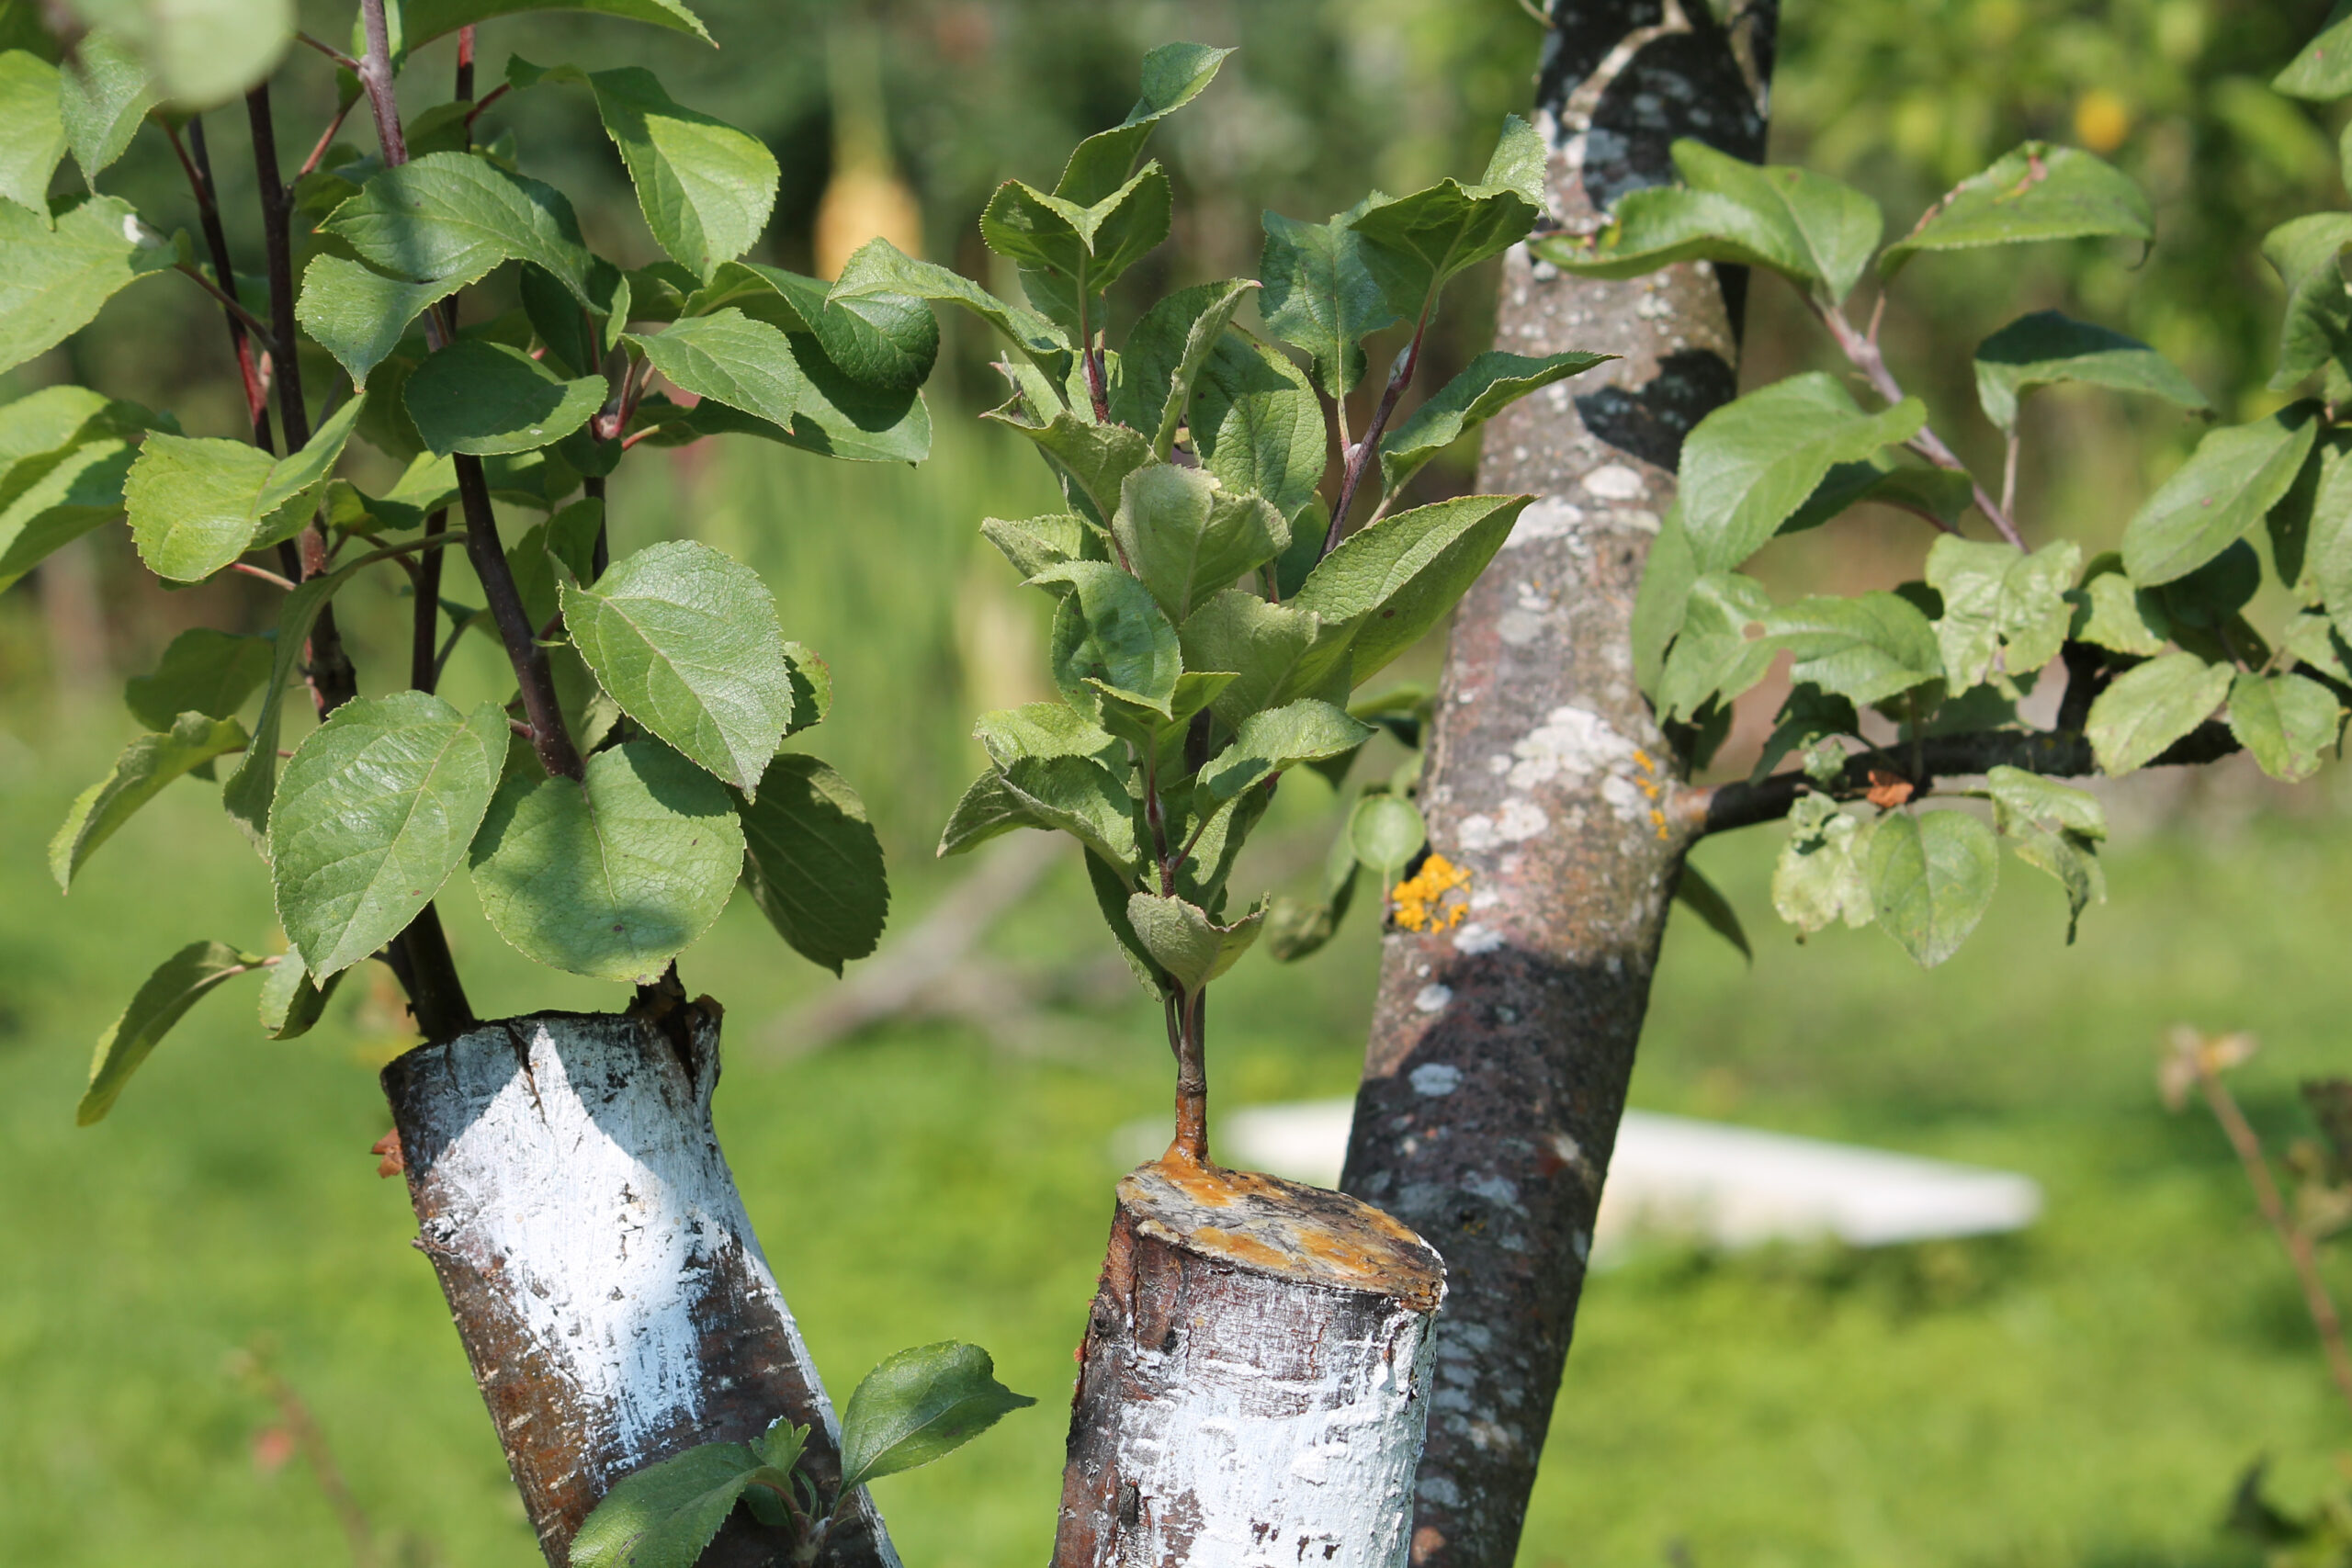
Crops are planted, those plants use nutrients from the soil, and when the plants die, they are recycled back into the earth through the process of composting. The cycle of life and death on an organic farm becomes an essential part of soil management.
Composting in an organized farm setting lets the organic matter and nutrients used by plants return to the soil. Plants depend on soil organic matter for nutrients and disease suppression; while there is some organic matter naturally present in all soils, its quality and quantity are depleted by the plants growing in it.
There are, of course, other kinds of organic matter available to help organic farmers build their soil (including mushroom soil and peat moss), but no other source provides plants with as many benefits as high-quality compost. What’s more, few other sources are made from ingredients readily available at home.
Why Compost?
The benefits of compost are many.
- It improves the structure of any soil, be it sandy, loamy or clay; soils amended with compost retain more water and drain better. A mere 5 percent increase in organic matter quadruples a soil’s water-holding capacity.
- Compost contains not only macronutrients, but also many trace nutrients; this balanced array of nutrients is available in a slow-release form. Finished compost typically has .5 to 2.5 percent total nitrogen in either organic or slow-release form; about 10 percent of this amount is available in each subsequent year.
- Compost helps balance soil pH, fosters good soil structure, and improves tilth and fertility.
- It loosens clay soils and prevents nutrient leaching by loosely binding nutrients into the soil.
- A key benefit of compost is the diversity of soil life it supports and promotes. Be it bacteria, fungi, worms or beetles, these creatures help process nutrients and create healthier, more pest-resistant plants. Compost is a known disease suppressor, with university research indicating that plants grown in soils regularly amended with compost have a marked reduction in diseases—particularly those diseases caused by soil-borne pathogens. Overall, compost promotes biologically active and diverse soil.
- Compost ingredients are easy to come by. What goes into the creation of compost is often the result of the farm’s production. Compost is made from a combination of many available ingredients—be it garden scraps or kitchen scraps.
- Composting is also an economically sound practice. Instead of sending waste to a landfill, that waste is recycled and reused. The farmer also sees a reduction in the need to buy other fertilizers and pesticides. The nutrients present on the farm stay on the farm, and they continue to nourish and benefit its future.
The Right Stuff
The first step in building a compost pile is choosing the proper ingredients. It’s important to understand that different materials provide different things.
There are two basic classes of ingredients constituting a well-balanced compost blend: the carbon suppliers and the nitrogen suppliers.
- Carbon suppliers are materials added to the compost pile in a non-living state. They are usually brown in color and have low moisture content. Carbon suppliers are generally high in lignin and other slow-to-decompose plant components, so they take longer to fully break down into available nutrients.
- Nitrogen suppliers are ingredients used in a fresh state. Nitrogen suppliers are often green in color (except in the case of manures) and contain a lot of moisture. Because they contain many sugars and starches, they are quick to decompose.
The relative proportion of carbon-containing materials to those materials higher in nitrogen (the C:N ratio) is a decidedly important factor in determining how well a compost pile breaks down.
Basically, the pile should contain about 30 times more carbon than nitrogen (a C:N ratio of 30:1). This ideal ratio is accomplished by building a pile that contains two to three times more carbon materials than nitrogen materials (by volume).
So for every five-gallon bucket of fresh, green grass clippings, three five-gallon buckets of straw or leaves will also have to be added.
Why the C:N Ratio Is Crucial
The microbes and other organisms that process the ingredients of your compost pile use carbon materials as a source of energy. They need a lot of it to work efficiently and quickly. If the ideal C:N ratio is created, the days to finished compost are reduced because these organisms are working at the fastest pace possible.
In addition, piles with a C:N ratio of 30:1 reach temperatures as high as 160 degrees F, while those with a C:N ratio of 60:1 will seldom rise above 110 degrees F. Decomposition occurs faster at the ideal temperature of 160 degrees F.
If the model C:N ratio is not achieved when the pile is started, the finished product will not have it either. This can lead to some unfavorable situations. For example, if finished compost with a C:N ratio much greater than 45:1 is added to fields, any continued decomposition will rob nitrogen from the soil. The microbes need to get nitrogen from somewhere and, because it isn’t in the compost, they take it from the surrounding soil.
On the other hand, if the C:N ratio is less than 20:1, the microbes use all the available carbon and release the extra, unused nitrogen into the atmosphere, depleting the finished compost of this essential nutrient.
Finished compost used on Certified Organic farms must have a C:N ratio between 25:1 and 40:1. Home gardeners who grow organically, but aren’t interested in certification, don’t necessarily need their C:N ratio to fall exactly within this range. However, if it does, they will discover the pile finishes faster and creates compost of exceptional quality.
The appropriate ratio will also prevent the need for additional supplies of water.
That said, if the pile ever appears dry, don’t hesitate to add extra water. The pile should consistently feel like a wrung out sponge. If it gets too wet, add more brown ingredients to soak up some of the excess.
Pay close attention to the initial blend of ingredients—aim for two to three times more “browns” than “greens” by volume.
Carbon Sources or “Browns”
- Autumn leaves
- Straw
- Hay
- Newspaper (no shiny insert pages)
- Sawdust (only in limited quantities—acidic)
- Unbleached paper towels and napkins
- Chopped cornstalks and cobs
- Shredded cardboard
- Pine needles (only in limited quantities—acidic)
- Grass clippings
Nitrogen Sources or “Greens”
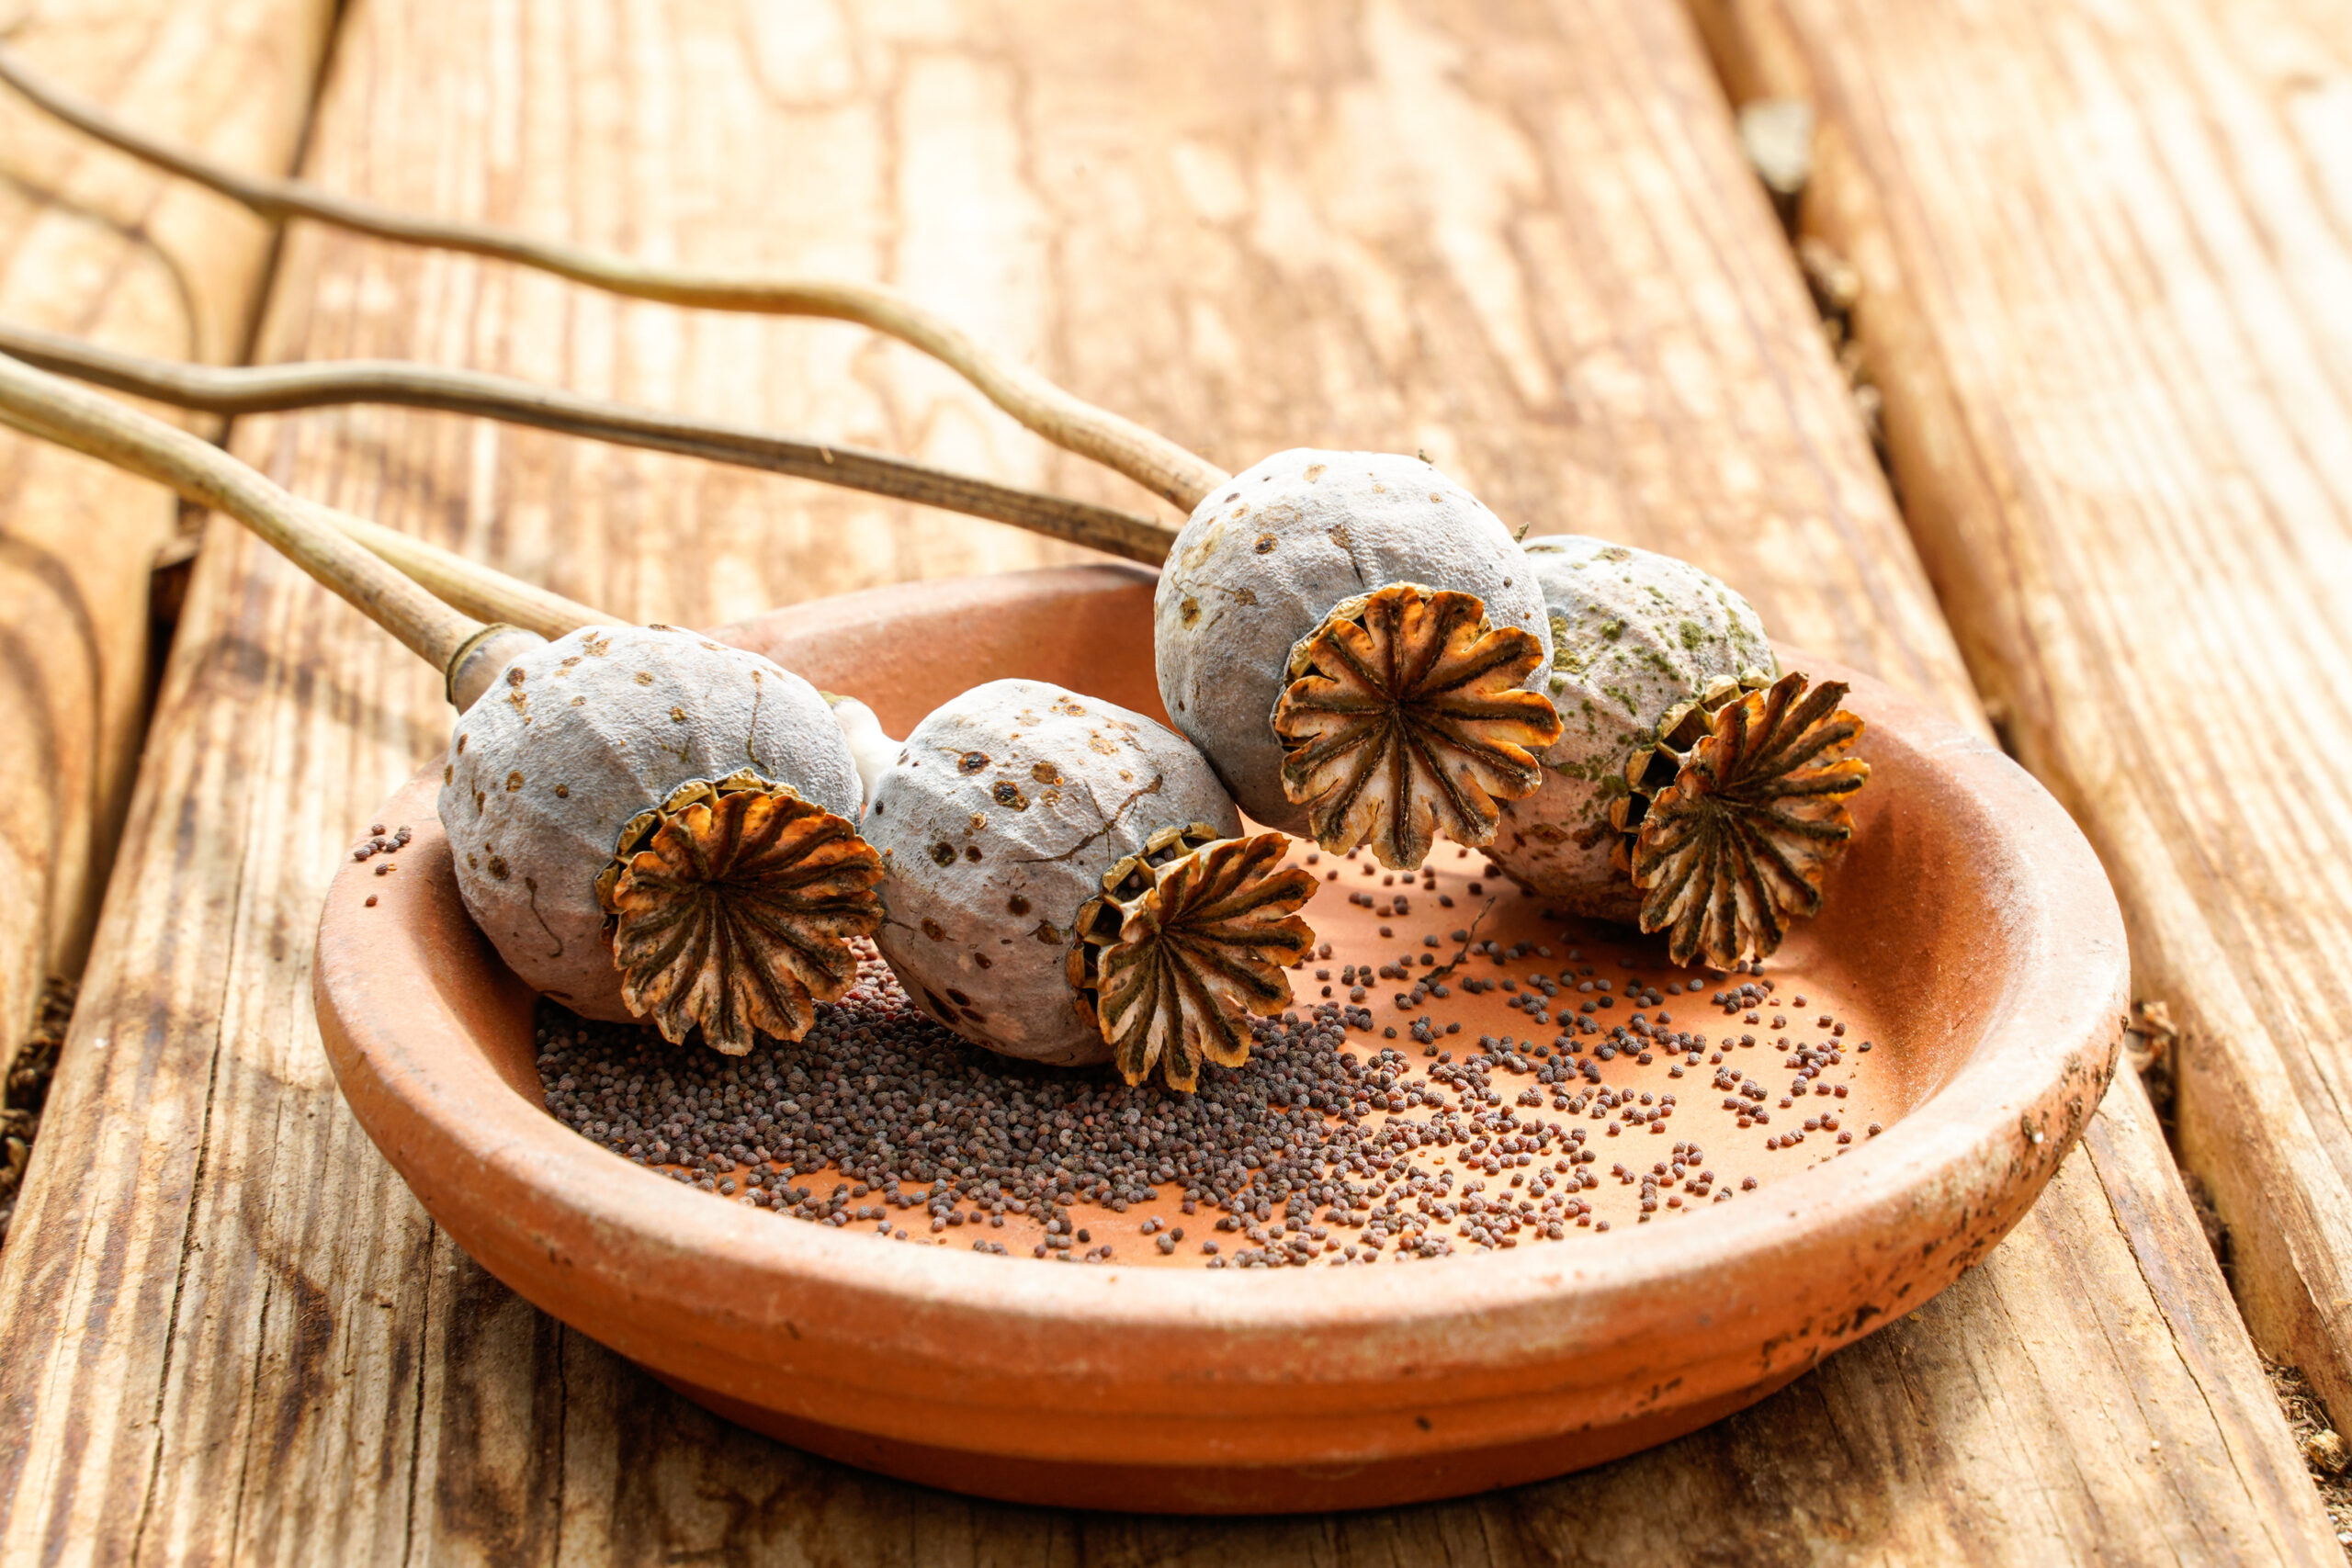
- Weeds (before going to seed if possible)
- Plant trimmings
- Animal manures
- Kitchen scraps
- Coffee grounds and filters
- Grass clippings
- Seaweed (rinsed of salt water)
- Spent garden plants
- Pond algae (freshwater ponds only)
What Not to Compost
Biosolids (human sewage sludge) are never found on a list of acceptable compost ingredients for organic farming. Biosolids can contain heavy metals, human pathogens and chemicals of all sorts; this material has no place in organic or home food production. If you use commercially produced composts, it’s exceedingly important to question the producer about the potential use of biosolids and avoid any products containing them.
Here’s what else not to add to your compost pile and why.
- Meat, bones and fish: They can cause odor and attract animals.
- Dairy products: They can cause odor and attract animals.
- Dog, cat, pig or reptile feces: They can carry pathogens and parasites
- Oils: They’re slow to decompose and might cause odor.
- Diseased plant material: It can spread disease back to your garden.
- Dryer lint: It can contain synthetic fibers that will not break down.
- Vacuum bag contents: This contains synthetic carpet fibers and chemicals.
- Glossy, colored newspaper inserts: The ink contains heavy metals.
- Treated grass clippings: Any chemicals present can damage soil, flora and fauna.
- Cat litter: It can contain pathogens and chemicals.
The Scoop on Poop
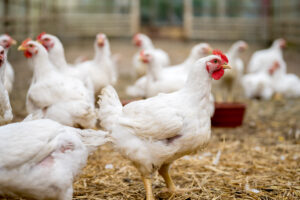
Animal manures are listed as one possible nitrogen provider, including manures from cows, horses, sheep, goats, chickens, rabbits, ducks and geese. (Avoid manures from meat eaters such as pigs, dogs or cats.) Manure can form an important part of the soil fertility program on an organic farm. It’s important to note, however, that manure can be a source of E. coli and other human pathogens, and it should be handled with care.
Well-composted and processed manures are generally safer than raw manures, but all require special consideration. Uncomposted, raw manure can be used on fields not growing edible crops. It can also be added directly to fields if a few rules are followed.
- Raw manure must be worked into the soil at least 120 days before the harvest of crops contacting the soil (potatoes and other root crops, or any crops that might get splashed with soil).
- A 90-day wait period is required for crops that must be peeled or that do not come in contact with the soil.
- Even manure that sat in a pile for years might still be raw and might not fit the definition of “composted.” It still needs to meet application requirements or be properly composted as described below.
Well-composted manure can be used any time, though the definition of “well-composted” should be strictly monitored. The manure, along with the other compost ingredients, must heat to 160 degrees F for a minimum of 15 consecutive days to be considered fully composted; it must be turned at least five times during that period.
This temperature, sustained for this time period, kills any potential pathogens—and it’s a very important step in safe, organic food production.
Processed manures (heated to more than 150 degrees F for one hour or more, frozen or dried) are acceptable because they are pathogen-free and are not in a raw state; therefore they don’t have a waiting period, and there is no need to incorporate them into the soil before planting.
The difference in manure usage between conventional and organic farms: Organic farmers must apply either well-composted manures or apply the manure a minimum number of days before harvest.
The Truth About Rodents
One common misconception about compost is that it attracts rodents. While the occasional field mouse might find a home in the pile (you can’t blame them—it’s warm in there all winter), the pile should not attract rats, raccoons, opossums or any other critters.
To ensure they won’t show up, bury kitchen scraps under straw, leaves or other “brown” material, and never add meat or dairy products. If adding eggshells to the pile (a great source of calcium), wash and crush them well beforehand.
If you have the right C:N ratio, the pile will get good and hot—160 degrees F is just too hot for even the toughest rat. Yet another great reason to do it right!
Meet the Crew of Decomposers
Once the right ingredients have been used to create the pile, it’s the job of billions of microbes and other soil-dwelling organisms to break it down. The organisms needed for this decomposition process are already present in most compost ingredients. However, adding some finished compost as the pile is built might increase populations more quickly. Compost activators, consisting of inoculants (bacteria), enzymes and sugars, are also available to rapidly establish microbe populations, though it’s not necessary to use them.
There are literally thousands of different decomposers at work in the typical compost pile and they number in the tens of billions. They all do their part, and they do it year-round. Some species of bacteria continue to work even in freezing temperatures. Fortunately, these bacteria usually generate enough heat to support those bacteria that prefer warmer temperatures.
The most rapidly decomposing bacteria work at the highest temperatures, between 100 and 160 degrees F. At 160 degrees F, the rapid decomposers are happiest and the decomposition process is fastest. These microbes require very little from the farmers hosting them. They ask for only two things: food and oxygen.
Aerating the Pile
Microbes use oxygen and exhale carbon dioxide while decomposing, which means it’s an aerobic process. To maintain those necessary aerobic conditions, provide oxygen by turning or otherwise aerating the pile on a regular basis (at least once a week).
If the pile is not turned and no oxygen is present, decomposition happens through fermentation. Different organisms are at work here, and they release methane and ammonia; as a result, the pile stinks. In addition, fermenting piles don’t generate enough heat to kill pathogens, creating a potential food safety issue.
Decomposition doesn’t smell bad when adequate oxygen is present.
We are mimicking nature in a compost pile by trying to create the right blend of ingredients, including sufficient oxygen. Creating quality compost is all about pleasing those decomposers.
Hot, Hot, Hot!
Because the process of decomposition naturally creates heat, properly constructed compost piles will be hot to the touch. For Certified Organic farmers, the pile must reach between 131 and 170 degrees F for a minimum of 15 days, during which time the pile is turned at least five times. This is essential because it takes sustained high temperatures to kill human and plant pathogens as well as weed seeds.
Compost thermometers are available at garden supply retailers and online. They have long probes that reach into the center of the pile where temperatures are usually the highest. The temperature should be checked at approximately the same time every day.
“Cold” or “slow” composting methods (otherwise known as pile-it-up-and-wait) are valid techniques for home gardeners, but use caution when animal manures are used in these methods. All organic materials will eventually decompose; the rate at which they do might or might not be important to individual gardeners, but the safety and weed seed contents of “cold” piles are important to consider when choosing a type of compost pile.
The Worms Have It
Vermicomposting is another technique for reducing fresh organic materials into compost. An artificial system meant to support worms is created in order to harvest their rich castings. Though a bit more expertise and equipment is required to compost via worms, it’s a satisfying experience, providing growers with a nutrient-dense, natural fertilizer.
You can buy special bins for large-scale production of castings, or you can easily construct one yourself. Simply cut holes in the bottom and the lid of a large plastic storage bin and layer plenty of shredded newspaper, kitchen scraps, small pieces of cardboard and such into the container (do not use animal manures in the bins).
Following the recipe for the proper C:N ratio isn’t strictly necessary, but it might help speed decomposition. Add purchased worms to the bin and store the container in a cool area, but do not allow it to freeze. Add thin layers of raw, organic matter at one- to three-day intervals. The required duration to complete decomposition is anywhere from two to four months.
Where to Compost
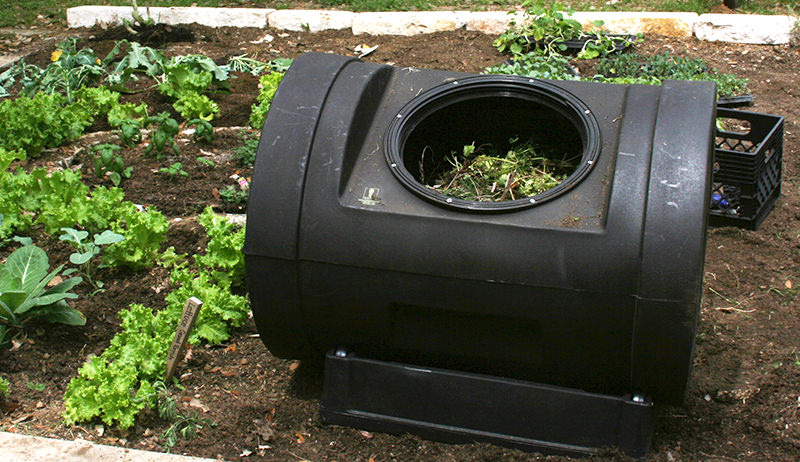
For large-scale production of compost, ingredients are usually organized into windrows and turned with a tractor or bulldozer. Moderate-sized farms might prefer a series of large, freestanding piles turned by hand or with a tractor. Home gardeners and small farmers have more options, including commercial and homemade composting bins.
Commercial composting bins can be constructed of plastic, wood or recycled materials and are available in many shapes and sizes. Freestanding composting containers, including plastic, oblong tumblers and spinning cylinders, are meant to make turning the pile easier. Many of these models come with handles or cranks that rotate the whole container along with its contents. The contents of rectangular, ground-level composting bins are a little more difficult to turn, but the finished compost is easy to empty through bottom doors; these types are usually cheaper.
Kits for do-it-yourselfers are another option; containing metal corner pieces and a lid, these kits are installed by sliding appropriately sized lumber (purchased separately) into the metal pieces to construct a square bin.
If commercial composting bins are used, consider their size (3 by 3 by 3 feet is the minimum size necessary to reach required temperatures), ease of use, number of aeration holes (especially important for enclosed tumblers) and appearance. If the bin will be prominently located, it might be worth spending a little extra money for an attractive model.
You can build composting bins from pallets (avoid ones used to store chemicals), wood slats (never use treated lumber—the preserving chemicals might leach into the compost), hay bales, perforated plastic trash cans or wire cages. Many construction plans are available online.
The Timeline
Organic matter can fully compost in as little as four weeks or as long as six months (or more). The finish time depends on the ingredients used, the C:N ratio, the frequency of aeration, the moisture content and the size of the ingredients when the composting process began. (Shredding or chopping materials before adding them to the pile will help speed decomposition.)
For record-fast compost, begin with two to three times more “browns” than “greens,” finely shred or chop all ingredients, add a few shovels of finished compost to the new pile, aerate at least once a week, maintain moderate moisture levels and actively monitor temperatures (don’t forget to thank those microbes, too).
Testing the Finished Product
Tests for C:N ratio, compost stability and pathogens must be documented before any compost (even homemade) is used on a certified organic farm. Tests can also be conducted for nutrient content, an assessment of biological activity and pH.
For home gardeners, testing isn’t necessary, but it is interesting to find out what your finished compost is all about. Remember, temperature is really the best indicator of proper decomposition—160 degrees F is an easy indicator that compost is done right.