


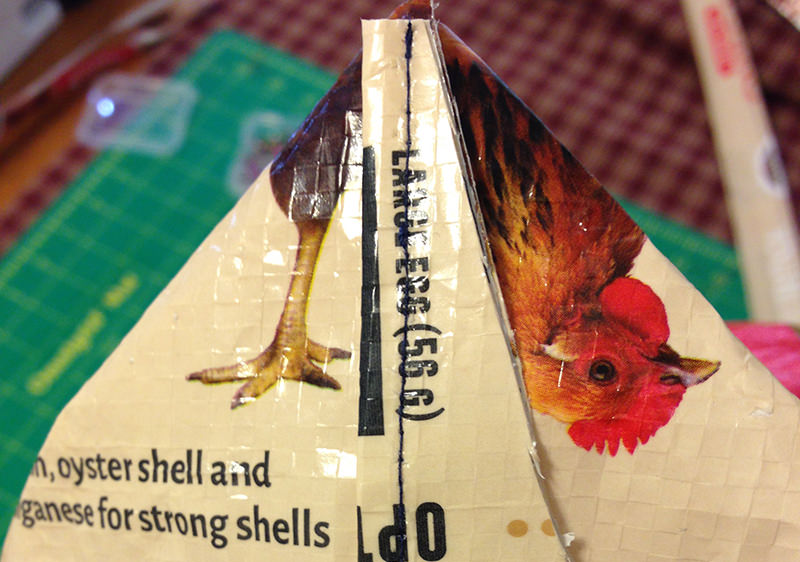
Do you have empty feed or scratch bags hanging around that you’re reluctant to throw away? You can give them new life and purpose by turning each one into a heavy-duty DIY grocery bag that will rival all the shopping bags you’ve ever bought.
I wasn’t thrilled with any of the tutorials I found online, because I didn’t love the finished product, so I made up this bag as I went along. I’m sharing it with you, because my new bag is a workhorse.
Be advised that sewing the plastic that feed bags are made of is tough on your machine. Install a new needle before you begin. Be sure your bobbin is wound correctly, and sew slowly. The weave of the plastic will shove your needle around a bit—you will never get a perfectly straight line. I also never found ideal tension for any part of this project. At the end, your feed dogs will be barkin’. Clean your machine, and give it thanks. We’re aiming for functionality here, not designer status. This bag is awesome.
Step 1

Trim off the bottom of the bag, wash it out, and let it dry.
Step 2

For the sturdiest handles, make handles with the bag material. (You can also upcycle durable fabric handles from an old tote.) I trimmed two 4-inch strips from the bottom of the bag, and then I cut off the seam.
At this point, I didn’t know how long I wanted my handles, so I used most of the length and ended up trimming them to 24 inches later. I folded the sides in toward the middle, and then folded it in half, making a 4-layer strip about 1-inch wide, pinning as I went. You don’t need to make them so thick, but I wanted a strong handle.

Then I sewed along the open edge first, and then the other. (If you’d like a taller finished bag, make handles from a second feedbag.)
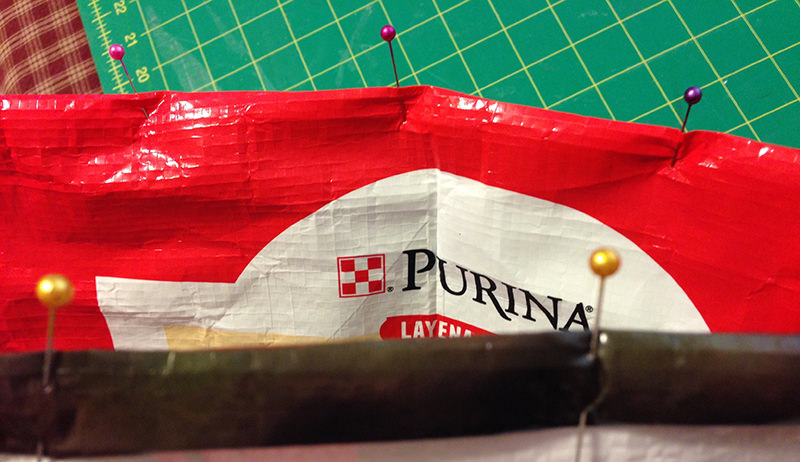
Step 3

To avoid a scratchy raw edge, I folded the bottom of the bag twice, pinned, and sewed along the entire edge. Then I folded and pinned it to the bottom and sewed the thick fold to the bottom of the bag along both sides for strength and durability. Getting the to the bottom and feeding the rigid plastic through the machine was not always easy. Just go slow and take your time.
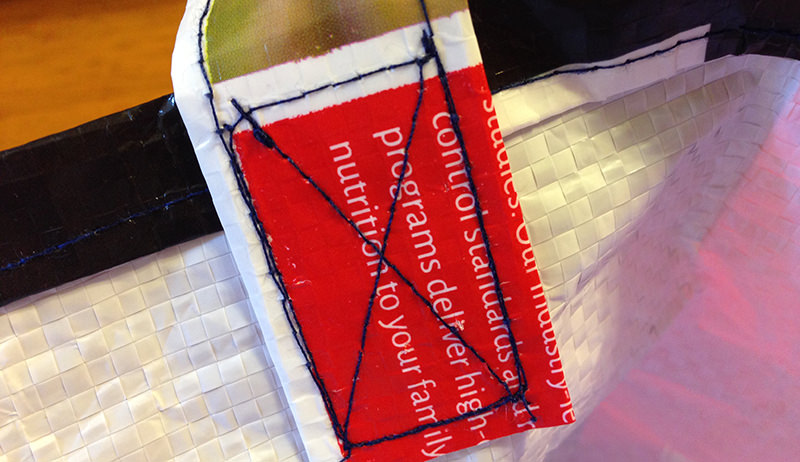
Step 4
To make the bag as strong as possible, I decided to fold and sew the side flaps to the bottom of the bag. The flaps could be sewn to the sides, or they could be instructed inside the bag. Take some creative license and construct the bottom in whatever way works best for the bag you start with and the sewing machine you’re using.
Sewing the flaps to the bottom made my bag so rigid and bottom heavy that the bag sits upright without propping it. To make it a little easier to sew, I trimmed off some excess material before folding it down.
Step 5
Fold the top seam twice, about 1/2 inch with each fold, pin, and sew.
Step 6
Determine how long you want the handles, trim each to match, pin them where you want them, and sew.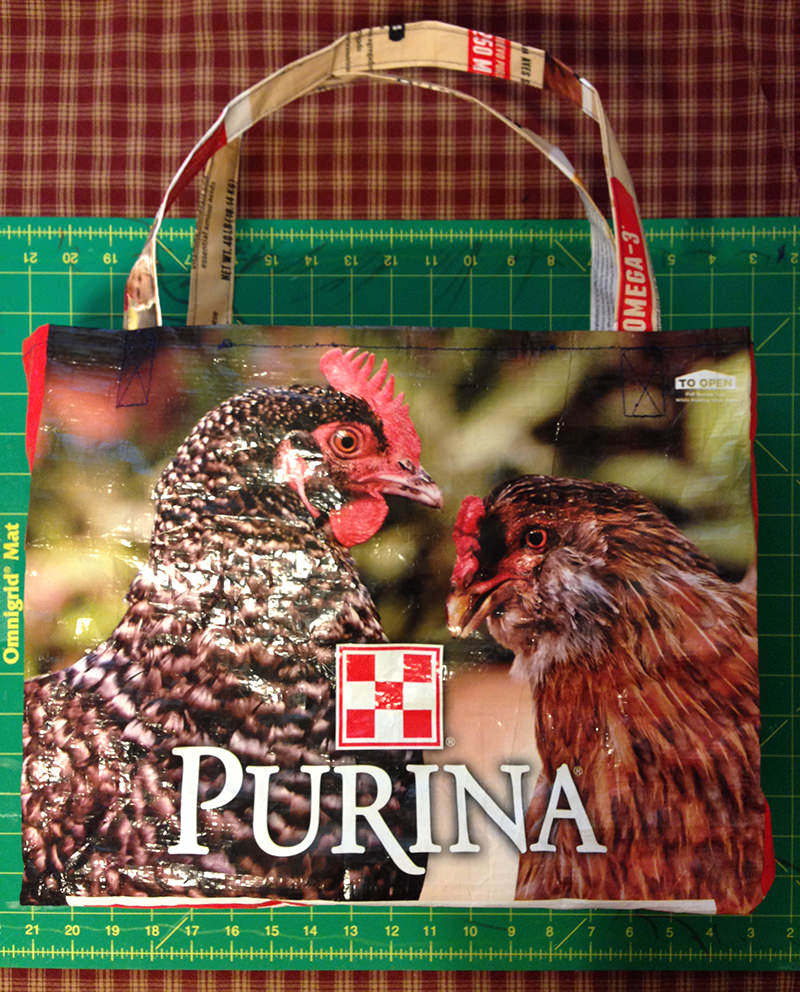
Constructing this bag is a big of a struggle, simply because the material is difficult to work with, but the finished bag, in all of its imperfection, is stronger and a more convenient size than all of the reusable bags I’ve purchased. You’ll love it!
