


 Photo by Leslie Rutland/The Seasoned Homemaker |
Decorating for the holidays can be magical. Christmas trees and twinkly lights make everything so special. However, after decorating my house, it always seems that some of my furnishings don’t go so well with my holiday decorations.
There’s a way to make your everyday furnishings blend with all of the festive decorations—and it will take you less than an hour. Decorative holiday pillows will give your furnishings that completed holiday feel that you desire.
Sewing a few envelope pillow covers made to match your holiday décor is easy and inexpensive. I simply recover pillows that already sit on my sofa. They are standard 16- by 16-inch pillow forms that I purchased from a fabric store, but these covers can be made to fit any pillow you have in your house. If you can operate a sewing machine, then you’ll have no problem sewing them.
 Photo by Leslie Rutland/The Seasoned Homemaker |
Materials for One Cover:
- 1 fat quarter in a holiday fabric (for pillow front)
- 1/2 yard of coordinating fabric (for pillow back)
- thread
- pillow
To keep costs down, I used two fat quarters (cost $7) for my pillow fronts and drop cloth for the
pillow backs. I had the drop cloth in my stash, but a nice broadcloth would also work well. (Note: If you plan to use drop cloth, be sure to bleach and neutralize it first; otherwise, the color
isn’t very attractive.)
Making Your Pillow Covers:

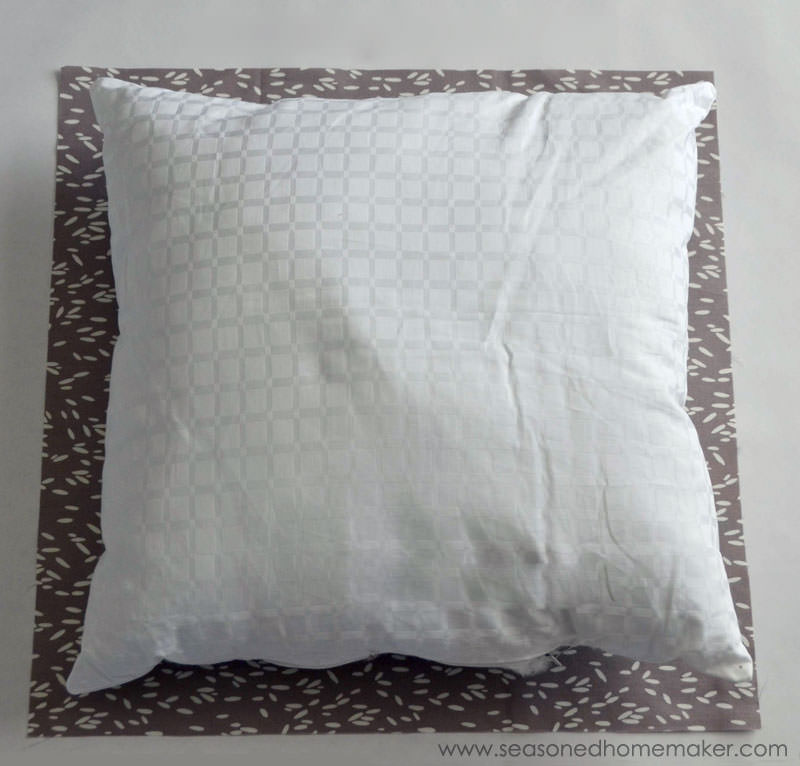 Photo by Leslie Rutland/The Seasoned Homemaker |
Cut a fabric square for your fabric for the pillow front that is 1 inch greater in length and 1 inch greater in
width than the pillow form. I cut out a piece that is 17 by 17 inches because my pillow form is 16 by 16 inches.
 Photo by Leslie Rutland/The Seasoned Homemaker |
Because this is an envelope cover, you will need a slightly wider fabric piece for the pillow back. To make the envelope part, follow this simple formula: Take your pillow form dimensions and
add 1 inch to the length and 5 inches to the width. For my pillow, that means cutting out a piece of fabric that is 17 by 21 inches.
Next, cut the back piece into half, leaving you with two 17- by 10½-inch pieces for my example. On each of the pillow back pieces, doublefold under the long (17-inch) edge of both pieces. Press and top stitch.
With right sides together, place the two back pieces on top of the front pieces. The finished
edges should overlap and give you the envelope effect.
Using a 1/2” seam allowance, stitch around the entire pillow cover. Turn and press.
 Photo by Leslie Rutland/The Seasoned Homemaker |
Putting together the pillow cover is easy. For more detailed instructions, see my tutorial How
to Make an Envelope Pillow that explains all of the steps (with additional directions showing how
to sew a French seam).
| About Leslie Rutland Leslie is a serial sewist, master gardener, wannabe farmer, gluten-free food blogger, mom and grandmother who is in love with all things delightfully domestic. She joins the Craft Hub family every month with an easy sewing project that anyone can make. To see her most recent projects, keep in touch at The Seasoned Homemaker. |
