

They’re inexorable and unbidden: Catalogs, credit card offers and sundry circulars materialize in my mailbox nearly every day. I once dutifully drove them to a recycling center, but since I learned China no longer wants to deal with the world’s recyclables, I’ve wondered whether any of my post-consumer solid waste is even being repurposed. Unwilling to send all that paper to the landfill, I began letting my junk mail accumulate.
Eventually, desperation led to a Eureka! moment. Why not use the paper I don’t want to make new paper that I can use? As it turns out, this DIY process is fairly simple—and fun.
Equipment You Need to Make Paper
To recycle your own paper, gather some business-style envelopes—without the clear, plastic windows—as well as newspaper circulars and de-stapled catalogs to start. Run them through a paper shredder or cut them into small pieces by hand. Depending on the size and desired thickness of your handmade paper, a few cups of shredded junk mail can make six to 12 sheets.(Incidentally, there’s at least one type of paper you should not include in your homemade mix—receipts. Many of these are coated with chemicals that can penetrate your skin and interfere with endocrine system functioning.)
Other supplies you’ll need? An old blender, corn starch (so your finished paper takes ink better), a measuring spoon and cups, a papermaking mold (screen) and deckle (frame), a container large enough to accommodate your mold and deckle, a loose sheet of screen mesh, and some large, cotton rags. (Old T-shirts work well.) You also need two thick boards and some C-clamps or weights for pressing your paper.
Getting Started Making Paper

Blend three-fourths of a cup of shredded paper plus one teaspoon of corn starch and four to five cups of water. Don’t stop until the mixture is thick and pulpy. Pour this into your large container. Repeat these steps until the pulp level in your container is deep enough that you can easily submerge your mold and deckle. (Instead of a mold and deckle, you can use a window screen and an empty picture frame to form your paper sheets.)
Agitate the pulp bath to more evenly distribute its contents. Then, holding the mold and deckle together with both hands, dip it into the container. Move it from side to side and up and down as you bring it up to the surface. This motion locks the fibers together in your paper.

Allow excess water to drain through the screening and then place the mold and deckle upright on a cloth to catch drips. Next, remove the deckle from the top of the mold.
Next Steps
Now, place a loose sheet of screen mesh over the wet sheet of paper and use a soft cloth or rag to blot excess water. Carefully remove the loose sheet of screen. (Keep in mind that as long as your paper sheets are wet, they are very fragile,)
There are many ways to dry handmade paper, and, while this one is very low-tech, it isn’t perfect. (Some of my sheets look buckled, but I fix this by ironing them on a low setting.) Lay one of your boards on a flat surface. Cover with an absorbent cloth or several layers of rags and then invert the mold with the wet sheet of paper face down. Use another rag to blot the back of the mold’s screen. This helps loosen the sheet and lets you transfer it from the mold onto the dry surface. To dislodge my paper from the mold so it adheres to its new surface, I lightly strike the back of the mold with a flicking motion.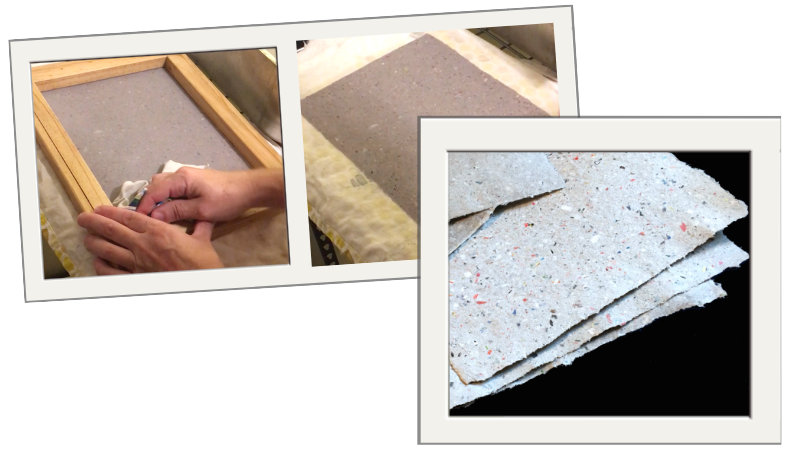
Remove the mold. Make sure the sheet is flat against the drying surface. Now, place another cloth over the top of the wet paper sheet, smoothing it carefully with your hands. Continue to layer dry cloths between the new, wet paper sheets you form. When you’ve finished, top with another absorbent cloth and place the other board on top. Use C-clamps to squeeze the boards tightly together or place weights on the top board.
Periodically replace some of the wet rags with dry ones and re-clamp everything. Once your sheets are mostly dry, you can smooth them out by ironing them (without steam) on a low setting.
Extra Help and Inspiration
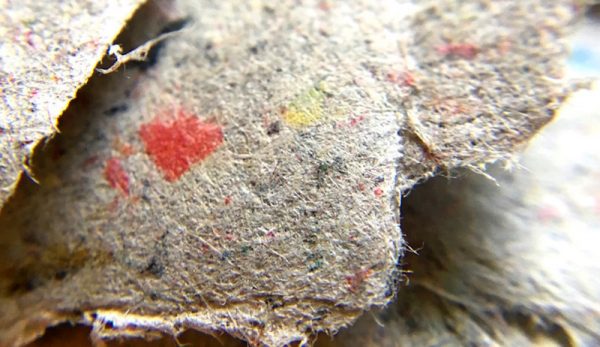
Although your paper won’t be archival or terribly fancy, it will be functional. Check out Trash-to-Treasure Papermaking for extra pointers. Also, to reduce the amount of junk mail you receive? Try these steps.
