Kale is one of the first garden veggies to produce a crop in early spring. Depending on the variety and your growing conditions, it can keep growing all season long. And, after other crops have petered out, that reliable kale patch can hang on well into late fall. Kale grows so prolifically, in fact, that you might not be able to eat all that you produce, leaving you to wonder how to preserve this produce superfood.
You don’t have to let it go to waste. Aside from giving your extras to friends, neighbors or your local soup kitchen, you can try these long-term storage techniques.
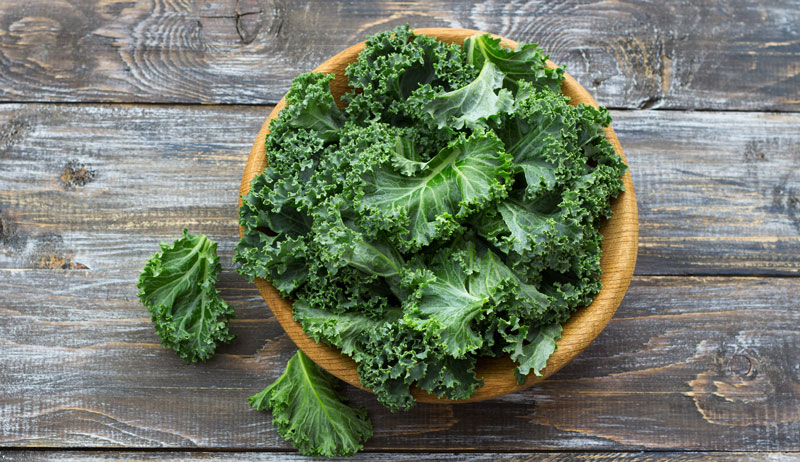
Freezing Kale
Freezing is one of the best ways to keep kale over the long haul, and it works well for all kale types. (This year, for example, I grew Lacinato, Siberian and Jersey kale varieties. Each of these freezes beautifully. However, because their overall leaf sizes and thicknesses vary, I prepared each kind separately before freezing.)

Susan Brackney
For the very best results, you should blanch your kale before you freeze it. “To blanch [kale], you put it in boiling water, then bring it right back out, and immerse it in ice-cold water,” Karen Richey explains. Richey is Health and Human Sciences Extension Educator with Purdue University.
“The philosophy behind blanching is that you have enzymes in your produce, and those enzymes have to be shocked,” Richey says. “You are shocking those enzymes to just kind of [say,] ‘OK. We’ve got to stop right now.’ By shocking the [enzymes] through blanching, you retain the color, you retain the flavor, and you retain the texture. So, it just improves the product.”
Shocking the enzymes that are naturally present in your produce also helps to retain more of its nutrients. It’s best to blanch your kale in small quantities within a boiling water bath rather than via steam. “If you steam blanch greens, the leaves can mat together and they may not blanch properly,” Richey notes.
To blanch kale, first rinse it thoroughly to remove any dirt or debris. You can leave tender, young leaves whole. But you’ll likely want to de-stem and chop larger, thicker leaves. So that every kale leaf is properly blanched, use a four-to-one ratio. That’s four cups of washed, packed kale leaves per one gallon of boiling water.
How to Blanch
Bring water to a boil, add kale leaves, and, once the water returns to a boil, start timing. For very large, thick leaves—think Jersey kale—allow three minutes in the boiling water bath. For thinner, more delicate leaves, blanch for up to two minutes.
Once the time’s up, remove the kale leaves and immediately plunge them into an ice-water bath. Allow the same amount of time for this part of the process as you did for boiling. So, if you boiled your kale for two minutes, you’ll also submerge it in ice water for two minutes.
As time’s up, simply drain and pack your kale into freezer-safe bags or containers. Once frozen, your kale can keep for up to a year.
Rather not mess with blanching? You can also add kale to your favorite soups and stews and then freeze servings of those prepared meals instead.
Read more: Try these rare and heirloom kale varieties for something new in the garden.
Canning Kale
As with other veggies, you can use a pressure canner to preserve kale. “You don’t need to add lemon juice to kale like you would if you were canning tomatoes,” Richey says. “But you do need a pressure canner, because kale is a low-acid food.”
For food safety’s sake, low-acid foods necessitate pressure canning, rather than preservation with a simple water bath canner.
Dehydrating Kale
Dehydrators vary, but, as a general rule, you should be able to process your kale at 125 degrees F for five or six hours. Periodically check the progress of kale leaves on individual shelves within your dehydrator, and increase dehydration time accordingly. Allow dried kale leaves to cool completely before putting them in an airtight container. Store the container in a cool, dark place.
As with other long-term storage methods, you’ll likely discover some kale varieties preserve better than others. Kale with thick, flat leaves may dry more uniformly than some of the curly-leaf types.
“When you dry kale, it can become very brittle,” Richey says.
Although they don’t keep quite as long as frozen or dehydrated kale, baking kale chips is another tasty way to preserve that bumper crop. Richey has had especially good results with the Lacinto varieties. “They have dark, blue-green leaves and a wrinkled texture,” She says. “That one works the best for chips.”
Read more: Keep an eye out for these 4 kale pests.
Keep It Growing
Put in a little extra effort this fall, and you may be able to keep your kale producing all winter long. I’ve had great results growing Russian and Siberian kale varieties outside under heavy, clear plastic.
You can use old tomato cages or PVC pipe to create tunnel armatures and then cover with plastic sheeting. I’ve secured my plastic sheeting with landscaping staples.
You’ll still need to water your plants as needed. And, during unseasonably warm winter days, you may also want to open up some of the plastic to allow for extra air flow.


