Making artisanal bread is easy and nearly foolproof when baked in a cast-iron Dutch oven with a lid. The even heat and heat retention of cast iron provides the ideal environment for creating a loaf with a soft, airy inside, and the Dutch oven lid helps trap the steam of the baking bread, giving us that crunchy, lightly browned crust.
Cast-iron cooking has long been preferred by farmstead chefs. In many cases, well-seasoned and cared-for cast-iron pots and pans can last for many generations, passed along from great-grandmothers to grandmothers to mothers to daughters and, these days, sons. Like saving and sharing heirloom seeds, cooking with cast iron brings people together.
For those new to cast iron, there are a few essentials for caring for your cookware, according to Lodge Cast Iron, a manufacturer of modern cast-iron cookware:
- Wash cast iron by hand with mild soap or none at all.
- Dry promptly and thoroughly with a lint-free cloth or paper towel.
- Rub with a very light layer of vegetable oil, preferably while the cookware is still warm.
- Hang or store cookware in a dry place.
If you find an old, rusty cast-iron skillet or Dutch oven at a farm auction or secondhand store, snatch it up quickly. They’re simple to restore and re-season.
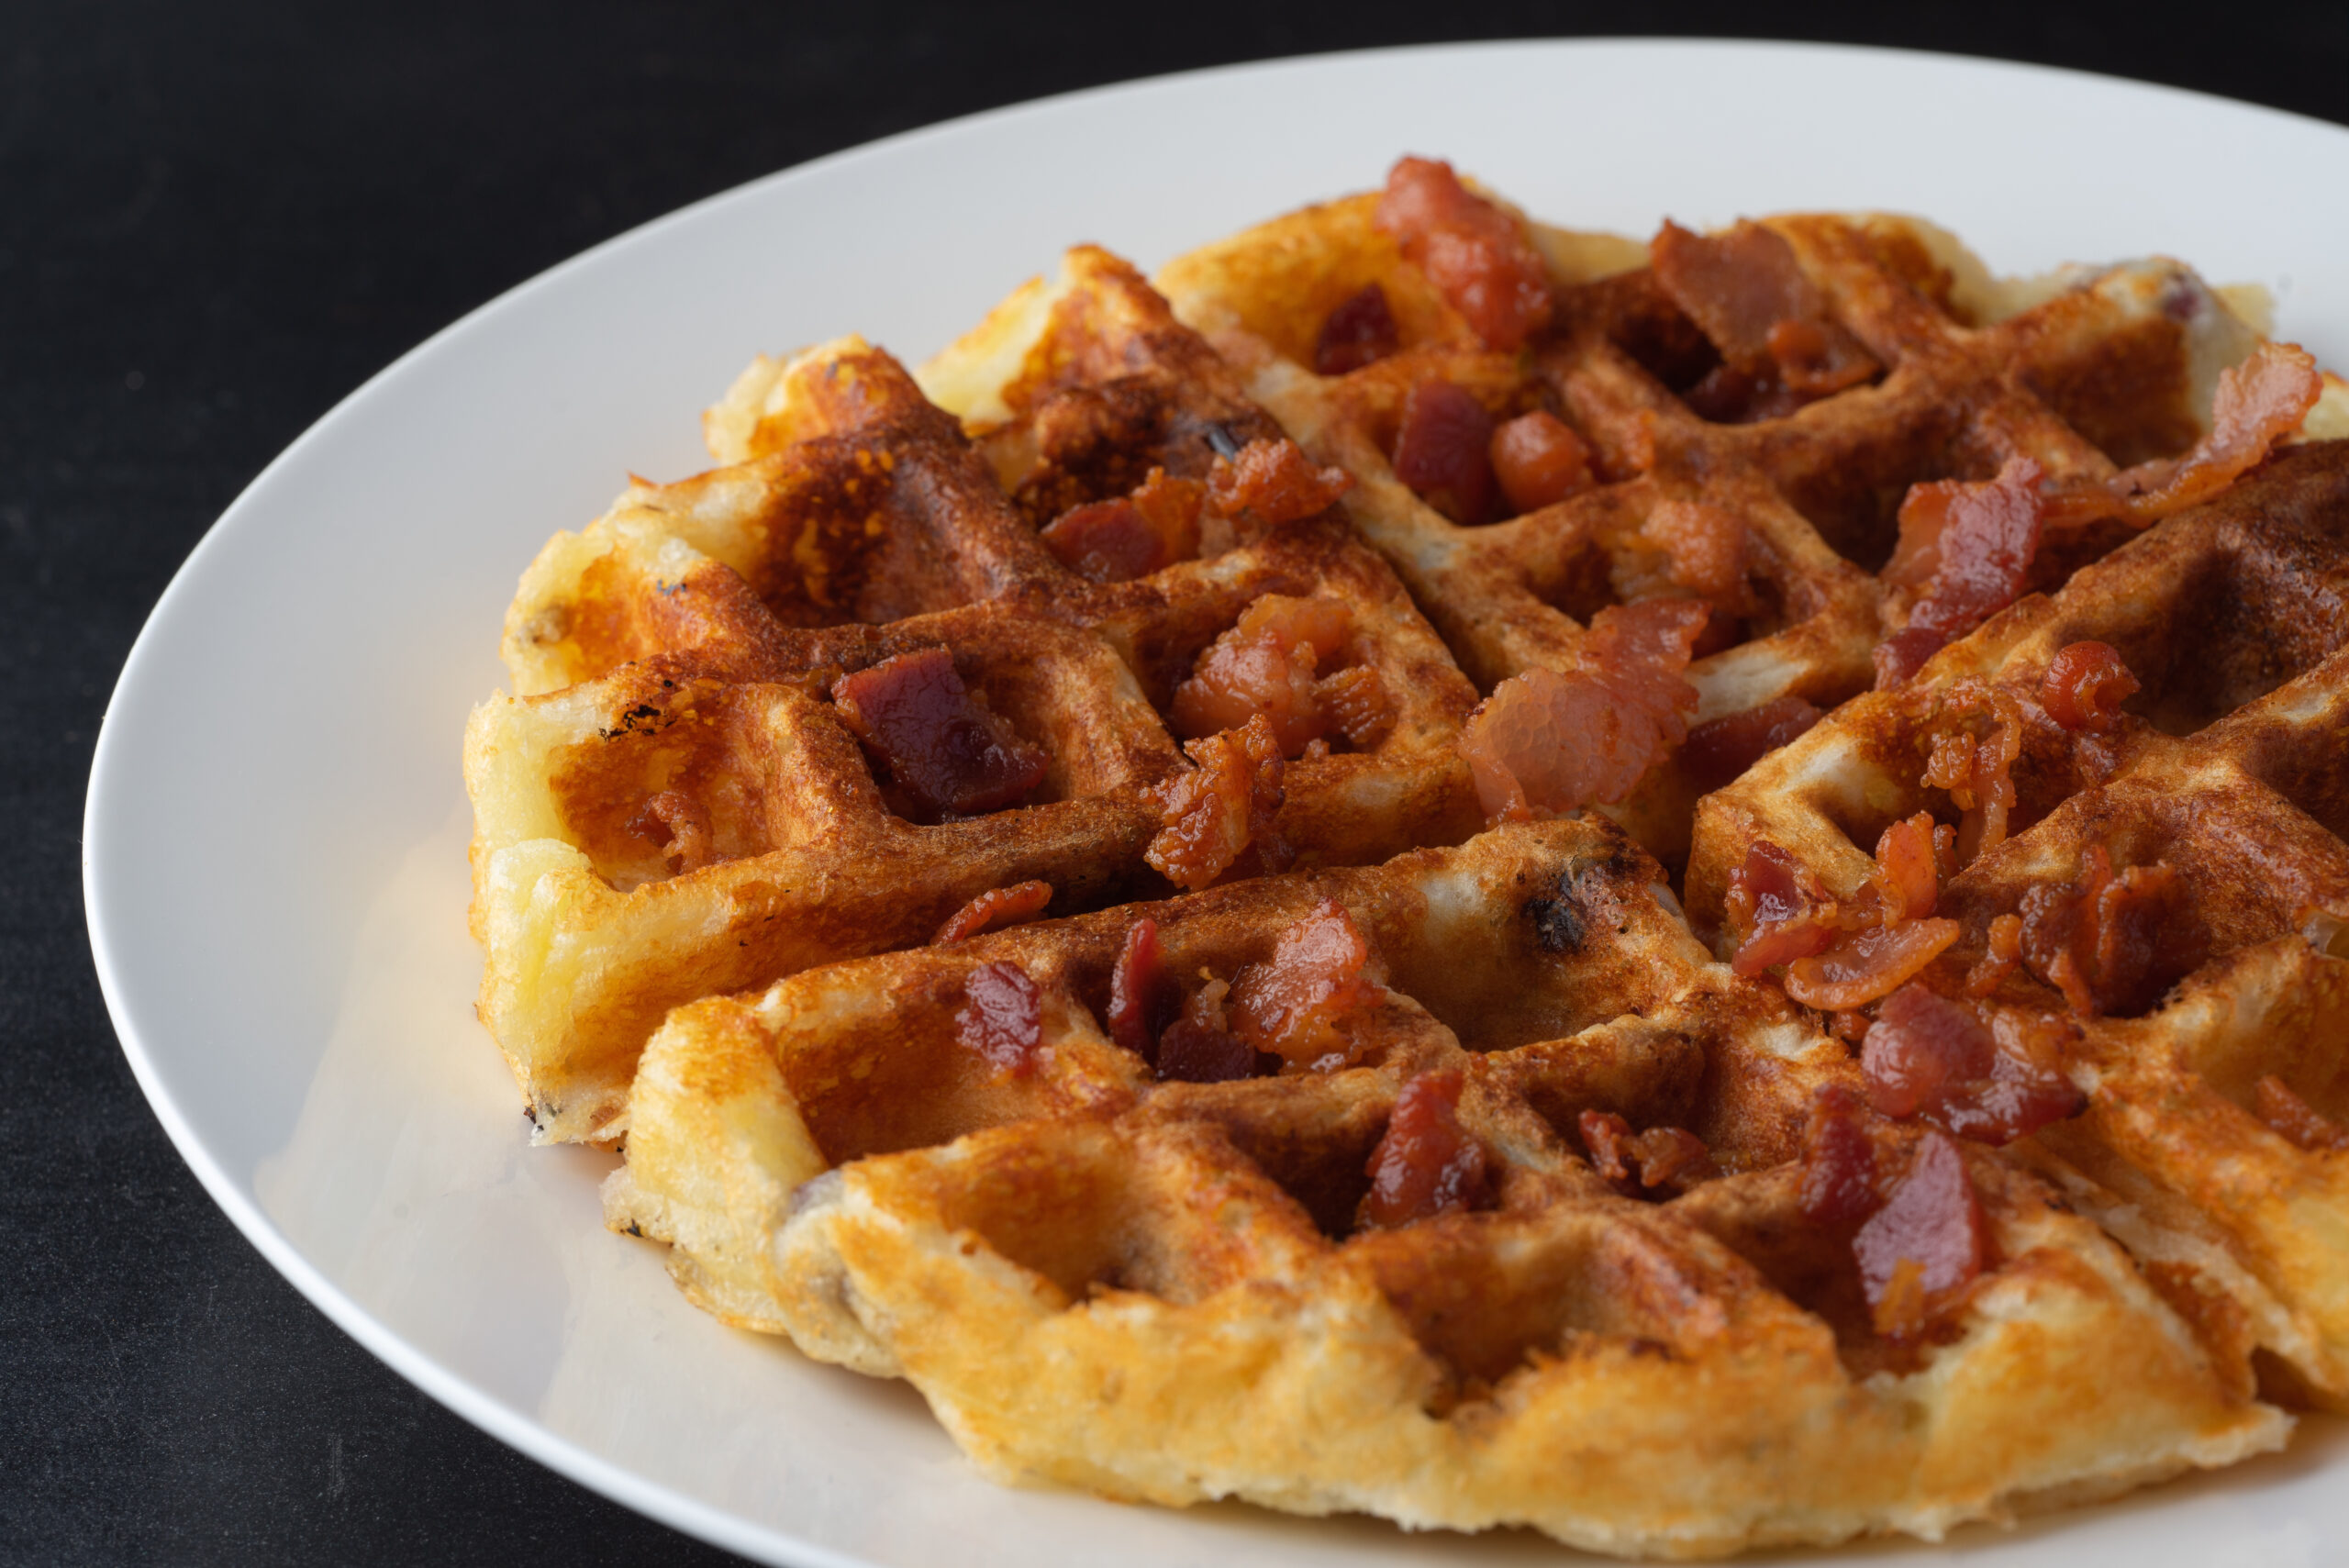
The artisan bread recipe below was shared with us by Roger Doiron, founder of Kitchen Gardeners International. It’s perfect for serving this winter along with your favorite soup. If you don’t have a go-to soup recipe, try one of our favorites: Golden Squash and Sweet Potato Soup, Kale Leek Soup or BLT Soup.
Recipe: No-Knead Dutch Oven Artisan Bread
Courtesy Roger Doiron
Yield: One 1½-pound loaf
Ingredients
- 1/4 tsp. active dry yeast
- 1½ cups warm water
- 1/2 cup whole-wheat flour
- 2½ cups white flour, plus extra for dusting
- 1½ tsp. salt
- cornmeal or wheat bran for dusting
Preparation
In large bowl, dissolve yeast in water. Add flour and salt, stirring until blended. Dough will be shaggy and sticky. Cover bowl with plastic wrap. Let the dough rest at least 8 hours, preferably 12 to 18 hours, at warm room temperature (about 70 degrees F).
When dough’s surface is dotted with bubbles, it’s ready. Lightly flour work surface and place dough on it. Sprinkle dough with some flour and fold it over on itself once or twice. Cover loosely with plastic wrap and let it rest for about 15 minutes.
Using just enough flour to keep dough from sticking to work surface or your fingers, gently shape it into ball. Generously coat a clean dishtowel with flour, wheat bran or cornmeal. Put the seam side of the dough down on the towel and dust with more flour, bran or cornmeal. Cover with another towel and let rise for 1 to 2 hours, until dough is doubled in size and doesn’t readily spring back when poked.
Preheat heat oven to 475 degrees. Put 6- to 8-quart Dutch oven in oven as it heats.
When the dough is ready, carefully remove pot from oven and lift off lid. Slide your hand under towel, and turn dough into pot, seam side up. Dough will lose its shape a bit, but that’s OK. Firmly shake pan once or twice help distribute dough evenly, but don’t worry if it’s not perfect; it will straighten out as it bakes.
Cover and bake for 30 minutes. Remove lid and bake an additional 15 to 20 minutes, until loaf is beautifully browned. Remove bread from Dutch oven and let it cool on rack at least 1 hour before slicing.
Learn more about cooking with cast iron on HobbyFarms.com:
- 7 Tips for Cooking with Cast Iron
- 4 Cast-Iron Kitchen Accessories
- 8 Foods That Taste Better in Cast Iron
- 3 Soups That Flaunt Cast Iron’s Versatility
- Clean Rusty Cast Iron—No Self-cleaning Oven Required