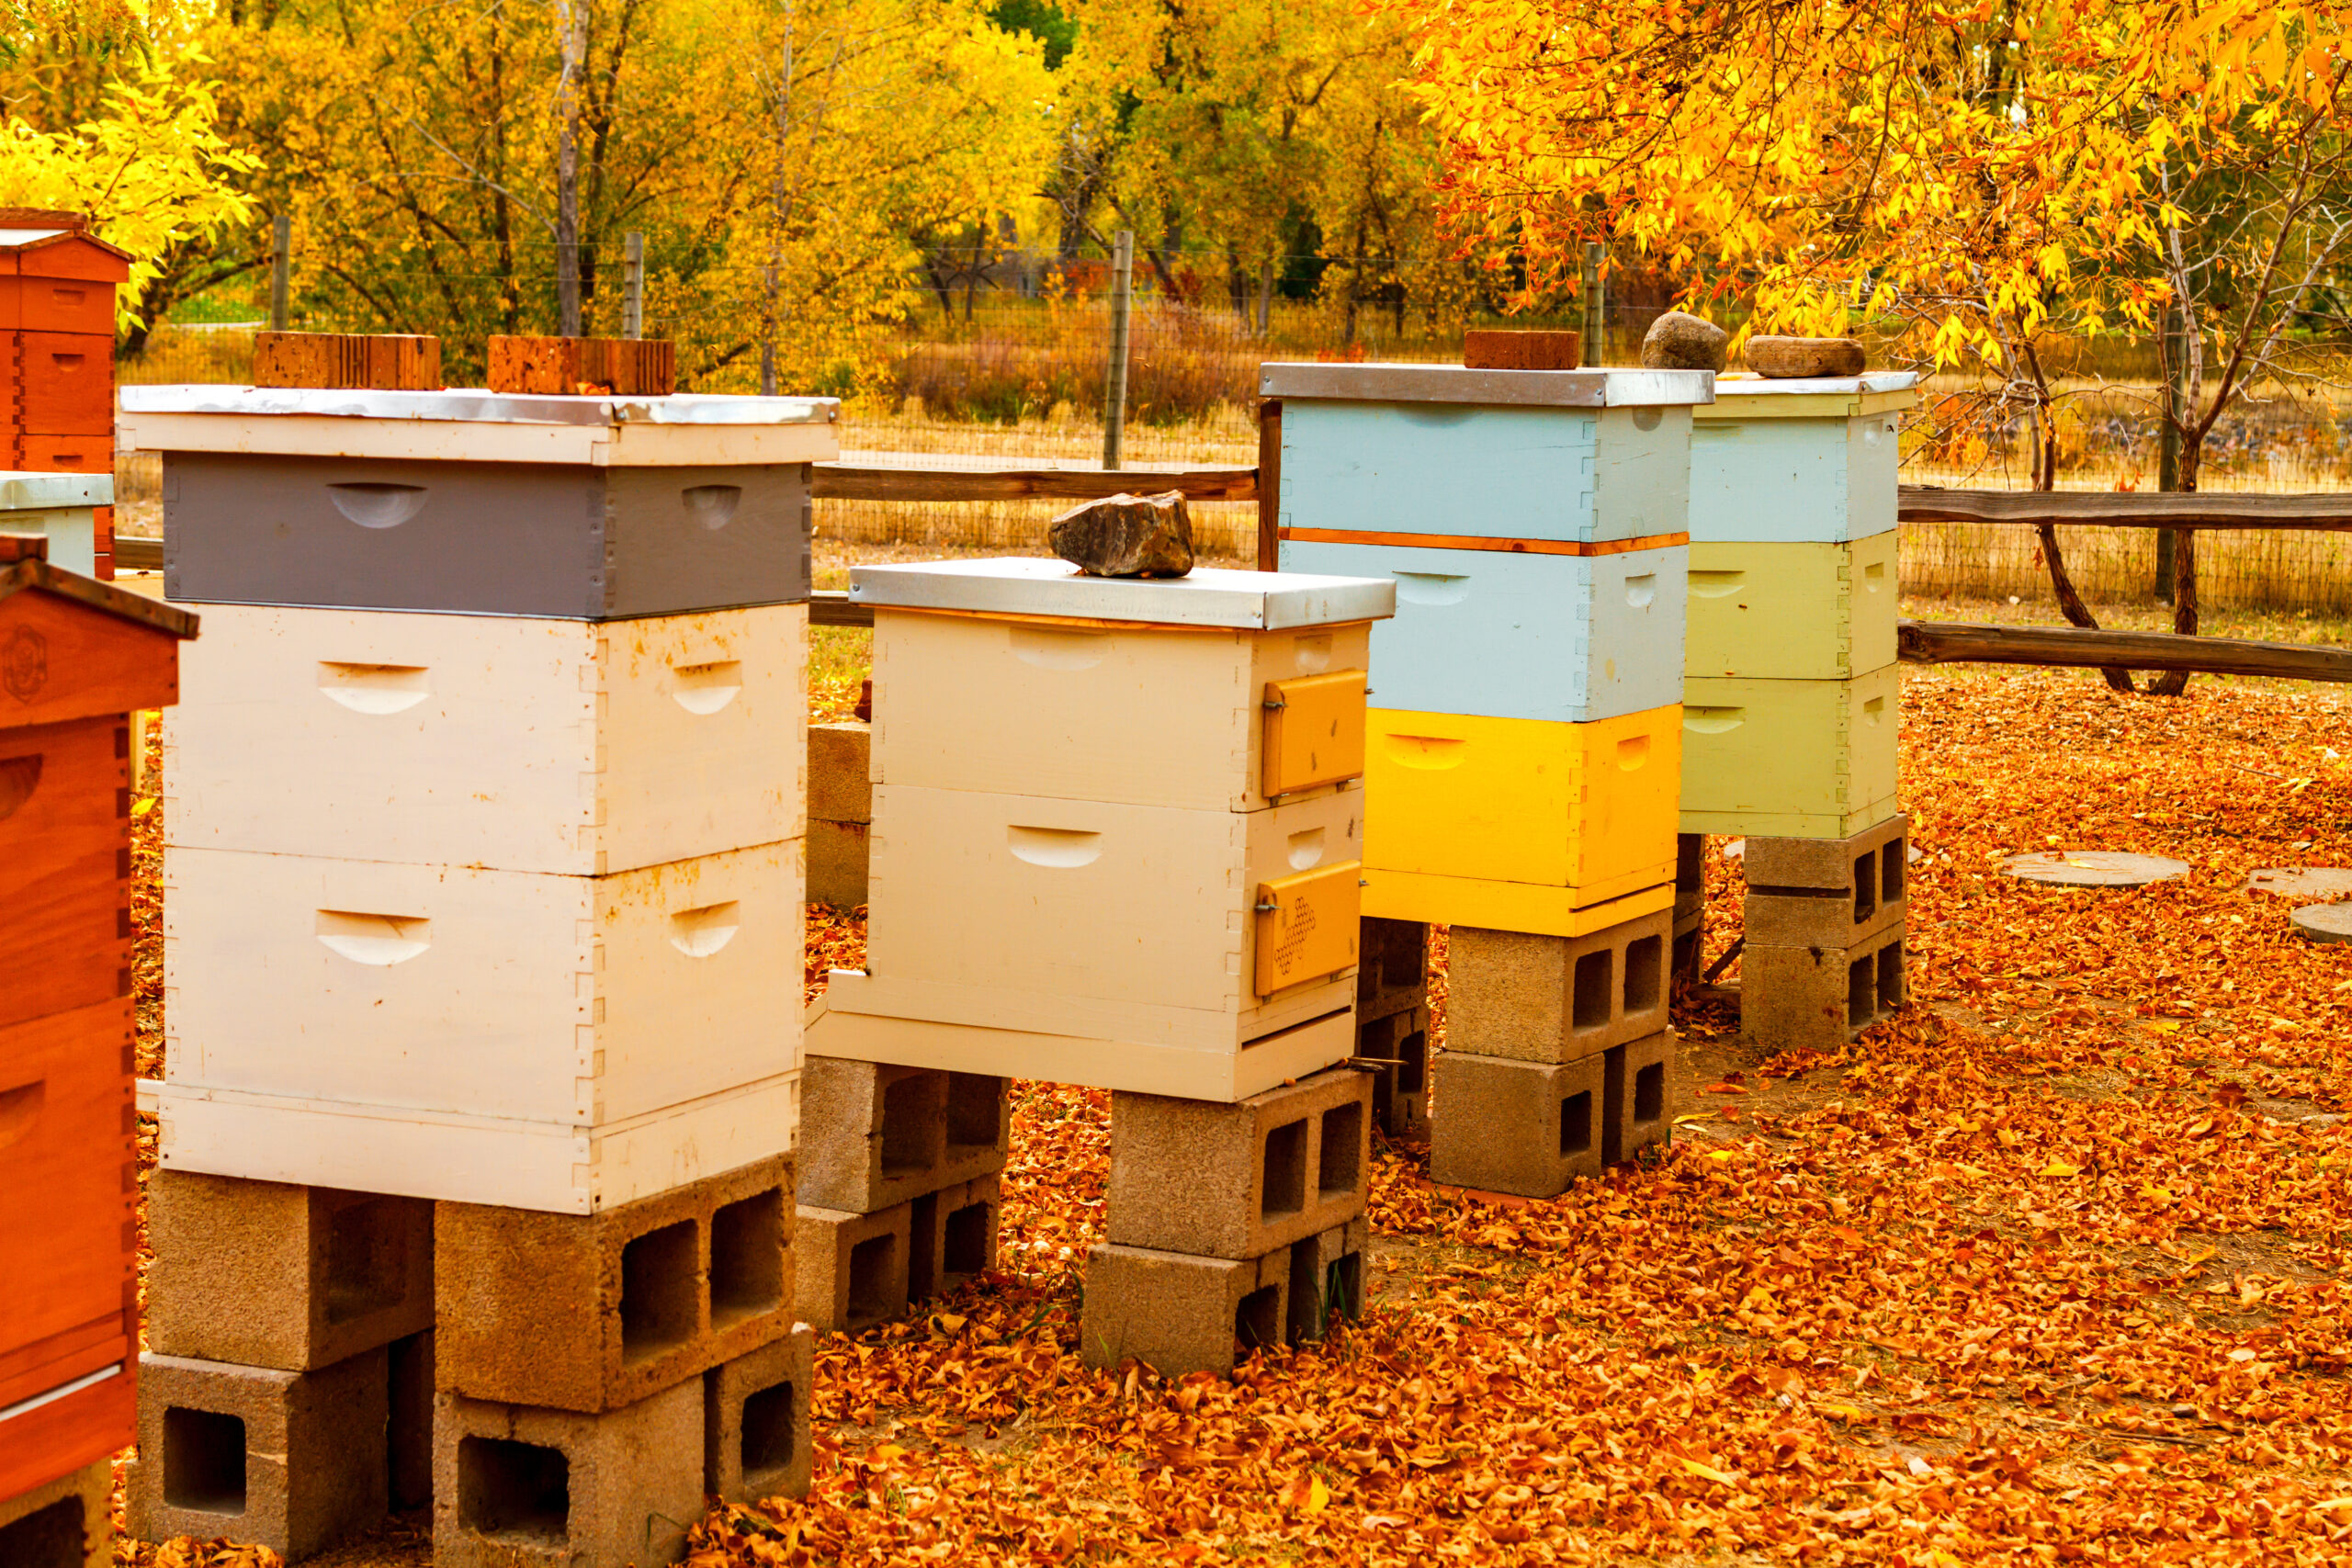
Making a split is one of the most economical and prescient ways to expand your apiary and thwart a colony’s swarming tendencies. Swarming gets a bad rap, but it’s really a wonderful thing—casting off a swarm is how a honeybee colony repopulates. And who doesn’t want more bees? As the name implies, a “split” is the process and result of creating two hives from one. There are many ways to go about it, and your preference depends on your experience and comfort level.
How does splitting prevent swarming?
When we create a split from a strong, “mother” colony, we are essentially taking out the bees that would have otherwise comprised the swarm. The urge to swarm kicks in when a hive has grown significantly, and it’s bursting out of its current home. By getting into the hive regularly, monitoring the amount of space the bees have and planning the split at the right time (late spring or early summer), you can accomplish two things simultaneously: Create another colony and keep the bees from swarming.
Can I make a split from any hive?
The short answer is no. The best candidate for a mother hive is one that is exceptionally strong and healthy—and typically, this means colonies that have survived at least a winter and are in their second year. Also consider that you might not harvest honey from a hive that you split—though of course, that depends fully on the hive’s strength and vigor as well as environmental factors.
What do I need to make a split?
You’ll need everything the first colony has. That includes a full hive box, with bottom board, inner and outer covers, the supers the size of your choice, and frames to fit them. All your hive tools and smokers can be used with both hives, but buy only new woodenware equipment for your new hive. Disease and pest infestations are notoriously persistent, and you don’t want to risk your new split getting off to a weak start. It’s worth repeating: Always start a new colony with fresh woodenware.
What goes into a split?
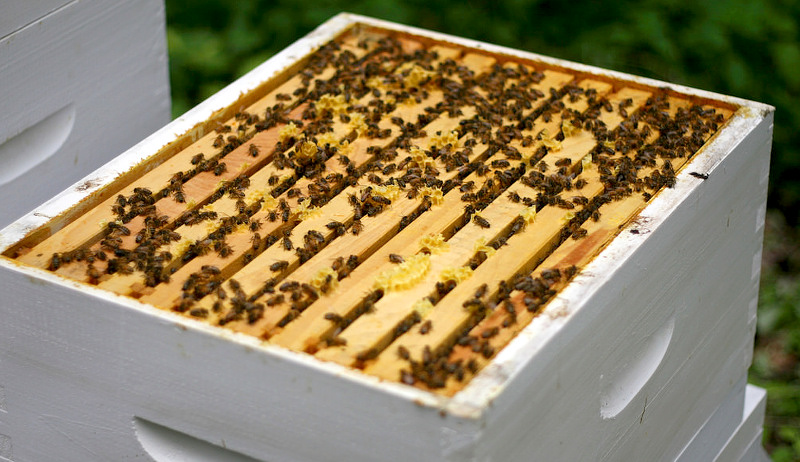
Essentially, you take out frames of brood in various stages of development, a few frames of honey and pollen, and several thousand bees. The bees need to be moved into the new hive, far enough away from the mother hive that they don’t go back to their old home. They also need the pheromones of a new queen to establish the new colony.
Where does the split’s queen come from?
This is a great question, and one that determines what kind of split you make. Sometimes called “the poor man’s split,” some beekeepers choose to simply move the frames and bees and let them rear their own queen with the eggs present in the brood frames. In my experience, this method is fairly taxing on the bees and less successful. You end up losing a lot of bees. I prefer to raise or purchase a mated queen and “install” her the way you would for a package installation. This ensures that your bees start off good, and it gives you an opportunity to diversify the genetics of your beeyard.
If you’re new to beekeeping, ask a mentor to be available on split day, or have that person join you for pointers. It’s also helpful to attend demonstrations in classes or watch other beekeepers conduct their splits and install their queens. Keep an eye on both colonies—the mother, and the split—as their lessened numbers could make them prone to robbing from outside bees and weaken their colony temporarily. When done responsibly, with frequent checks, splits are usually successful. It’s not hard to do, and once you get the hang of it, is a wonderful way to grow your apiary—fast.