In some parts of the country, garden beds and farm plots are still locked away in sheets of snow and ice. A peak outdoors might discourage the eager gardener, who is no doubt counting the days until the projected last frost, when they can finally get their hands into the soil. In truth, some gardeners are already launching their gardens indoors, working with starter soil and grow lights in anticipation of a fruitful spring harvest.
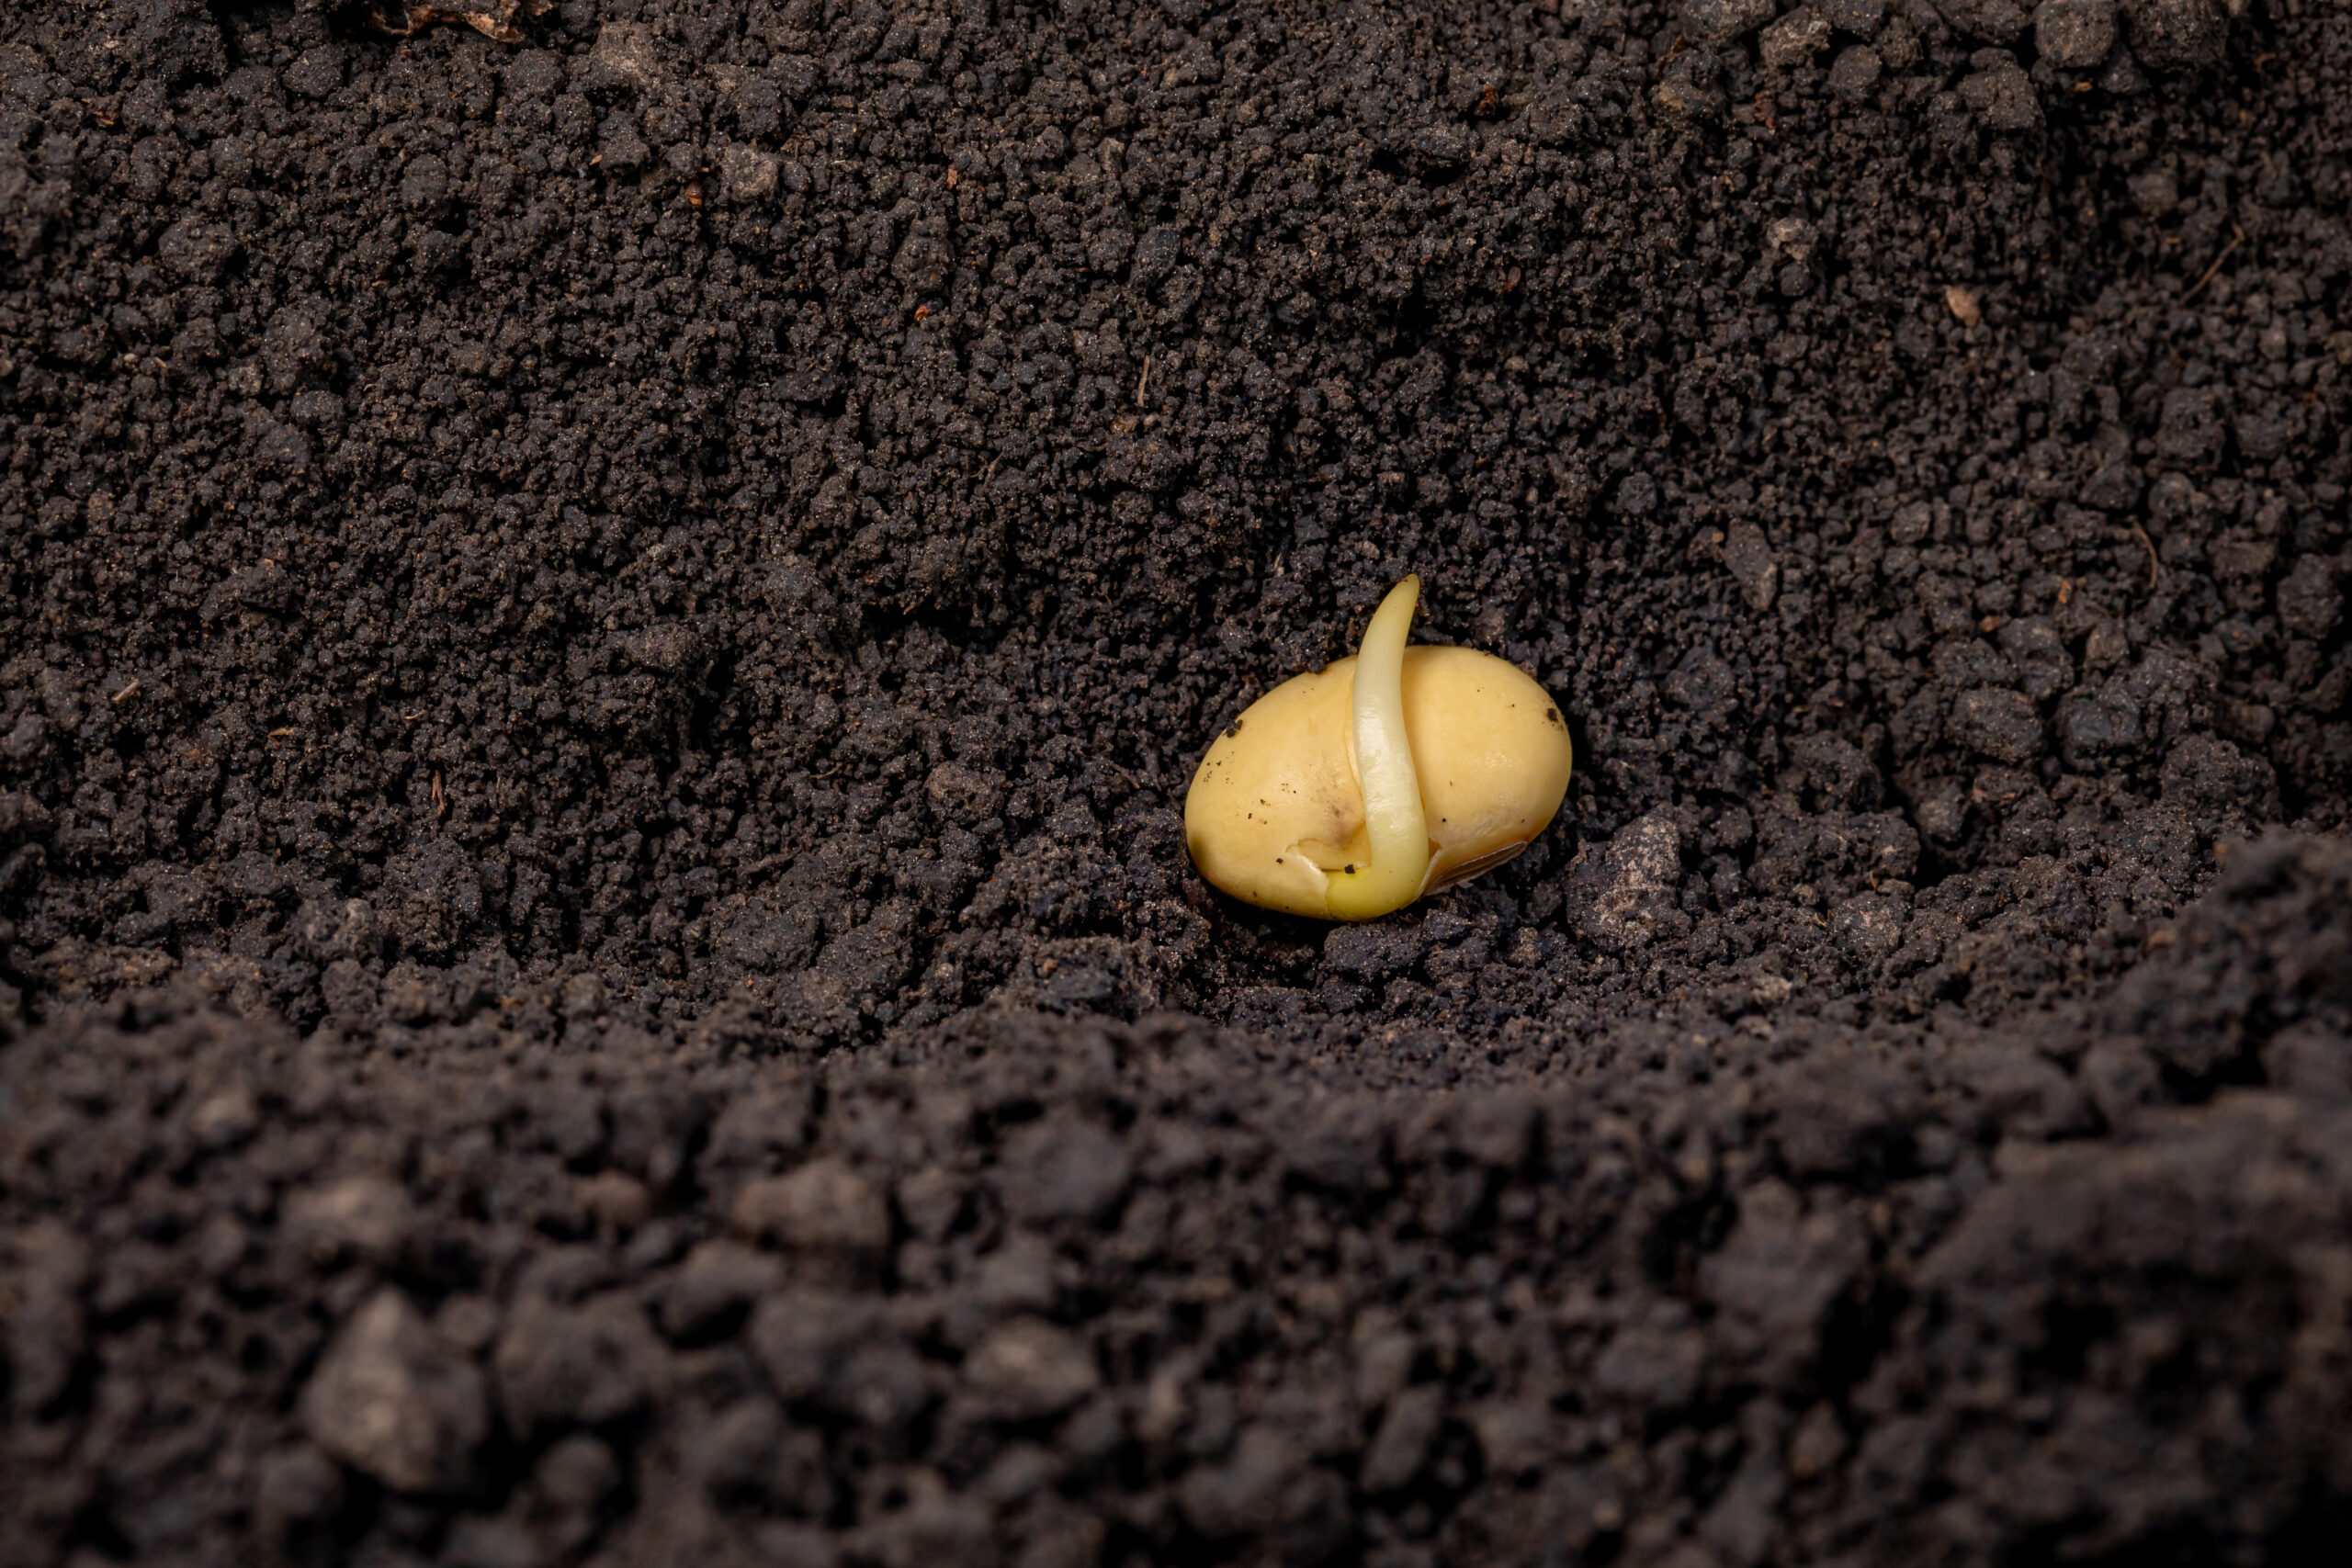
Believe it or not, it’s already time to start seeds indoors. Starting seeds is a gardener’s way of cracking open the door to the spring season and getting a jumpstart on a dynamic garden. Seed-starting is a weeks-long process that involves plotting out a garden timeline, collecting seeds, nurturing those seeds with the right amount of heat and light, watching them germinate, and gradually introducing them to the outdoors. There’s no greater reward for a gardener than to witness a tiny speck of a seed transform into a sturdy plant, which returns the favor of your labor by bearing delicious vegetables in a shorter amount of time.
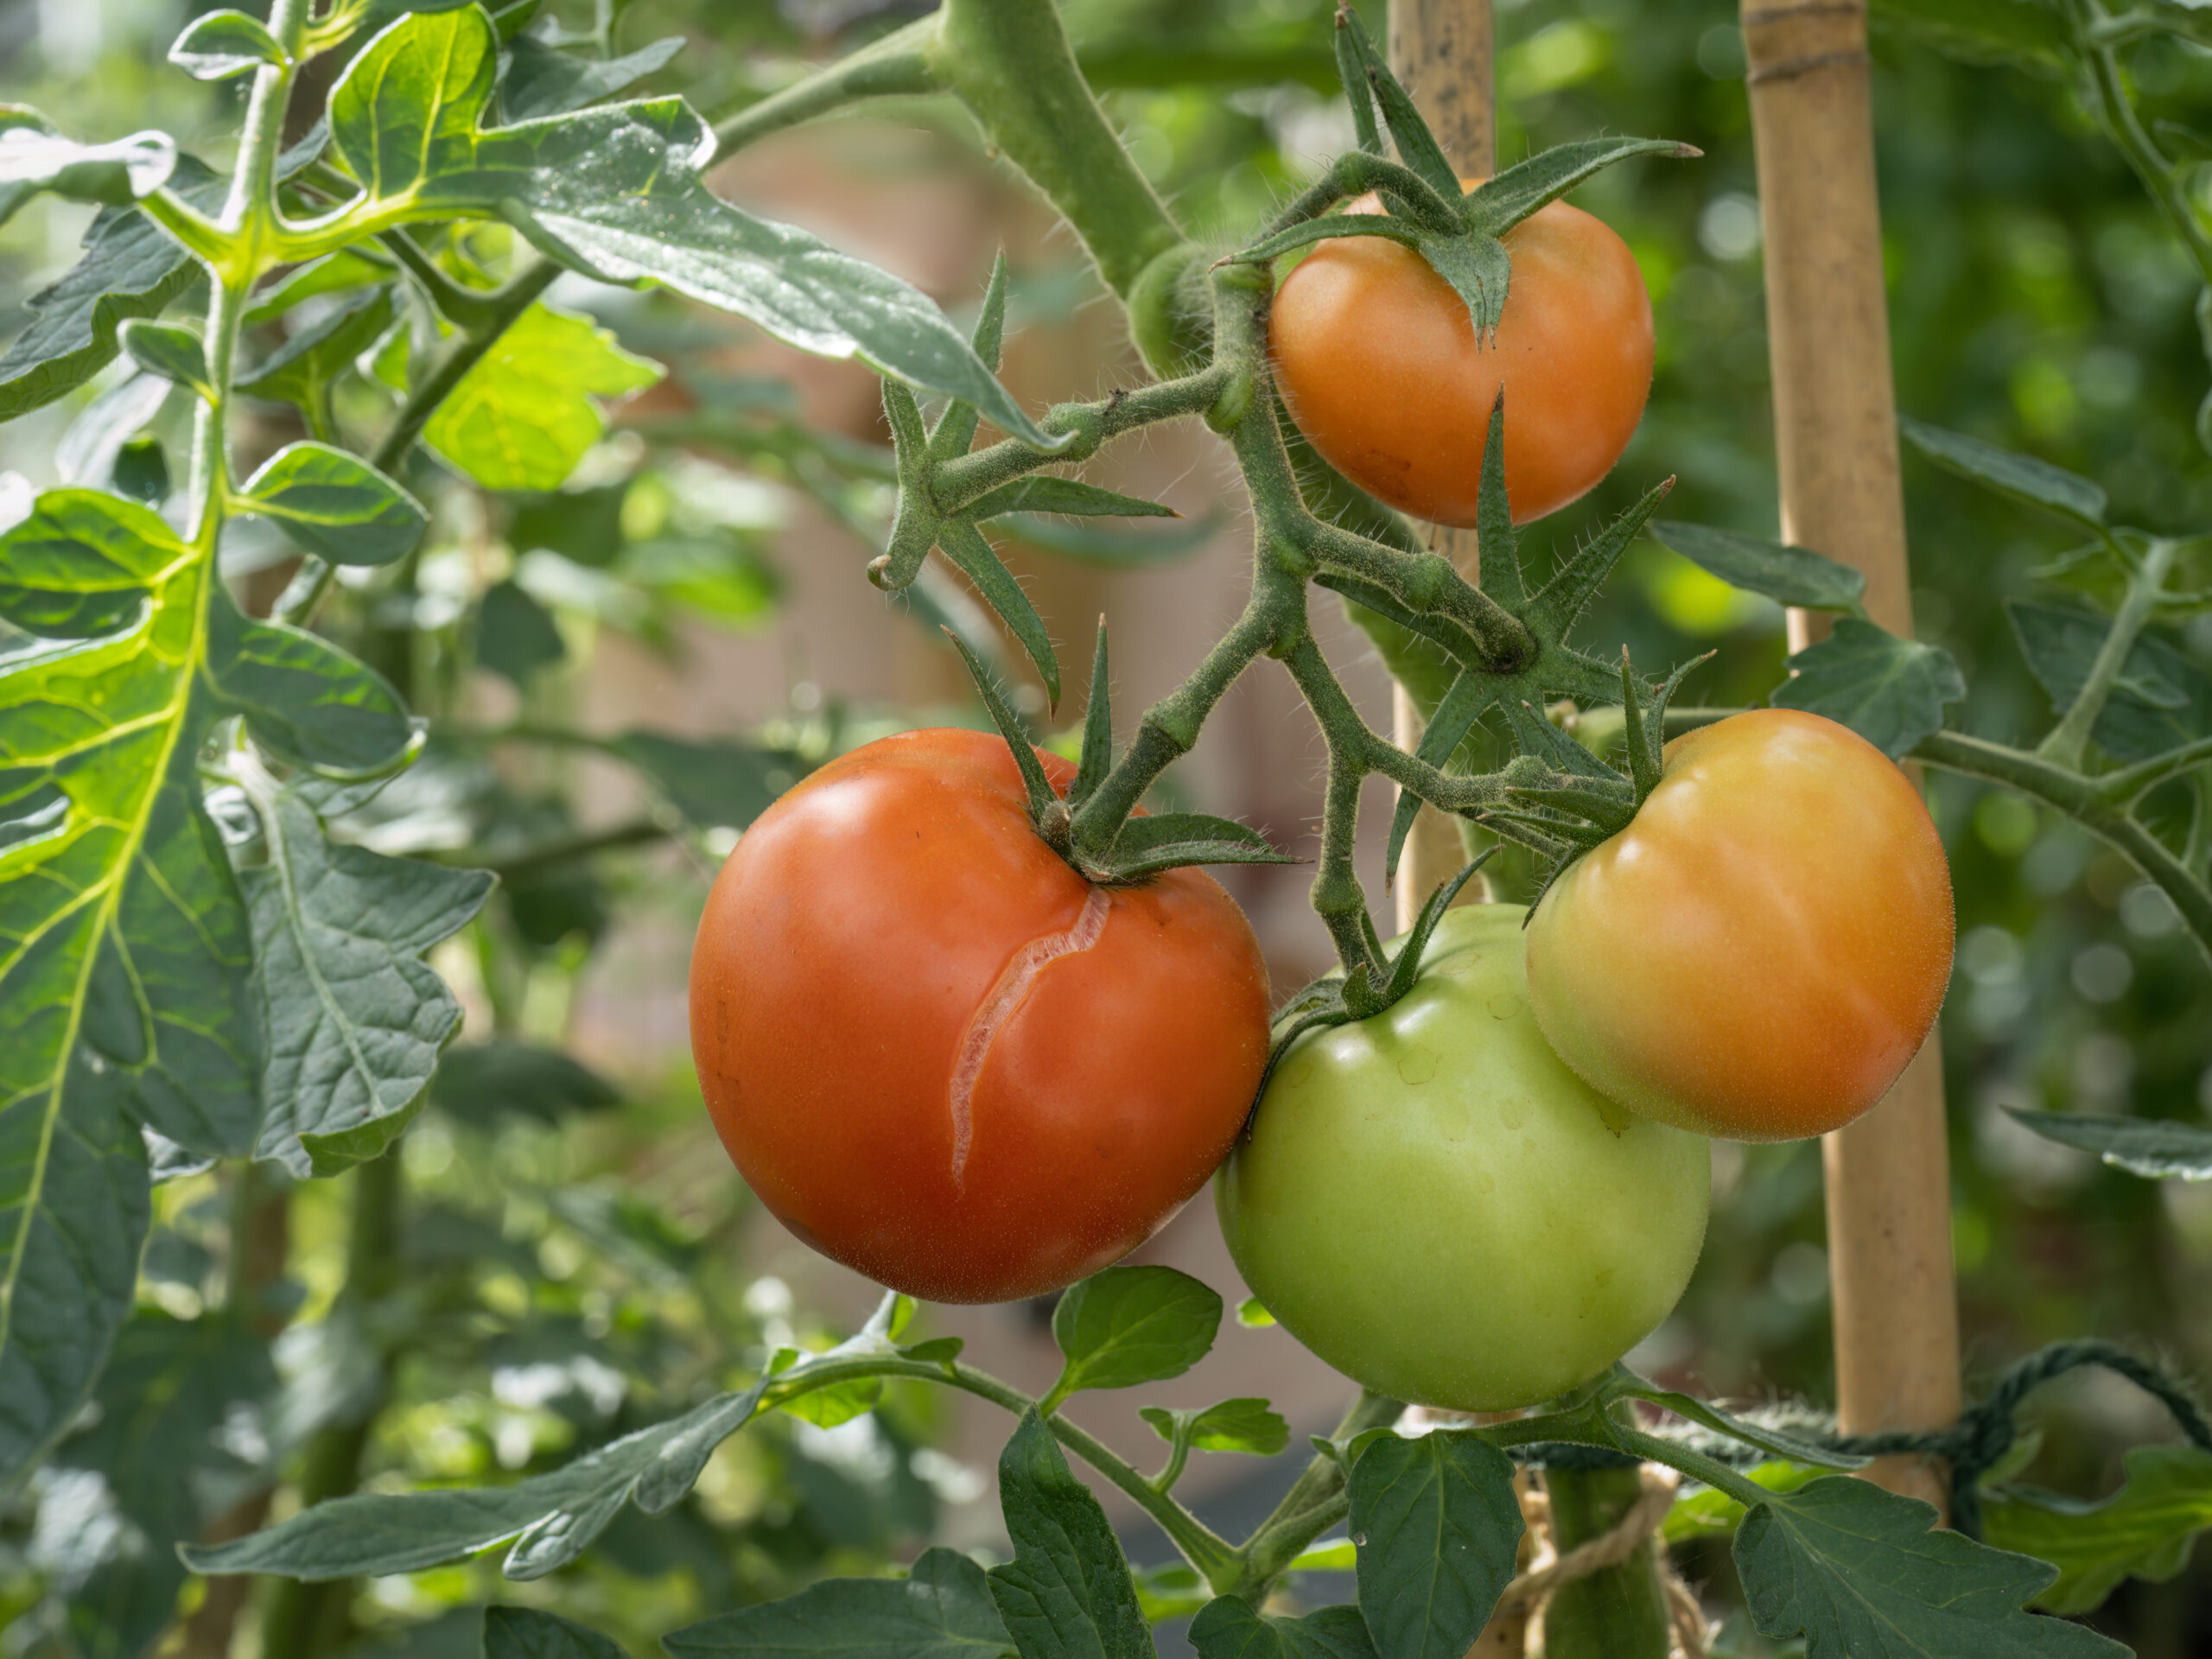
There are many crops that don’t require a head start, but those that could benefit include onions, peppers, tomatoes and eggplants, as well as members of the brassicas family, including broccoli, Brussels sprouts and cabbage. Some herbs and flowers could also benefit from germination indoors.
Naturally, starting seeds indoors requires extra work before the growing season begins. One crucial element is providing favorable light. While natural light is best, it’s not always possible for many gardeners (myself included) who are starting in a garage or basement. In these cases, the best solution is an overhead hood with T5 florescent lights. The closer to the plant you can get the light without scorching or burning, the better. Hanging and controlling the light’s position as the seedlings grow can be quite a balancing act without drilling into the ceiling or purchasing expensive equipment. This easy-to-build grow light hanging frame will allow you to hang and adjust your overhead light as your seeds transform into seedlings.
Materials You’ll Need:
- standard-size 2×4 (untreated) cut into the following pieces:
- – overhead cross beam piece: one cut at 4’ 3”
- – legs: two cuts at 2’ 6”
- – base pieces: two cuts at 1’ 4”
- support pieces: two 8” lath boards, cut at 45-degree angles at the ends
- grow light
- rope-and-pulley system with two clips (offered by light manufacturer)
- nails or screws
- eyebolts
Step 1
Use a nail or screw to attach the legs of the frame to the base pieces, inserting nails (or screws) at an angle into the base piece. Attach the cross beam to the top of the legs by inserting a nail at the top of the cross beam where it meets each leg. Reinforce the structure with additional supports between the leg and cross beam at a 45-degree angle.
Step 2
Attach your lath board support pieces where they fit into the 90-degree angles on each side of your support system. Insert angled nails where each lath board piece fits alongside the leg and the cross beam at a 45-degree angle.
Step 3
Where you insert eyebolts will depend on the size of your grow light. Your grow-light system should be equipped with metal clips and ties to hang the light from. Measure the length of your grow light to determine how far apart each eyebolt should be, then mark the distance on the cross beam piece. Drill holes and insert eyebolts, using a wrench to tighten the nuts. Attach the upper clips to the eyebolts and the bottom clips to the light, adjusting the length of the rope as desired, allowing the light to hang a few inches off the ground.
Now you can place your trays of seeds under the light and adjust the position of the light with the length of the ropes as they continue to grow.