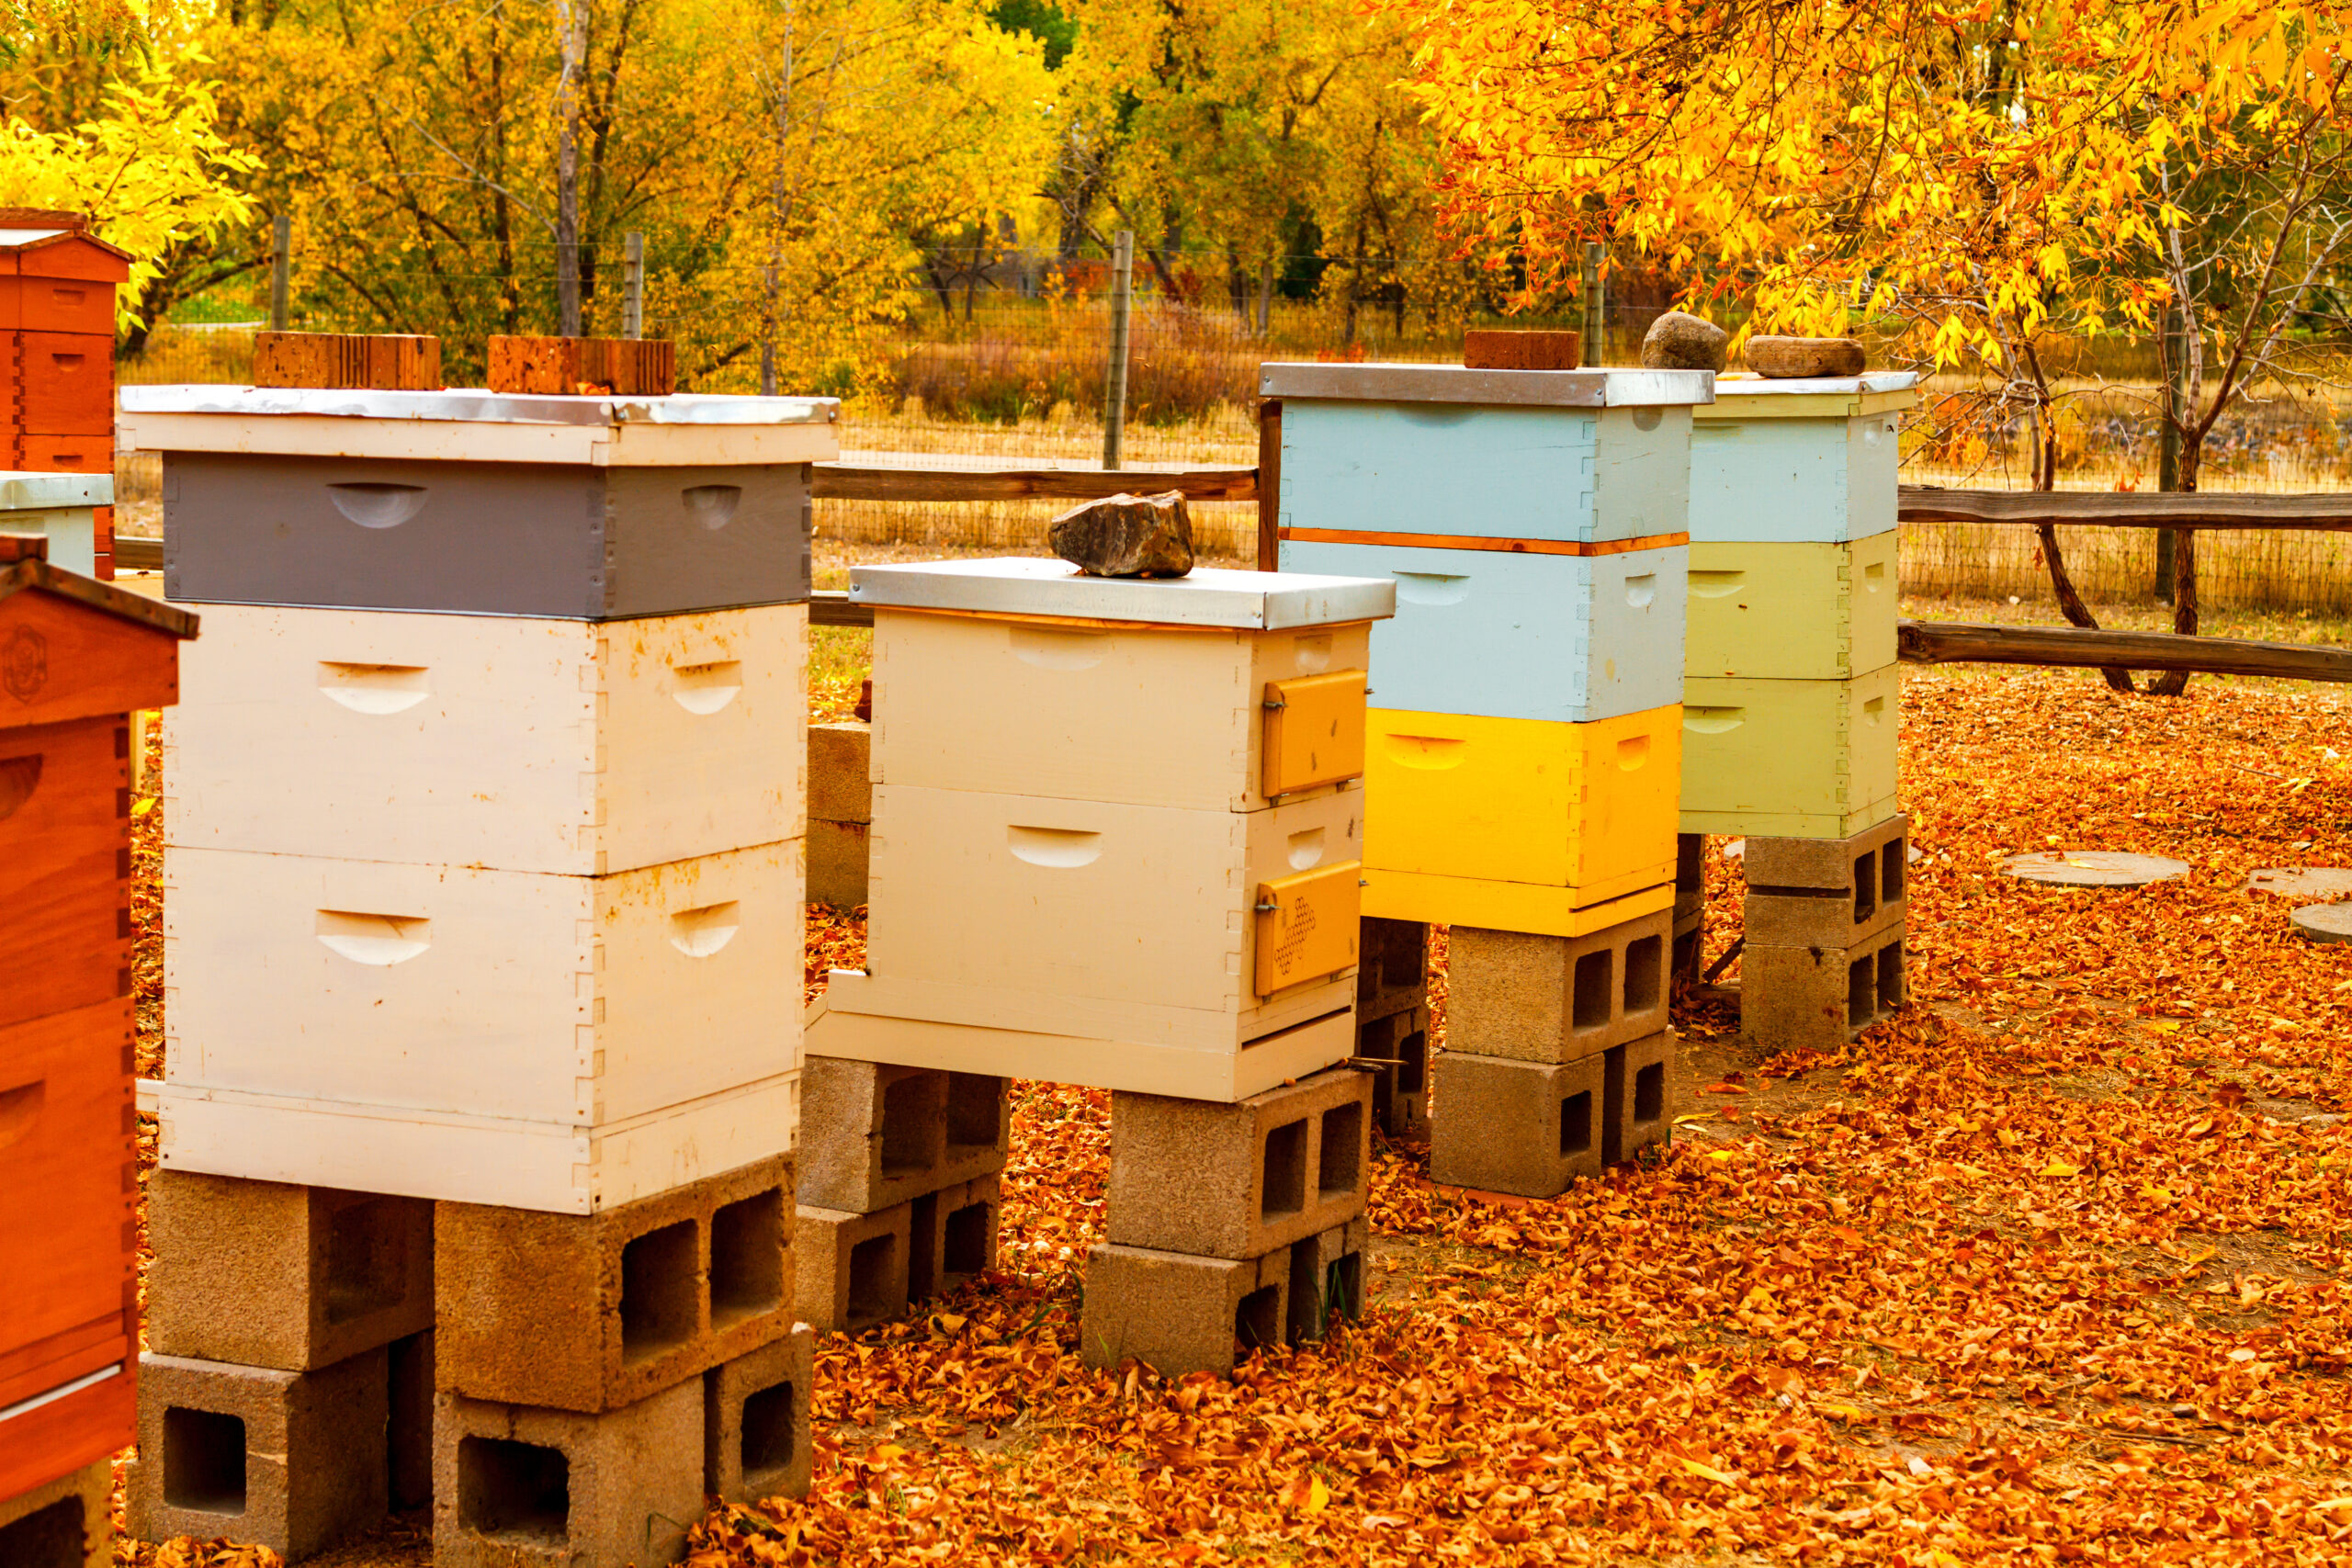
Top bar beehive style is distinct in shape and size. This popular style can easily be built at home with a few materials. They commonly feature a single, rectangular or tub-shaped hive body with parallel bars spanning the width of the opening. From each bar, bees build comb dangling down into the hive.
For many, top bar beekeeping is preferable because it focuses more on the natural state of the bees rather than the production of honey. Learning about and cultivating a practice that focuses on a more natural approach to beekeeping is the big draw to those who try their hand at using a top bar beehive.
The following plans are based on designs from beekeepers Carolyn Chaney from San Mateo, Calif.; Dean Cook from Houston, Texas; and Christian Torp from Lexington, Ky.
Also Read: Flexible Beekeeping: Top-Bar Hive Essentials & Extras
Project: Top Bar Beehive Level: Intermediate
Time: 8 hours
Materials
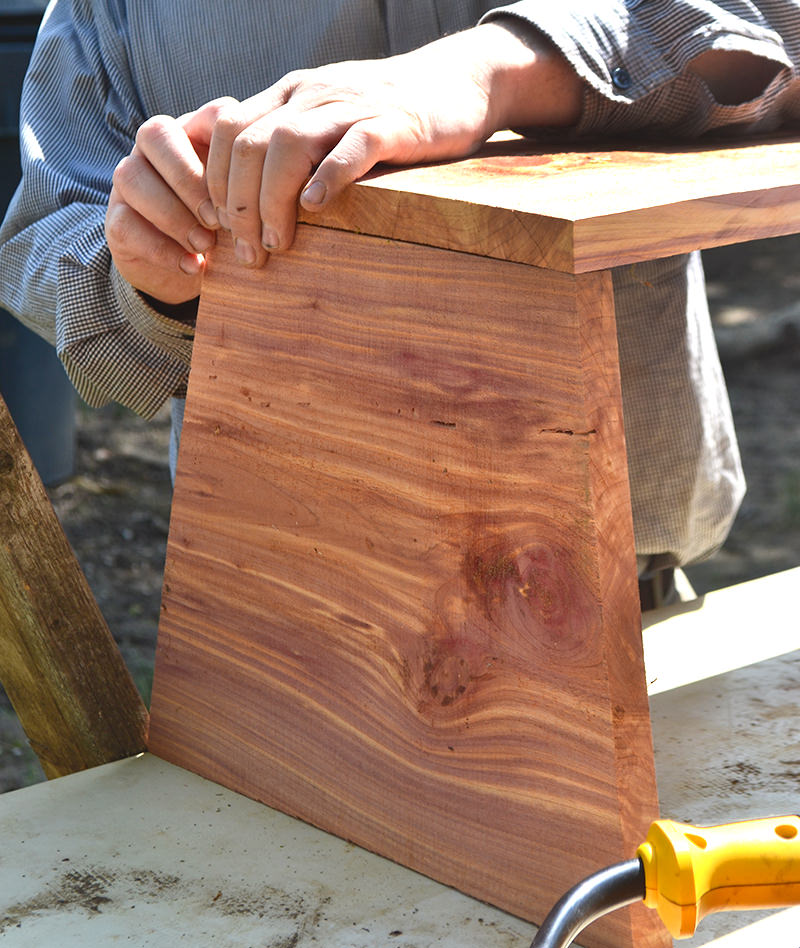
Make sure you use solid woods for your top bar beehive, such as cypress, cedar or plywood. The one photographed here was built with local cedar.
- 2 14½-by-12-by-1-inch pieces of lumber (for the hive end pieces)
- 1/2-inch hardware cloth
- 1 10-by-41-by-1-inch piece of lumber (for the hive base)
- 2 12-by-41-by-1-inch pieces of lumber (for the hive sides)
- 28 19-by-1⅜-by-1-inch furring strips (for top bars)
- 1 9-by-43-inch piece of lumber (for the lid)
- 1 box of wood screws (You’ll need between 15 and 25, depending on how close together you choose to use them.)
- exterior grade glue
- sheet of galvanized metal (for the lid)
- 28 strips of 16-by-3/4-inch plastic bee foundation, i.e., Plasticell
- cinder blocks (Use the number you need to raise your hive to a comfortable level. We used three on each side for this project, making six total.)
Tools
- framing square
- circular saw or table saw
- drill
- 1-inch hole saw
- wire clippers
- staple gun
- utility knife
Step 1: Cut Hive End Pieces

Rachael Brugger
Take one hive end piece. On one 14½-inch side, make a mark 2¼ inches from each end. Draw a straight line from the left corner of the opposite 14½-inch side to the left-side mark; draw another straight line from the right corner to the right-side mark. Using a circular or table saw, cut along the two lines, creating a 10-inch length on one side of the end piece that will attach to the base of the hive. Repeat with the other end piece.
Step 2: Attach Ends
Rachael Brugger
You’ll need to bevel the bottom piece to fit the slant of the side pieces. Line up one end piece on one 10-inch end of the base piece, so it’s flush with the edge. Pre-drill your wood screw holes with a narrow drill bit, then affix with exterior-grade glue and wood screws. Place a screw every 3 to 4 inches along the connecting edges for the proper fit. It helps to have another set of hands to securely hold the pieces while you glue and screw them in place. Repeat with the opposite end.
Step 3: Drill Bee Entrances

Rachael Brugger
With the 1-inch hole saw and the drill, cut two circular holes in one of the end pieces; this will become the front of your hive. The hole centers should be 2 inches from the bottom and 3 inches from each side. Clip two 1 1/2-inch squares of hardware cloth, and staple them to the inside of the end piece to secure the top bar beehive from rodents.
Step 4: Attach Sides

Rachael Brugger
Using the same process as with the end pieces, affix side pieces to the hive one at a time, applying glue and following that up with wood screws every few inches.
Step 5: Cut Grooves On Bars

Rachael Brugger
In each top bar, cut a 1/4-inch-deep groove down the center length using a table saw or router.
Step 6: Attach Foundation

Rachael Brugger
Place a strip of bee foundation inside each of the top bar grooves. Using wood glue (or melted beeswax for a nontoxic option), fasten the foundation into the grooves. The bees will build their comb onto this foundation, which will hang down into the body of the hive.
Step 7: Place Top Bars

Rachael Brugger
Arrange the top bars snuggly between the end pieces with the foundation pointing down. The top bar beehive top bars are intentionally left long to give you more leverage to remove them when checking combs and harvesting honey.
Step 8: Mount Hive

Rachael Brugger
Stack the cinder blocks in two columns where you want to site your hive. They’ll serve as the legs of your hive, raising it to a comfortable height for you to access, while keeping the untreated hive bottom off the ground. Place the hive onto the cinder blocks, readjusting the placements as needed for the hive to rest securely.
Step 9: Place Lid
Secure the metal sheet to the wood top to make your hive lid, and it on top of the hive to protect it from the elements.
Finishing Notes
Remember that this design should be a jumping-off point: If there’s something you don’t like, make your own customizations. For instance, Chaney and Cook vary the sizes of their top bars: Chaney alternates 1⅜-inch-wide bars with 1½-inch-wide bars to better manage her hive’s comb. Cook uses 1¼-inch-wide bars to encourage brood comb construction, and when the bees start building for and storing honey, he adds 1½-inch-wide bars to give the bees different space for honeycomb. If either of these ideas sounds preferable to you, give them a try!
Other customizable parts of the design could include building a hinged lid or legs instead of using cinder blocks. Tapering the legs at the bottom so they sink into the ground could offer added security.
Building your own top bar beehive puts you in charge as the beekeeper, so customize it as you see fit; just make sure you’re not compromising the hive by doing so. For example, for the safety of the bees, never paint the interior of a hive. If you’re using scavenged materials, you can paint the exterior, but leave the interior untreated.
Also Read: Langstroth vs. Top-Bar: Which Hive Is Better?
Managing a Top Bar Beehive

Rachael Brugger
Inspecting a top bar beehive is different than in Langstroth beekeeping. The comb hanging from the top bar is readily accessible and, at the same time, fragile. Chaney says that new hives need an inspection every few days to prevent cross-comb or crooked-comb construction. Once a hive is well-established, Chaney recommends reducing the inspection frequency from every few days to every three to four weeks.
“Over time, you will be able to judge the health of the hive without going the whole way into the brood chamber,” she explains. This lessens the impact on the brood chamber, preserves comb the bees are working so hard to build and enables the hive to remain focused on comb and honey. Chaney does a complete hive inspection once or twice a year.
This article about a top bar beehive was written for Hobby Farms magazine. Click here to subscribe.