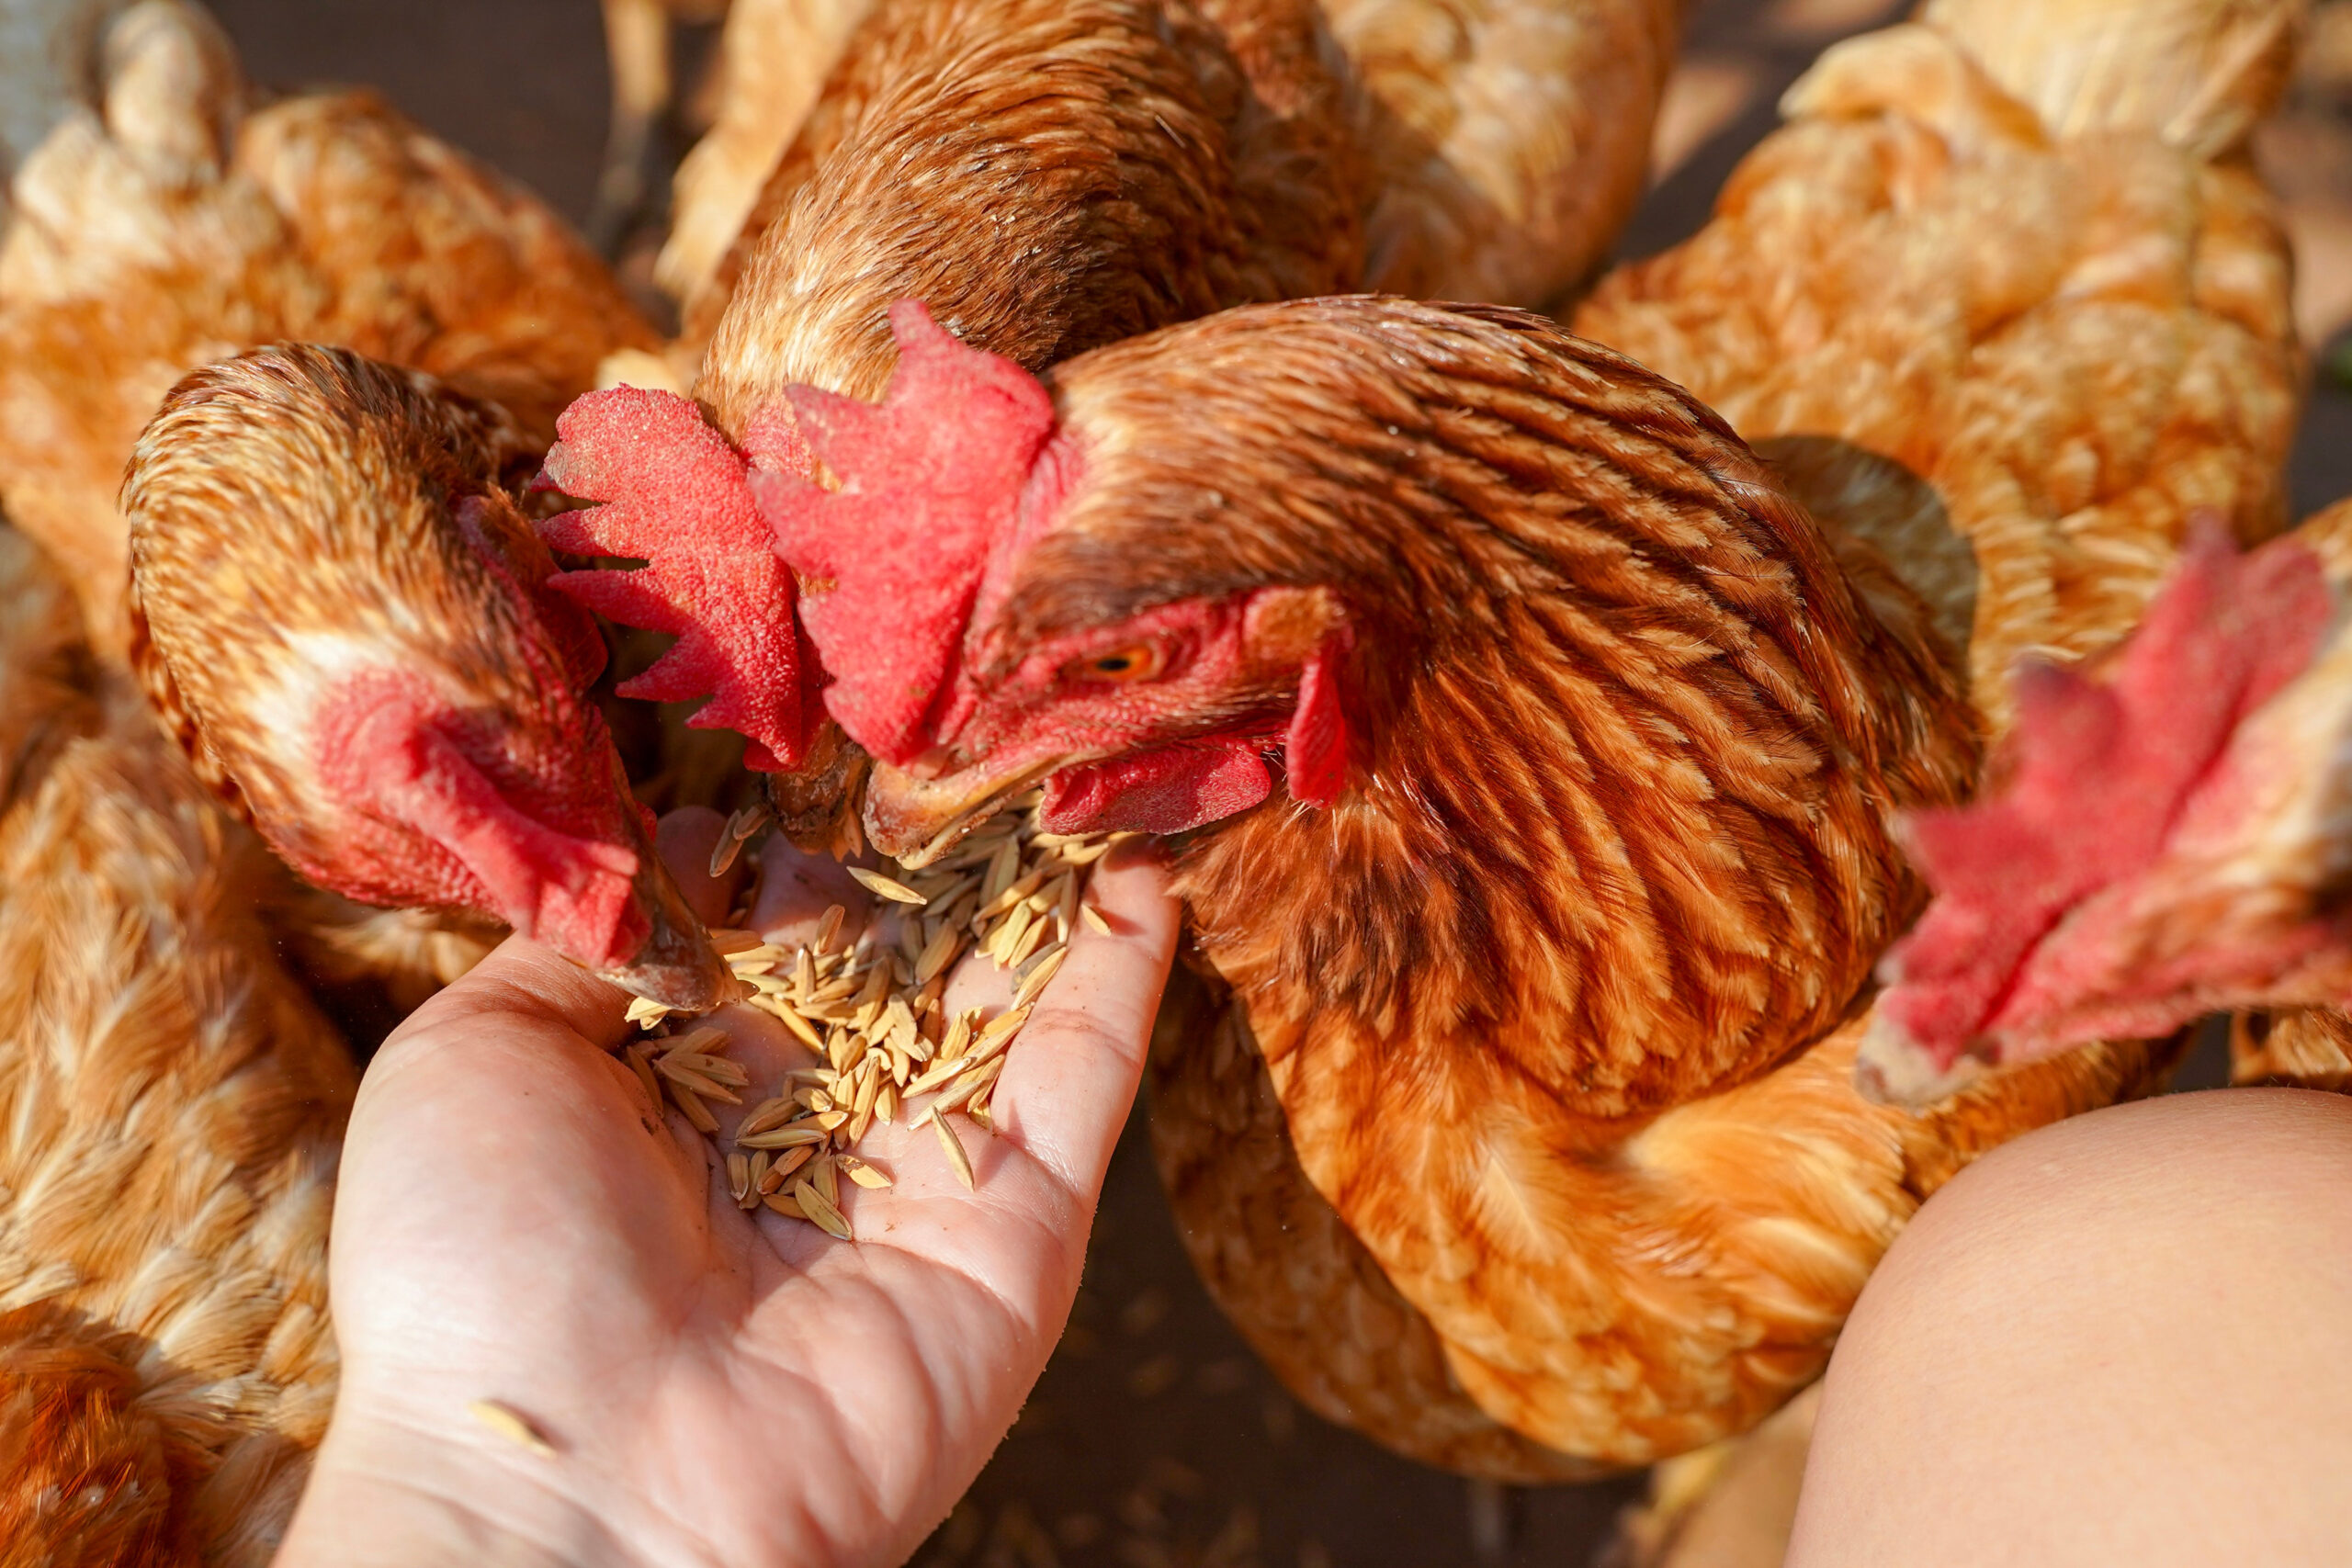
Backyard chicken-keeping has many benefits aside from farm-fresh eggs. If you garden, chicken manure is black gold when you compost and apply it appropriately, returning nutrients to the soil and helping produce better plants, fruits and vegetables for you and your family.
Manure Macronutrients
Aside from macronutrients nitrogen, phosphorus and potassium, which are essential for plant growth, chicken manure also contains calcium, magnesium and sulfur, which are not found in synthetic fertilizers. In its raw form, however, chicken manure also has high concentrations of bacteria, including pathogenic salmonella, meaning that you should always compost it before use and never apply raw poultry manure to your edible garden. The bacteria can encounter your growing produce and either stick to the surface or move inside the plant’s cells, making cleaning impossible.
In addition, if you apply raw, chicken manure before you compost it to your plants, they may very well die due to excessive available nitrogen and salts. The best way to dispose of the manure is to first compost it and then use it correctly and safely.

hanksstudios/Adobe Stock
Step 1: Collect Materials
Think bedding material, such as rice hulls and wood shavings, and put it in a composting bin. You’re aiming for approximately 25 percent manure and 75 percent other materials, which can include the bedding material, leaves, plant material or kitchen scraps, and lawn clippings.
You should have at least 1 cubic foot of material to allow the composting process to heat the pile up to an internal temperature of 140 to 160 degrees F, which will kill pathogenic bacteria.
Step 2: Add Water
You’re looking for the pile to match the texture of a wet sponge.
Step 3: Monitor Temperature
Do this daily with a composting thermometer, which you can find online or at a home-improvement store, and keep a temperature log to refer to. Your goal is to reach a temperature between 140 to 160 degrees and maintain that temperature for three days.
The temperature is key: Submitting compost samples to a lab for detection of pathogens is not practical or effective. However, compost temperatures of 160 degrees or higher will kill salmonella and common bacterial pathogens found in chicken manure. If you don’t achieve that temperature, the chances of pathogen survival for an extended period will increase.
Step 4: Repeat
While the internal part of your pile is treated, the outside is not. Therefore, repeat the process at least two more times to make sure all parts of the pile have been treated.
Step 5: Cure
Put the compost in a covered pile for at least 80 days. This waiting period helps to ensure that the pathogenic bacteria have been killed.
How to Use It
On commercial farms, farmers match the nutrient requirements of the crop with the application rate, which helps mitigate any issues related to nitrogen leaching into groundwater. This approach is not practical for backyard gardeners, but it’s important to recognize that more is not always better. The timing of application is important.
In general, always apply compost as near as possible to planting time and apply it between 1 and 2 inches deep to your garden crops or 1⁄2 inch deep to your lawn. If you want your compost samples analyzed for macronutrients, such as nitrogen, phosphorus and potassium, and E. coli and salmonella levels, you can collect a sample and send it to a private diagnostic lab.
Other Items of Note
Do not add dog, cat or human feces to your compost pile, as they can’t be safely composted.
You shouldn’t smell ammonia associated with manure inside the coop. Aside from being bad for our lungs, it can cause ulcers in the chickens’ corneas. If you do, you need more bedding material.
Straw, though commonly used, isn’t the best choice for bedding, as it’s relatively nonabsorbent compared to wood shavings or rice hulls and can contribute to that strong ammonia smell. Clean your coop as needed. Ideally, though, if you have the right density of birds and the correct amount of bedding material, you shouldn’t need to clean your coop more than once every couple of months. (The birds often will “till” their manure with their bedding as part of their normal scratching behavior.)
Remember that after you compost the material can still contain low levels of salmonella, E. coli and other pathogens, which is fine. This is a numbers game in that your starting material had millions of these bacteria per gram of manure. Very low levels of these bacteria will not cause disease if you have a normal immune system.
It’s still recommended to always wash freshly picked fruits and vegetables.
Compost is a safe and ideal fertilizer for your home garden—if processed correctly. Aside from providing nutrients to your plants, when you compost and apply chicken manure, it adds organic matter to the soil and increases the water-holding capacity and the beneficial bacteria present in the soil. But processing it properly is paramount.
More Information
Make Coop Cleaning Easier
Admit it: Raising chickens is fun, but cleaning the coop can be a hassle. However, it’s a necessary part of the chicken keeper’s job, preventing health problems and decreased production in the flock.
Because I work a couple side jobs in addition to a full-time farming and breeding program, I need a coop-cleaning method that’s fast and efficient. Fortunately, there are many ways to clean a chicken coop, based on your location, housing and the number of birds you keep.
Here are some methods you can try on your farm.
1. Hay
Although in Florida (where I live) many chicken coops have dirt floors, I like to cover the dirt with barn lime to dry the ground and kill bacteria. Then I add a layer of hay overtop to minimize health issues. Hay is easier to manage than straw, and it is clean and dust-free, unlike pine shavings. Plus, hay is economical and easy to obtain.
Although you’ll need to change it out weekly, it can be dumped straight into the compost bin.
To clean the coop, we rake the ground and move the old hay to the composting bin, then rebed with barn lime and fresh hay. We clean the coop every two weeks in hot, dry weather and once a week during the wet season. For a chicken coop of 100 chickens, it takes us about 1 hour to re-bed.
2. Dropping Boards
Chickens naturally head to the coop at night to roost, so you’ll typically find a hefty number of droppings in the morning. Minimize your morning work by placing dropping boards under the roosts. Dropping boards are plastic trays or wooden boards that can easily be installed into your chicken coop by nailing, screwing or just placing them on the ground. You’ll need to measure your coop to fit appropriately size dropping boards. As an alternative, some chicken keepers build their coops with dropping pans, wooden boxes under the roost to aid in easy cleanup.
You can find manure scrapers on the market to clean the dropping boards, but a spare taping knife or spatula can be used instead. To clean, use the scraper to pull all the droppings into a bucket.
Voila! You’ve cleaned the coop! Compost the manure and use it as a natural fertilizer in the garden.
3. Removable Roosts
Many coops are constructed with built-in roosts, but you can opt for removable ones for easier cleaning and disinfecting. Use undiluted distilled vinegar or Oxine, an animal-safe product effective against bacteria, fungi and viruses, for disinfecting the roosts and inside the coop.
4. Deep-Litter Method
For colder climates, the deep litter method is a wonderful way to keep your coop warm and easy to manage. As the name implies, the deep litter method is a way to allow your litter to build up and compost over a period of time, from a couple months to a whole season. As the litter and manure composts in the pen, it provides warmth to the chickens.
For colder states, the litter can build up the entire winter. To start the deep litter method, sprinkle barn lime to help with odor and fly control. Top with 4 to 6 inches of pine shavings or hay. Every few weeks, stir the litter, adding more barn lime and fresh shavings or hay to the mix. For natural mite and lice control, you can mix in ash once a month.
5. Tarp Method
My friend uses the tarp method on her farm and can clean 15 coops in less than 1 1/2 hours. Lay a tarp on the coop floor and top with straw. When the straw needs to be changed, fold the tarp and dump the manure and straw into the compost pile.
Pressure wash the tarp and disinfect it with vinegar or Oxine before rebedding the coop. —Alexandra Douglas
This article, written by Pramod Pandey and Maurice Pitesky, originally apperaed in the Sept./Oct. 2023 issue of Chickens magazine. Pandey and Pitesky are faculty members at the UC Davis School of Veterinary Medicine at the University of California, Davis, and the University of California Cooperative Extension. Pandey’s research focus is on composting and microbial waste management, and Pitesky’s research focus is on poultry health and food safety epidemiology.