Too often, composting advice in books sounds like a cross between a sweaty gym class and high-brow rocket science. Combining the strict ratios of carbon to nitrogen and the expectation that you’ll be turning damp, heavy compost twice a week, you must wonder if you’re going to get a headache or backache first.
But composting can involve much less work and bother. Every spring and fall, my wife and I get a bin of 5-star compost without ever turning it. Plus, it never stinks and doesn’t draw vermin.
You can do this, too.
You don’t have to be Julia Child to feed your family, and you don’t have to be Mr. Green Jeans to feed your garden. If you’ve ever made a salad, you have all the skills necessary to create a winning compost. Like any basic salad, all that a happening compost pile needs is:
- the right container
- leafy stuff
- some chunky vegetable stuff
- a splash of dressing
First Ingredient
I start with two compost bins, sturdy enough to deter urban wildlife. I recommend the Deluxe Pyramid bins from Gardener’s Supply. These have a hinged lid and slots to allow rain in, because a dry compost is an inactive compost. If you already have solid compost bins lids that don’t allow rain in, drill a couple dozen 1⁄4-inch holes in the lid.
During dry spells, hose down the compost well.
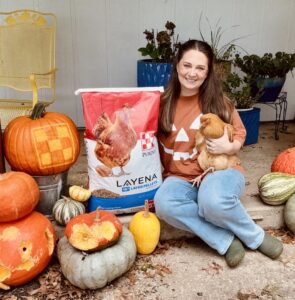
Place the bins where they’ll be accessible from the kitchen door. If you have chickens, place the bins next to the coop, so you can sweep the old bedding directly into the compost bins (I recommend this in my backyard chicken-keeping book, Hentopia.)
Watch Video: Use Manure Compost To Improve Garden Soil
If you’re in zone 6 or colder, put the bins where they’ll get sun in winter to keep the composting bacteria warm enough to do their work. In zone 7 and warmer, they can be in the shade all year and will still finish composting on schedule.
The bin bottoms are important, too. You don’t want rats using them as a crawl-through restaurant. Make sure the area under the bin is flat enough that a 3-by-3-foot layer of metal hardware cloth on the ground will keep vermin from tunneling into the bin. Make sure the bottom of the bin meets the hardware cloth all the way around on all four edges.
If your bin doesn’t have doors that open near the bottom, don’t fret. Those doors are a dumb idea. That dumb idea being that you can drop raw kitchen scraps into the top, while shoveling finished compost out the bottom (wrong!). Ignore those doors.
When each bin has finished composting (see Timing section, below) shovel out what can be easily reached from the top. Then tilt the bin back and forth until you can lift it or tilt it on its side, exposing the pile of finished compost to be easily scooped up off the ground with the shovel.
Also Read: Need compost material? Here are three ways to gather leaves.
Second Ingredient
Add lots of tree leaves. Some species, such as willow oak leaves, break down better if they’re shredded and bagged by a lawnmower first. But most leaves will compost fine, even when added whole.
If your yard is treeless, harvest the labor of the good folks who spend lots of time and money raking and bagging their leaves and putting them on the curb for you.
Also Read: Why You Should Compost & How To Start
Store the leaves next to your compost bins in a large, covered container(s) such as a garbage can to keep them dry. Start your composting adventure by spreading 6 inches of leaves on the bottom of the first bin.
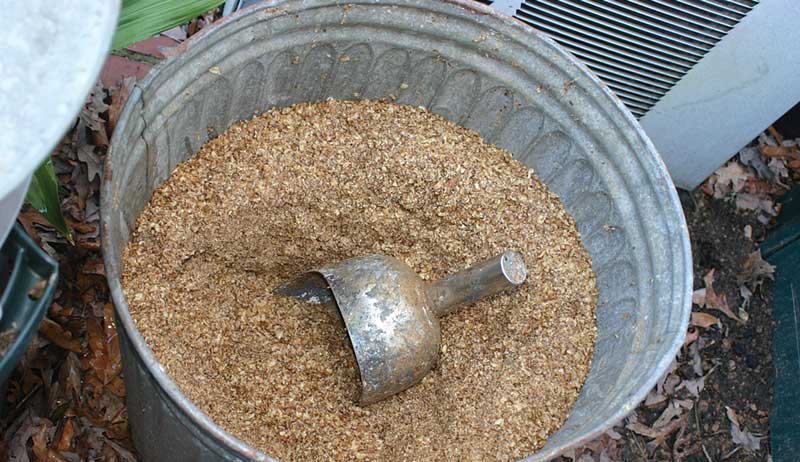
composter bin
Third Ingredient
On top of the leafy stuff, throw in your chunky kitchen scraps. Just as with a tossed salad, we don’t want to overwhelm the leafy part with too many chunks. A tossed salad with too many chunks looks like an uncooked casserole. And compost with too many chunks ends up too soggy and dense and could start smelling bad (yuck!).
Think basic salad, nothing fancy. Let only about half of what’s in the pile be chunky scraps. And compose your yard salad same as you would a tossed salad for a vegan friend: no meats, cheeses or grease.
Those items tend to gum up the works and attract four-legged vermin.
We save our kitchen scraps in an airtight container that stays on the counter. I know people who also store their scraps in the fridge if they only generate small quantities that would sit around too long waiting for a trip to the compost. You can toss eggshells, paper towels, coffee grounds, coffee filters, vegetable scraps, stale bread and old flower bouquets in your compost.
If you have chickens, keep two scrap containers on the counter. One is for chunky scraps suitable for chickens such as eggshells, peelings, stale bread, leftovers, etc. That still leaves plenty for the compost bins: spent coffee, tea bags, paper towels, banana peels, citrus (chickens don’t like it), avocado (can poison chickens), etc.
Sweeping the manure-infused, spent bedding from the coop twice a year into the compost bins will make up for a lot of the difference in volume.
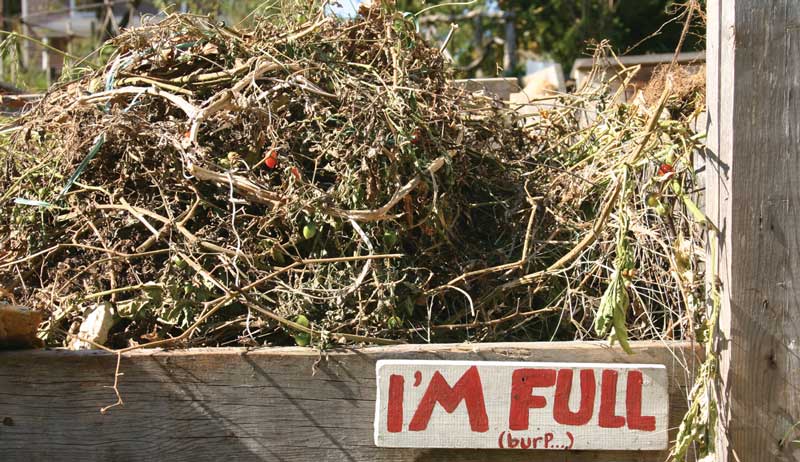
Scraps from the garden can also go into the compost. But unless you want problems, don’t include seed heads from weeds (feed those to the chickens!), diseased plants or anything recently exposed to herbicides or pesticides. The chemicals could kill the good microbes, and plant diseases could be spread.
The weed seeds would just get recycled unless you work hard enough that your compost pile gets hot enough to make steam. If that’s the case, take a piece of cardboard and cut yourself a personal “Real Hot Composter” badge and maybe you can write the next column.
Fourth Ingredient
Sprinkle garden soil over the kitchen scraps. This is important. This garden soil “dressing” distributes composting bacteria throughout the pile, from bottom to top. These microbes are where the earthy aroma of compost comes from.
Composting bacteria will out-compete the rotting bacteria (that is on all food items) that cause kitchen scraps to stink when they aren’t properly composted. Different bacteria species means a different smell.
In a salad, even a thin layer of dressing provides the punch that makes a salad either great or insipid. Without dressing, a salad is just so much health food that gets skipped over at the potluck. A compost pile without its metaphorical dressing will get passed over by the garden gods as well. And just as we have choices with salad dressings, we have choices with compost dressings.
Some of last year’s compost would be ideal. You could also use brown soil from a neighbor’s garden if you’re just getting started or soil from a woods or meadow. If the soil is brown, it’s because it has organic matter. And if it has organic matter, it also has composting bacteria. And you can get this for free. Anyone selling you “compost activator” doesn’t understand composting and is just separating you from your money.
You won’t need much of this dressing. Fill a 1-gallon nursery pot with garden soil (or last year’s compost), and stick an old trowel in it.
A nursery pot won’t hold water when it’s in the rain. And the bacteria will survive whether it’s wet or dry. And the trowel we use is one that’s missing its handle. So, re-use!
By doing the very light work of spreading this dressing on each dose of kitchen and garden scraps, you’re distributing the composting bacteria throughout the pile. So, everything will compost without needing the heavy work of being turned.
When people turn compost, the distribution of organic matter/bacteria that is at the very bottom of the pile is one of the main benefits. They just don’t realize that.
Also Read: How To Make An Affordable Composter
And to bring things full circle, cover the scraps and dressing with tree leaves. This is partly to keep bugs down and partly to balance the nitrogen in the scraps with the carbon in the leaves. But there is no need for precision at all. Just toss in enough to cover the chunky scraps.
Timing
Hopefully, you put “compost bins” on your holiday wish list, and you can start right away with your best-in-the-nation compost station.
If so, start filling your first vermin-proofed bin over this winter and spring with leaves, chunks and dressing. Then before the beginning of summer leave it alone to decompose quietly.
Next, start filling the second one. By fall your first bin will contain finished or nearly finished compost. Feed this compost salad to your garden, then start filling that bin again. The second bin will have time to finish composting for spring planting.
Neither bin will stink, you won’t attract vermin and you’ll never have to turn compost again—ever!
With a setup like this, we get lots of compost, keep lots of material out of the landfill, have a robust garden and don’t really spend a lot of time or energy fooling around with the compost. The only thing easier would be tossing a salad.
This article originally appeared in the January/February 2023 issue of Hobby Farms magazine.