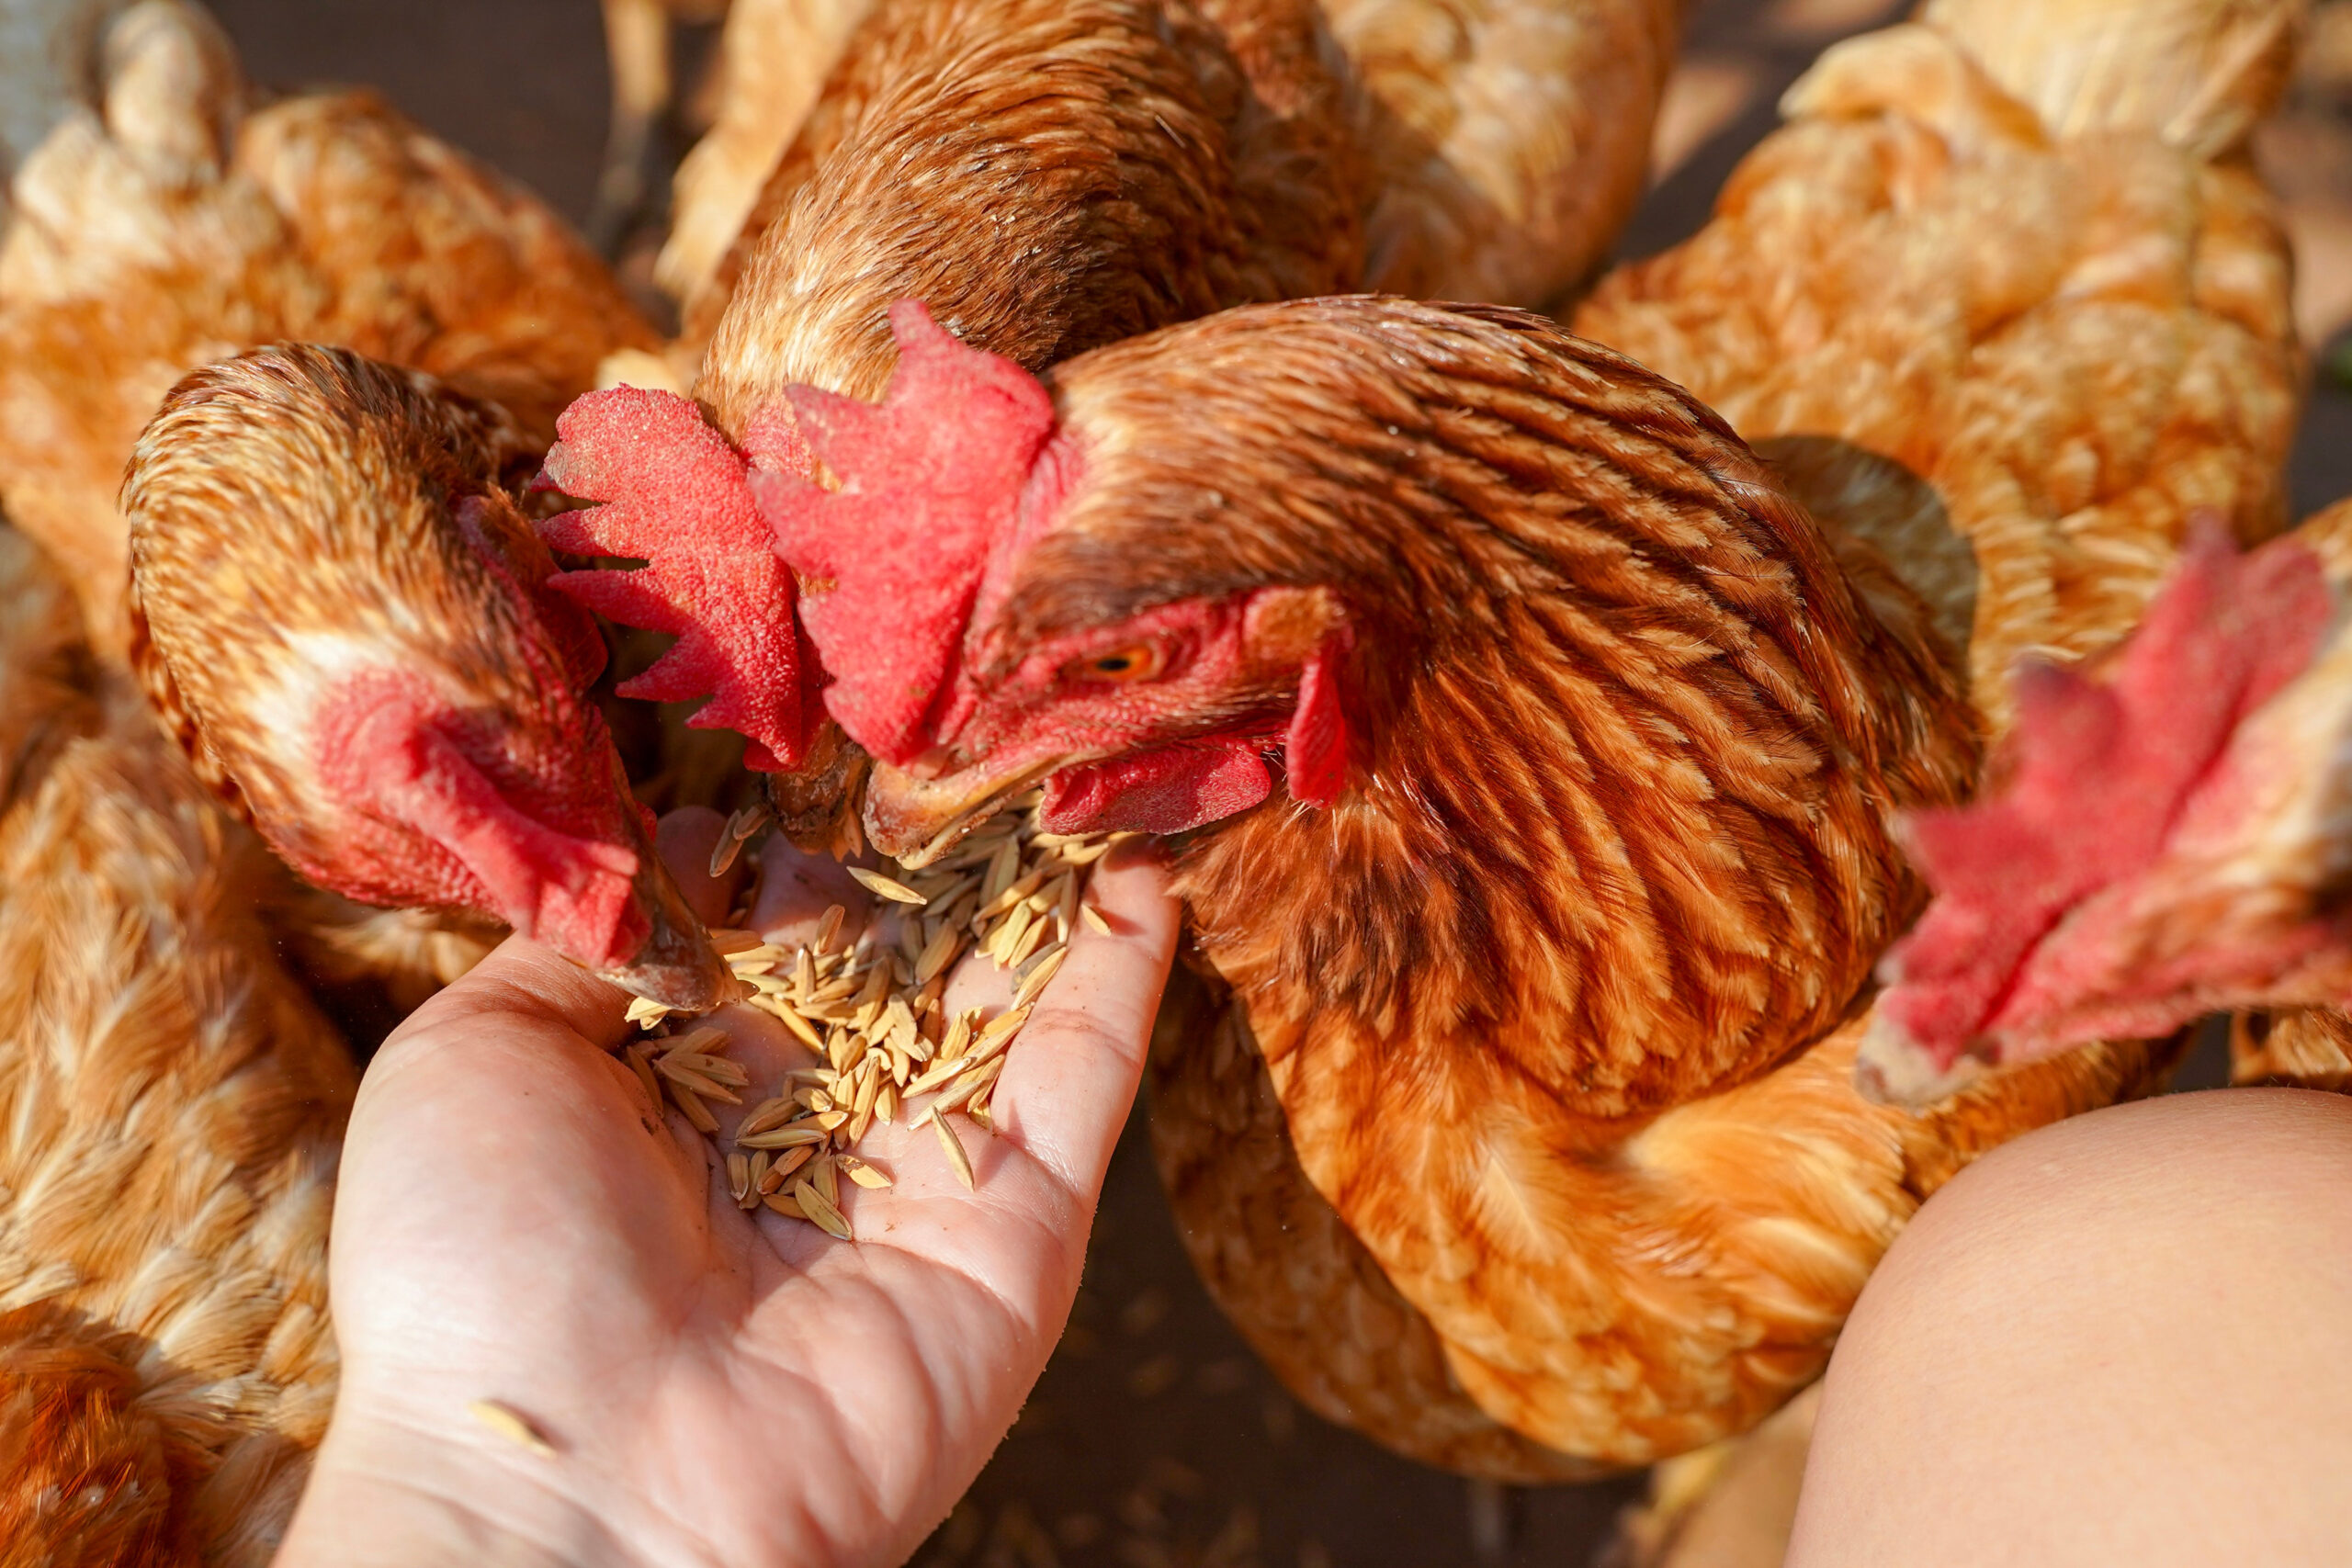
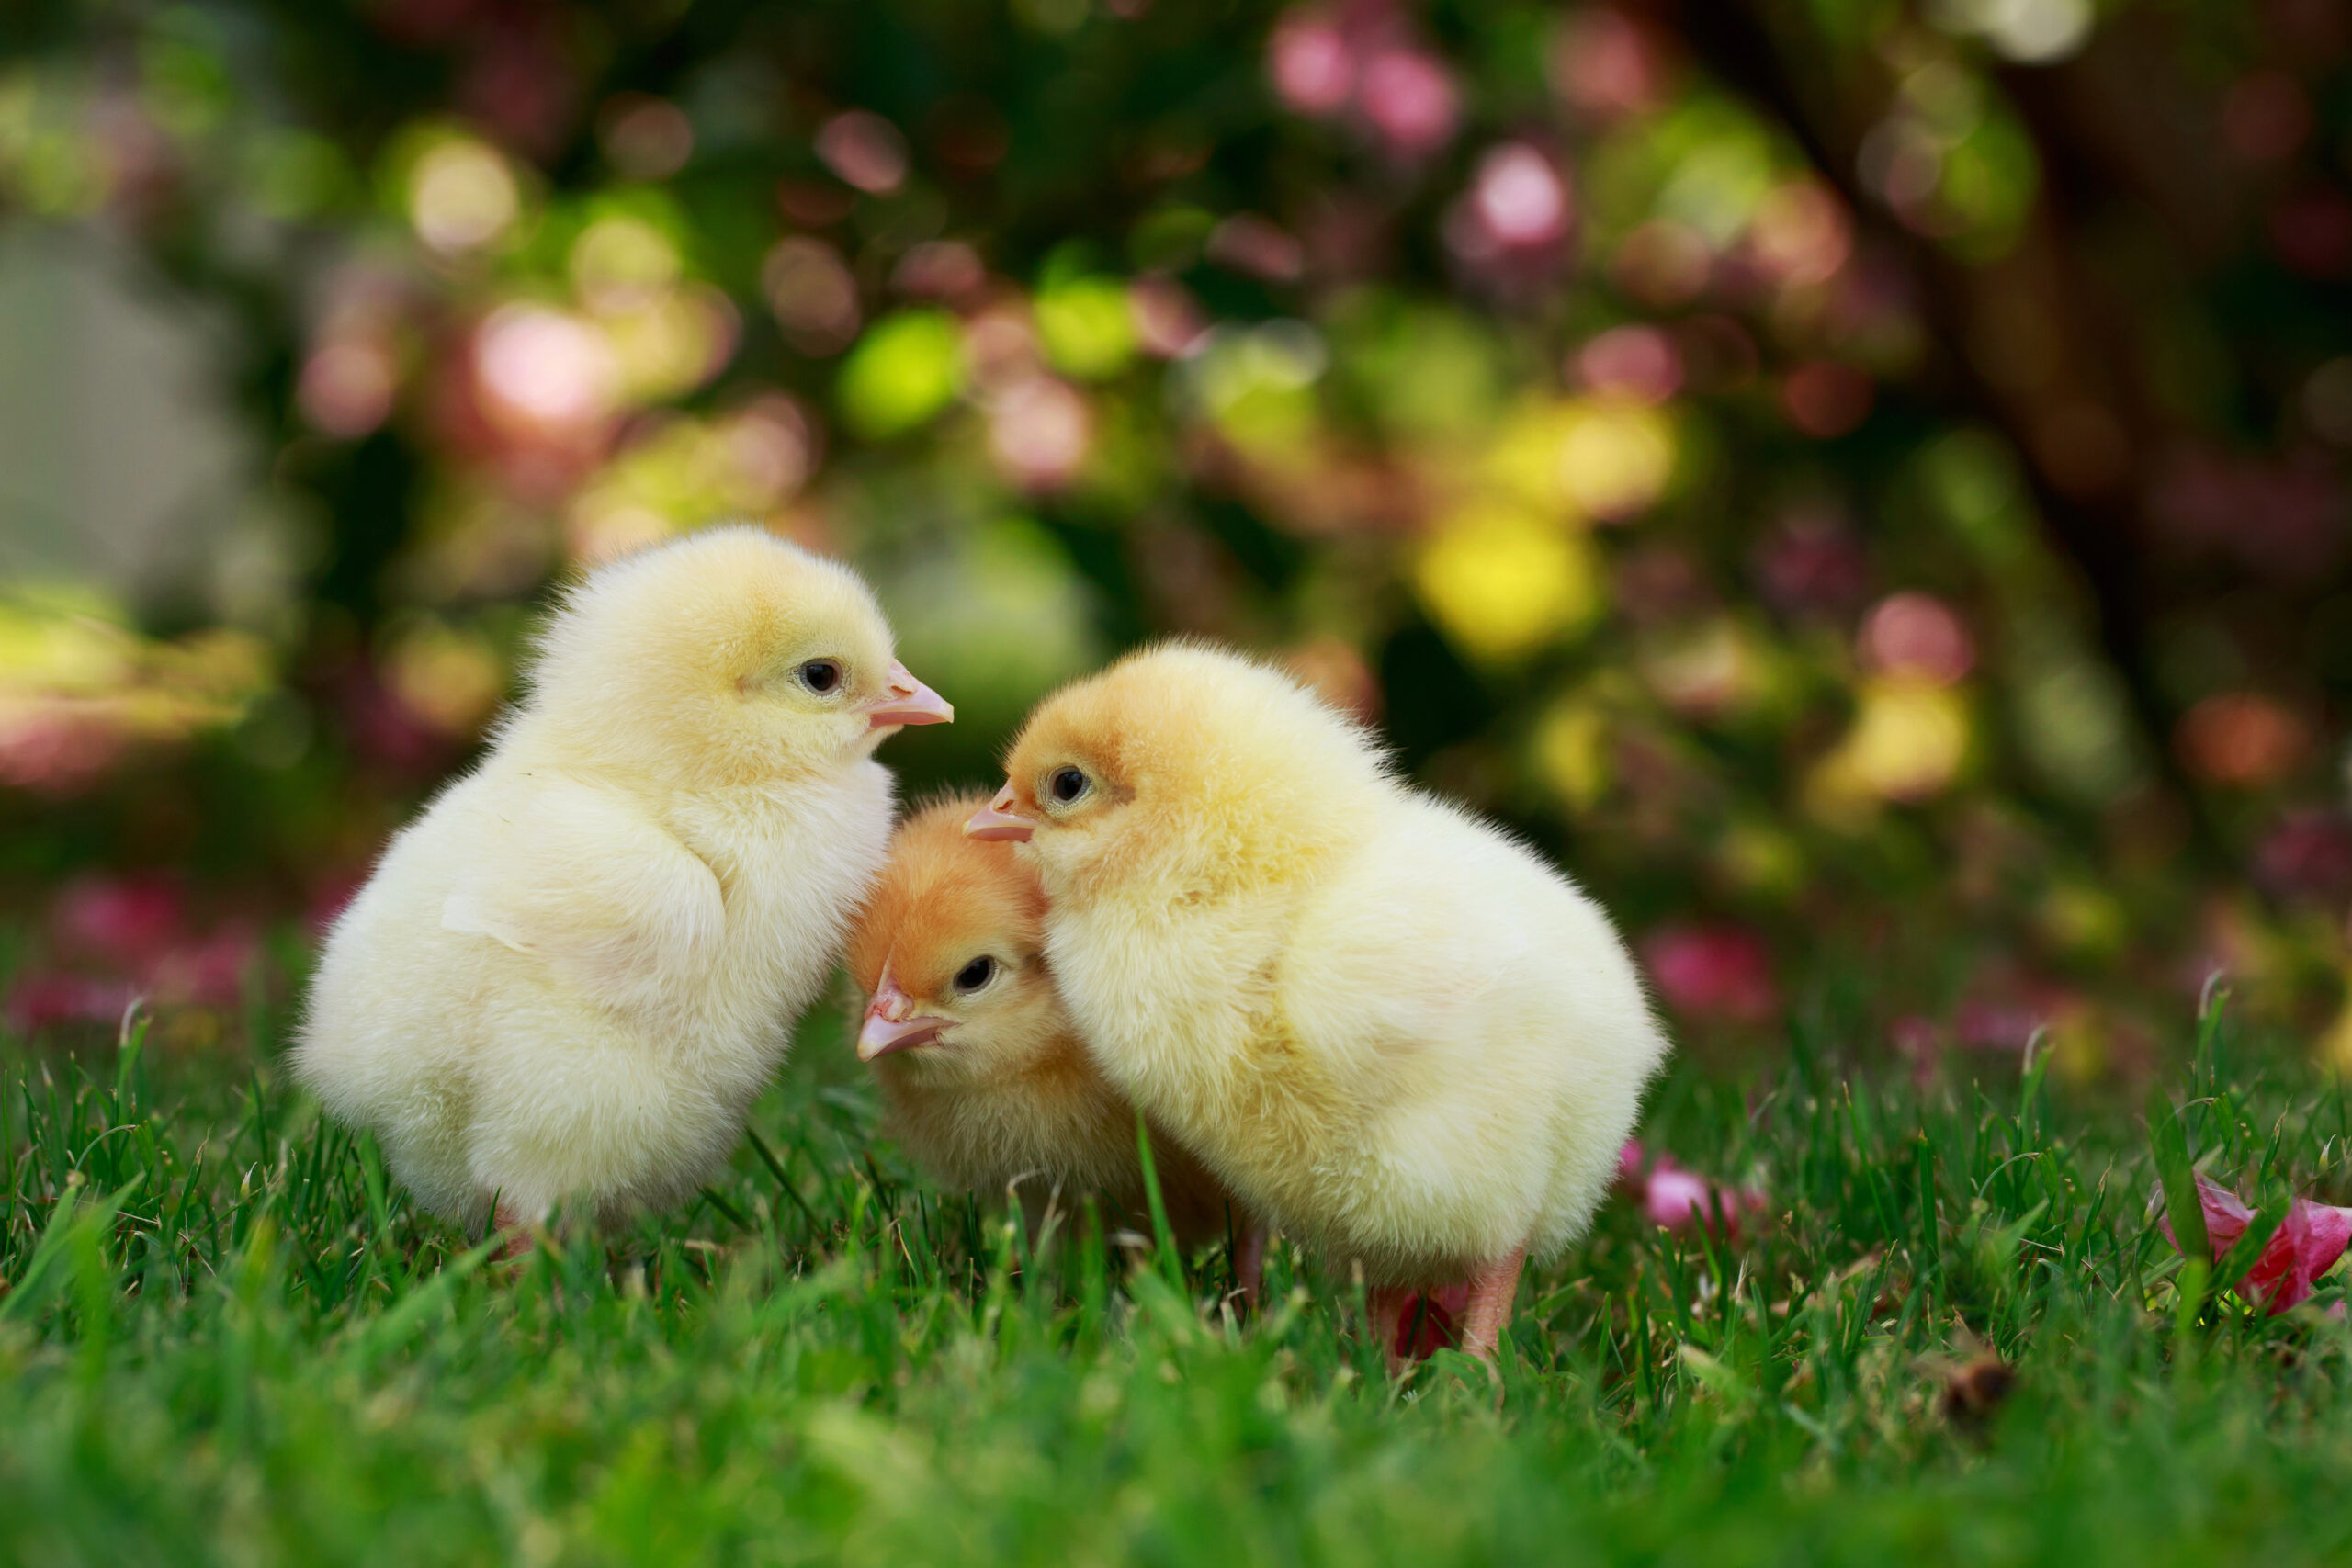
The past three months have been memorable ones, full of discovery, growth, and—if you’re like me—dozens (hundreds?) of photos of your baby chicks as they transformed from fluffy infants to gawky juveniles. You’ve had to move your growing flock to a larger brooder one or more times.The day has finally come for one more move—into the coop.
That’s right, it’s time for your birds to move into their permanent home. You’re taking them to the coop you lovingly and painstakingly prepared for them a while back.
Before you transport your birds to their new digs, however, you’ll want to review these four suggestions to make the transition go as smoothly as possible.
Final Walk-Through
If you’ve had your coop equipped and ready to go for months, you’ll want to thoroughly inspect it prior to moving your birds in. Check the interior—floors, walls and ceiling—for condensation, water streaks or any kind of moisture.
These are signs that your coop roof might be leaking or that the coop’s joints, windows or doors are not weather tight.
Carefully inspect your roof for minute openings. Add caulking, weatherstripping or sealants along gaps in the framing and walls.
Be sure to thoroughly dry the coop’s interior. Replace any moist bedding.
Let the sealants dry at least 24 hours and, preferably, wait until it rains again to check if your repairs held up against the weather.
Read more: Consider these things when buying or building your chicken coop.
Eviction Notice
It’s quite possible that, in the time since you set up your coop, some squatters may have moved in and made themselves at home. Wild animals always seek shelter. An unoccupied outbuilding like a henhouse provides a perfect home for a variety of critters.
Check under eaves and in interior upper corners for wasps’ nests. Remember not to use insecticide to remove these. The chemicals can be toxic to your birds.
If you have an elevated coop, peek underneath to make sure no one claimed that space as a den. If you have a natural floor, examine it carefully for signs of digging, tunneling or burrowing. These can indicate anything from snakes and skunks to rats and raccoons.
Be sure to look for ants, earwigs and other local insects that may have set up house in your henhouse. If your henhouse has high rafters, you may want to also check for bats.
If your coop has become a wildlife residence, you may wish to consider calling a wildlife control expert. Then thoroughly inspect your coop to discover how these creatures got in to prevent their return once your flock takes residence.
Chill Out
Even though your chicks are fully feathered, this doesn’t mean you can plunk them into their coop and leave them to the mercy of the elements. This is especially true if you live in a northern or southern state where weather extremes are common.
A week before you plan on moving your juveniles out, take a temperature reading inside the coop. A well-built henhouse—especially one that’s insulated—should have a comfortable temperature within.
If it is too warm inside, consider opening windows or adding cross ventilation to create a breeze and get the air circulating. Ensure your windows are securely screened and that any vent holes you cut are covered with quarter-inch hardware mesh to keep predators out.
If the temperature is too cold, look for and seal drafts. And if your coop is equipped with electricity, consider mounting ceramic heating panels on the walls to add some safe heating elements.
Recheck the interior temperature a couple of days later to make sure it’s closer to what your youngsters are used to before they move in.
Want more like this? Sign up for our email newsletters and get stories in your inbox!
Bring It Down
One mistake that those new to poultry-keeping commonly make when setting up their coop is equipment placement. Feeders and waterers tend to be secured at heights appropriate for adult birds rather than for juveniles.
Moving to a new home is confusing enough for your little ones. Make sure they can easily access what is already familiar to them.
Bring raised feeders and waterers down to your coop floor. Then adjust their height using bricks as your birds grow. If your coop’s roost is not adjustable, consider purchasing—or building—a stand-alone perch you can easily remove once your juveniles can jump up to their grown-up sleep spot.