The first time I decided to grow sweet potatoes, I didn’t know what to expect. When I bought my little fixer-upper of a house, there were locks to change, drywall sections to patch, and plenty of broken light fixtures to replace. There was also a weedy patch out back that might make a decent garden. It was already July and the soil quality looked less-than-ideal, but I was determined to install a late-season crop of something.
With summer already well underway, I was able to buy a couple hundred sweet potato “slips” for less than $20. (Rather than being started from seeds, sweet potato slips are small plant starts which have been sprouted out of sweet potato tubers.)
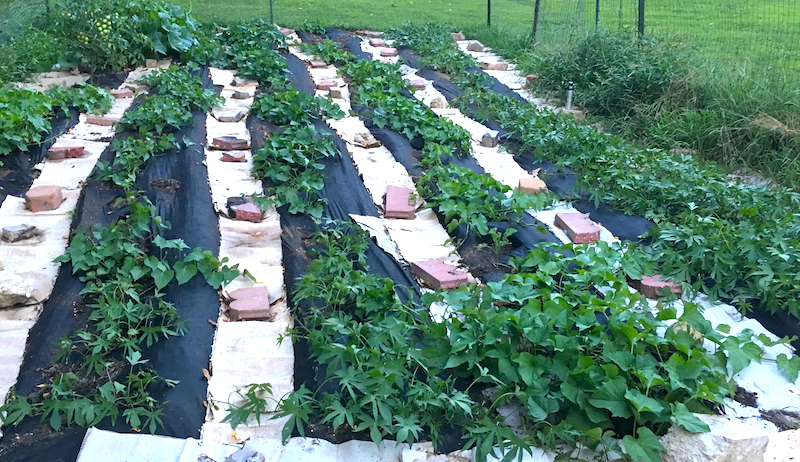
I broke up my heavy clay soil, put down some weed barrier, and hastily planted four “northern-climate” types: Ginseng Orange, Excel, Hong Hong, and Ivis White Cream. Sometimes also marketed as “early” or “short-season” varieties, northern-climate sweet potato types can reach maturity in about 90 days. Including hybrid, heirloom, short- and long-season varieties, you can grow sweet potatoes of hundreds of different kinds, even purple varieties.
I periodically watered the growing vines, hoping they’d have enough time to produce a sweet potato or two. Once the vines died back in late fall, it was harvest time. That initial experiment more than paid off. I—along with my friends, family, and neighbors—ended up with hundreds of pounds of sweet potatoes. I was hooked, and, these days, I make it a point to grow sweet potatoes. (Just not quite so many!)
The Big Dig
Other than some hot days and the ability to push their roots through the soil with relative ease, sweet potatoes don’t actually require much. In fact, if your soil is too rich, they’re more likely to produce vigorous vines and little else. While growing sweet potatoes is fairly straightforward, properly harvesting them takes a little more care.
That’s because it’s easy to inadvertently damage them during digging and removal. Have some of your own sweet potatoes to harvest? For best results, use a potato fork, rather than a shovel and give potato plants a wide berth. Angle your potato fork into the soil about a foot away from individual plants, eating away at the dirt until you uncover your sweet potato crop. Depending on your variety and growing conditions, a single plant can produce just a few very large potatoes, some long-and-skinny spuds, or a combination of these.
Any potatoes which you accidentally slice during harvest should be set aside. You’ll want to use these as soon as possible, since they are now unsuitable for long-term storage. (Those open wounds can become vectors for food-spoiling decay.) As for more intact tubers? When properly cured and stored, they’ll keep for many months. During sweet potato sorting, take care not to throw them around or handle them too roughly, since they bruise easily right after they’ve been harvested.

Curing Your Sweet Potatoes
Briefly give your sorted, intact tubers some personal space in a dry, sunny spot. This helps to dry out any large soil clumps that may be clinging to them. Once clinging soil is dry, you can use a soft-bristled brush to work off the worst of the dirt, but don’t try to get all of your potatoes perfectly clean just yet.
During the “curing” process, sweet potato skins toughen up and the starches contained within the tubers convert to sugars. This makes older, cured sweet potatoes even tastier than their just-harvested counterparts.
Ideally, sweet potatoes should be kept in warm, humid conditions for about a week—think 85 degrees F and 85 percent humidity. If you don’t have such a hot spot, you can cure them in slightly lower temperatures—say, in the mid 60s to 70s—but the process will take longer. Successfully cured sweet potatoes will feel firmer to the touch and have tougher skins than those that haven’t had this treatment.
For long-term storage, loosely wrap each cured potato in newspaper and pack in cardboard boxes. Store these in a cool, dark cabinet or pantry.
Sweet Potato Slips for Next Season
If you grow an open-pollinated, heirloom variety, you might want to save some of these back for slip-starting in late winter. To grow your own slips, plant potatoes indoors in loose, well-draining soil. Allow about half of each potato to stick up above the soil line and use a seedling heat mat to keep the soil warm. Because a single sweet potato tuber can generate scores of slips, you should have plenty of these starts in time for outdoor planting next season.


