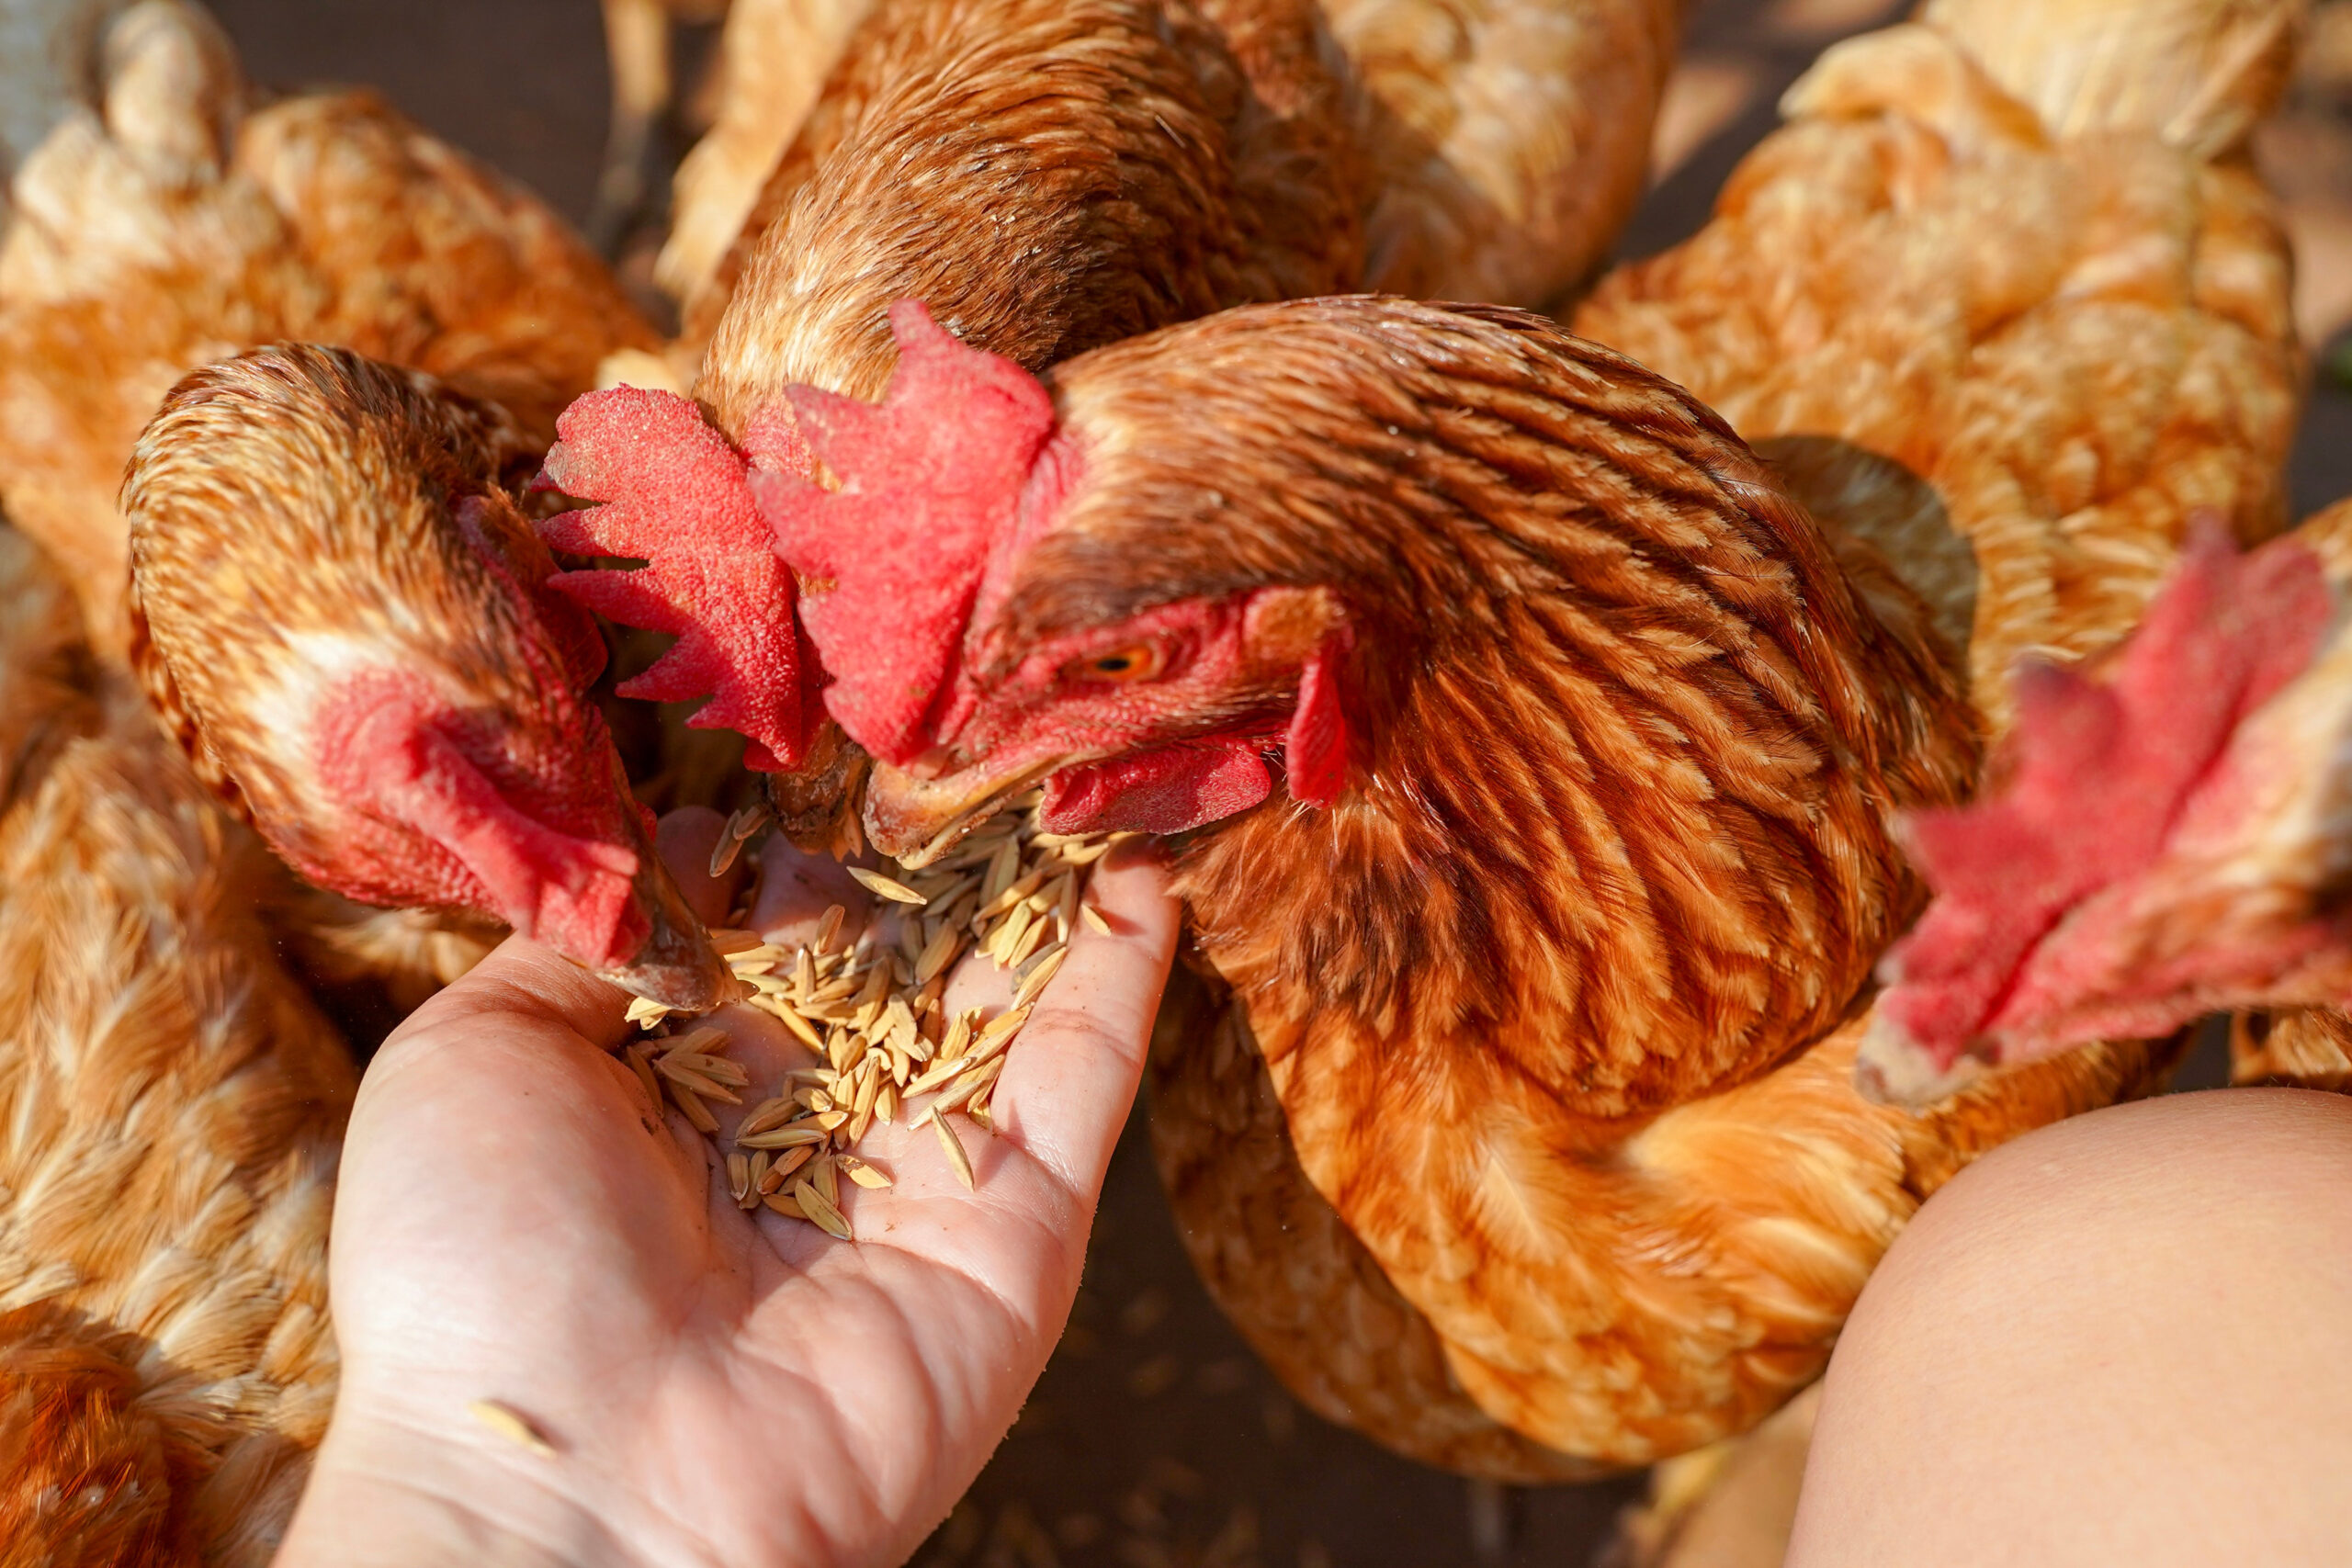
“I’ll just keep one or two chickens,” said no farmer ever! The process of doubling your flock from the one or two hens you thought you wanted to 20 or 30 or more birds is known as chicken math. It’s a phenomenon that affects most chicken enthusiasts at one time or another.
It hits suddenly, most often when you’re standing in the middle of the feed-supply store, staring down at the little chicks popping up and down under the red warming light.
“I’ll just bring home 10 more,” you think. Once you take that step, you’re well on your way to owning the one tool that can double or triple your flock in as little as 21 days: an incubator. This unique tool lets you hatch your own eggs, gives you more control over the success of your hatch rates, and comes in a variety of types to suit every budget.
Nature’s Incubator
Most experienced chicken-keepers will tell you a broody hen is the best way to up the numbers of your flock. She’ll fuss over her eggs, fluff herself up if you or anyone else dares to come near her clutch, and protect her new babies as they grow.
The downside to a broody hen is that, if you’re really counting on her to deliver your next generation of chicks, you’ll have to trust her to do her job.
Some broody hens will lose interest in their eggs half way through the process. Others will lose interest in their babies after they hatch. It can become a watch-and-see situation, and that’s why many farmers opt for incubators.
Read more: Set up your brooder right to ensure your chicks enjoy their new home!
Big & Small
The first consideration you’ll make when choosing an incubator is size.
Mini-Incubators
A mini-incubator is the smallest kind of incubator you can choose. Some minis are nothing more than an insulated container and warming light. Others are more deluxe and have digital screens for temperature and humidity and automatic egg-turning.

Shelly Wutke
Mini incubators are generally the least expensive of all types of incubator, and this is the type someone new to egg hatching would choose to learn about hatching eggs.
Because they are small in size and have limited capacity, most models will only hatch anywhere from two to 10 eggs at once. The size makes them perfect for hatching chicken eggs.
Tabletop Incubators
A tabletop incubator is a mid-range incubator. It’s larger than a mini-incubator and has a square or rectangle shape.
You can hatch anywhere from a dozen to 60 or more eggs at one time in a tabletop incubator. And some models let you stack additional units together so you can expand if you need to. You’ll be able to hatch eggs of all types including turkey and goose eggs.
This is the type of incubator that most often features automatic functions including digital temperature display, humidity control, automatic egg turning and a countdown to hatch day.
Cabinet Incubators
If you’ve ever seen a commercial bread-oven with rotating trays, you can imagine what a cabinet incubator looks like. From entry-level to high-end, a large cabinet incubator can incubate 500 or more chicken eggs at one time. They are considered the most expensive type of incubator and are generally for farmers who want to rapidly expand their flock.
An all-in-one hatching unit, you can choose models with full control panels that accurately monitor your rotation, temperature and humidity levels.
Once you’ve decided on size, you’ll need to consider how DIY you’d like your egg-hatching process to be.
Still-Air Incubator
For a completely DIY experience, you can choose a still-air incubator. Still-air incubators are often found in mini-incubator types. It’s called a still-air incubator because most models don’t have an internal fan to circulate warm air.
They have a water reservoir that sits below the mat the eggs rest on. You fill it up on a regular basis to provide the required humidity.
Many new chicken farmers will choose this type of incubator because it’s the least expensive way to hatch eggs, and they are fairly reliable if you use them as directed.
On the other hand, this might not a good choice for someone who is extremely busy or who works outside of the home. You have to stay on top of what’s happening inside the incubator.
With no fan you’ll need to ensure the temperature is consistent throughout, and in the first weeks you’ll need to manually rotate the eggs several times per day. You’ll also have to monitor the internal humidity because too much or too little humidity can affect your success rate.
Shelly Wutke
Circulated-Air Incubator
A circulated-air incubator, also known as a forced-air incubator, has an internal fan to circulate warm air for even air distribution. It ensures your eggs stay at the same temperature throughout the internal chamber. Circulated-air incubators also offer a few more features to make it easy to hatch eggs.
Automatic Temperature Regulation
Many incubators offer automatic temperature regulation and have a digital control panel that lets you adjust the internal temperature. The temperature range for hatching chicken eggs is between 99 to 102 degrees Fahrenheit, with the optimal temperature being 100.5 degrees.
Incubators with automatic temperature settings will allow you to set the temperature to 100.5 degrees and maintain it for you. Some models will have an alarm that sounds if the temperature drops or increases by one degree or more.
Automatic Humidity Regulation
To successfully hatch eggs, the humidity inside the incubator must be consistent throughout the 21-day process. When you choose an incubator with automatic humidity regulation you’ll need to add water to an internal chamber on the incubator, adding more as needed during the 21 days.
The incubator will maintain your desired humidity levels. Some models will sound an alarm if the levels drop below or above what you’ve set.
You’ll find specific instructions for humidity levels in the documentation that comes with your incubator, but most guidelines state that the humidity levels should maintained at 40 to 50 percent for the first 17 days of incubation. For days 18 to 21, you should raise the humidity inside the incubator to 65 to 70 percent.
If you’re using a still-air incubator without a digital humidity readout, you can still keep an eye on humidity using a hygrometer. A hygrometer is an instrument that measures the amount of water in a confined space.
Read more: There are a few common chick issues you should keep an eye out for.
Automatic Egg Rotation
One of the most important parts of the egg-hatching process is egg rotation. A broody hen will rotate her eggs several times a day, and so must you if you’ve decided to hatch your own eggs.
The easiest way to manage this process is to have an incubator with automatic egg rotation.
Most models of incubator will have spots for you to place your eggs. At set intervals throughout the day, the eggs will be shifted back and forth. Eggs will be automatically rotated until Day 18. At that point, you’ll move them from the egg holders and place them in one spot on the mat until they hatch.
If you plan on managing your own egg rotation, there is an easy way to remember which side your eggs should be on. Mark all of your eggs on one side with a symbol or letter, ensuring they are all facing down at the same time.
When hatching eggs, I’ve drawn a small happy face on one side of my eggs so I can put them face up or face down at any given time. You’ll need to turn them over at least three times a day, alternating the direction they are in as much as possible.
Hatching Tips
You’ve picked an incubator, and you’re ready to hatch eggs. Before you get started, here are a few tips to help you avoid any potential issues you may have during the hatching process.
Set Up
Before you add your eggs, set up the incubator. Turn it on, and get it ready at least 24 hours before you place eggs inside. An incubator that’s dirty can introduce bacteria into the environment your chicks will be growing in, so you want to make sure everything is spotless before you set your eggs.
Ensure it’s clean by wiping it down the interior with soap and water and drying it.
You’ll also want to make sure you’ve added water for humidity and that the temperature and humidity levels stay constant for a least 24 hours or longer before you add your eggs.
Egg Check
To hatch eggs at home, you’ll need access to fertilized eggs. If you have a rooster in your chicken coop, your eggs are most likely fertilized. But if you want to add a little diversity or color to your flock, you can ask a local farmer for hatching eggs.
Size & Shape
Make sure the eggs you pick are uniform. They also need to be clean, but you shouldn’t rinse or wash them before putting them in your incubator.
Washing them will remove the coating on the egg, known as the bloom. The bloom keeps bacteria out and water and oxygen in. Your new chicks need that protection for a successful hatch.
Watch Your Watch
Choose your hatching times wisely. If it’s been raining outside and your hens are stepping all over their eggs with muddy feet, it might not be the greatest time to pick eggs for hatching.
Be Gentle
Avoid jostling your eggs before you place them in your incubator. If you have to store them for a day or two before you begin your hatch, place them with the large side of the egg facing up in an egg carton.
Temperature Check
Make sure they are stored in a safe place that’s not too cold and not too warm, and you should move them into a new position every day until you place them in an incubator.
Hatchability should last for around seven days before they begin to lose viability. Your odds of a successful hatch will continue to drop every day after.
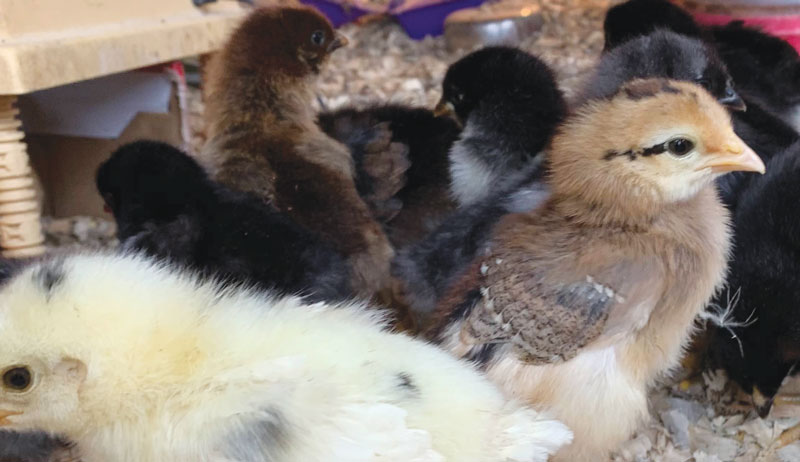
There is nothing like watching a chick pip out of its shell for the first time, knowing you’ve brought them to life. With an incubator at your disposal, you’ll have a tool that lets you enjoy the hatching process for years to come.
This article originally appeared in the May/June 2021 issue of Chickens magazine.