If you love cooking with homegrown ingredients and are looking to expand your garden’s offerings, shallots are a must for your veggie patch. With a mild, onion-like flavor, shallots are real champs in the kitchen, flavoring soups, omelets, stews and other dishes with ease and elegance. Because they cost a lot at the grocery store, you might think shallots are difficult to grow, but that’s not really the case.
Shallot bulbs are beautiful: They’re tapered at both ends and have pink or brown, papery skins, depending on the variety. Shallots are most commonly grown from sets purchased from your local garden center or farmers market, much like you would purchase onion sets. These members of the onion family grow in small clumps, with the bulbs sometimes poking up out of the soil as the plants grow. Shallot sets are far larger than even the plumpest onion set.
Planting Shallots
In southern regions, shallots are planted in the fall for harvest the following spring, but here in Pennsylvania, I plant shallot sets in both the spring and the fall. Sets planted in fall are pulled the following spring, and spring plantings are harvested anytime from mid-summer through late fall of the same season.
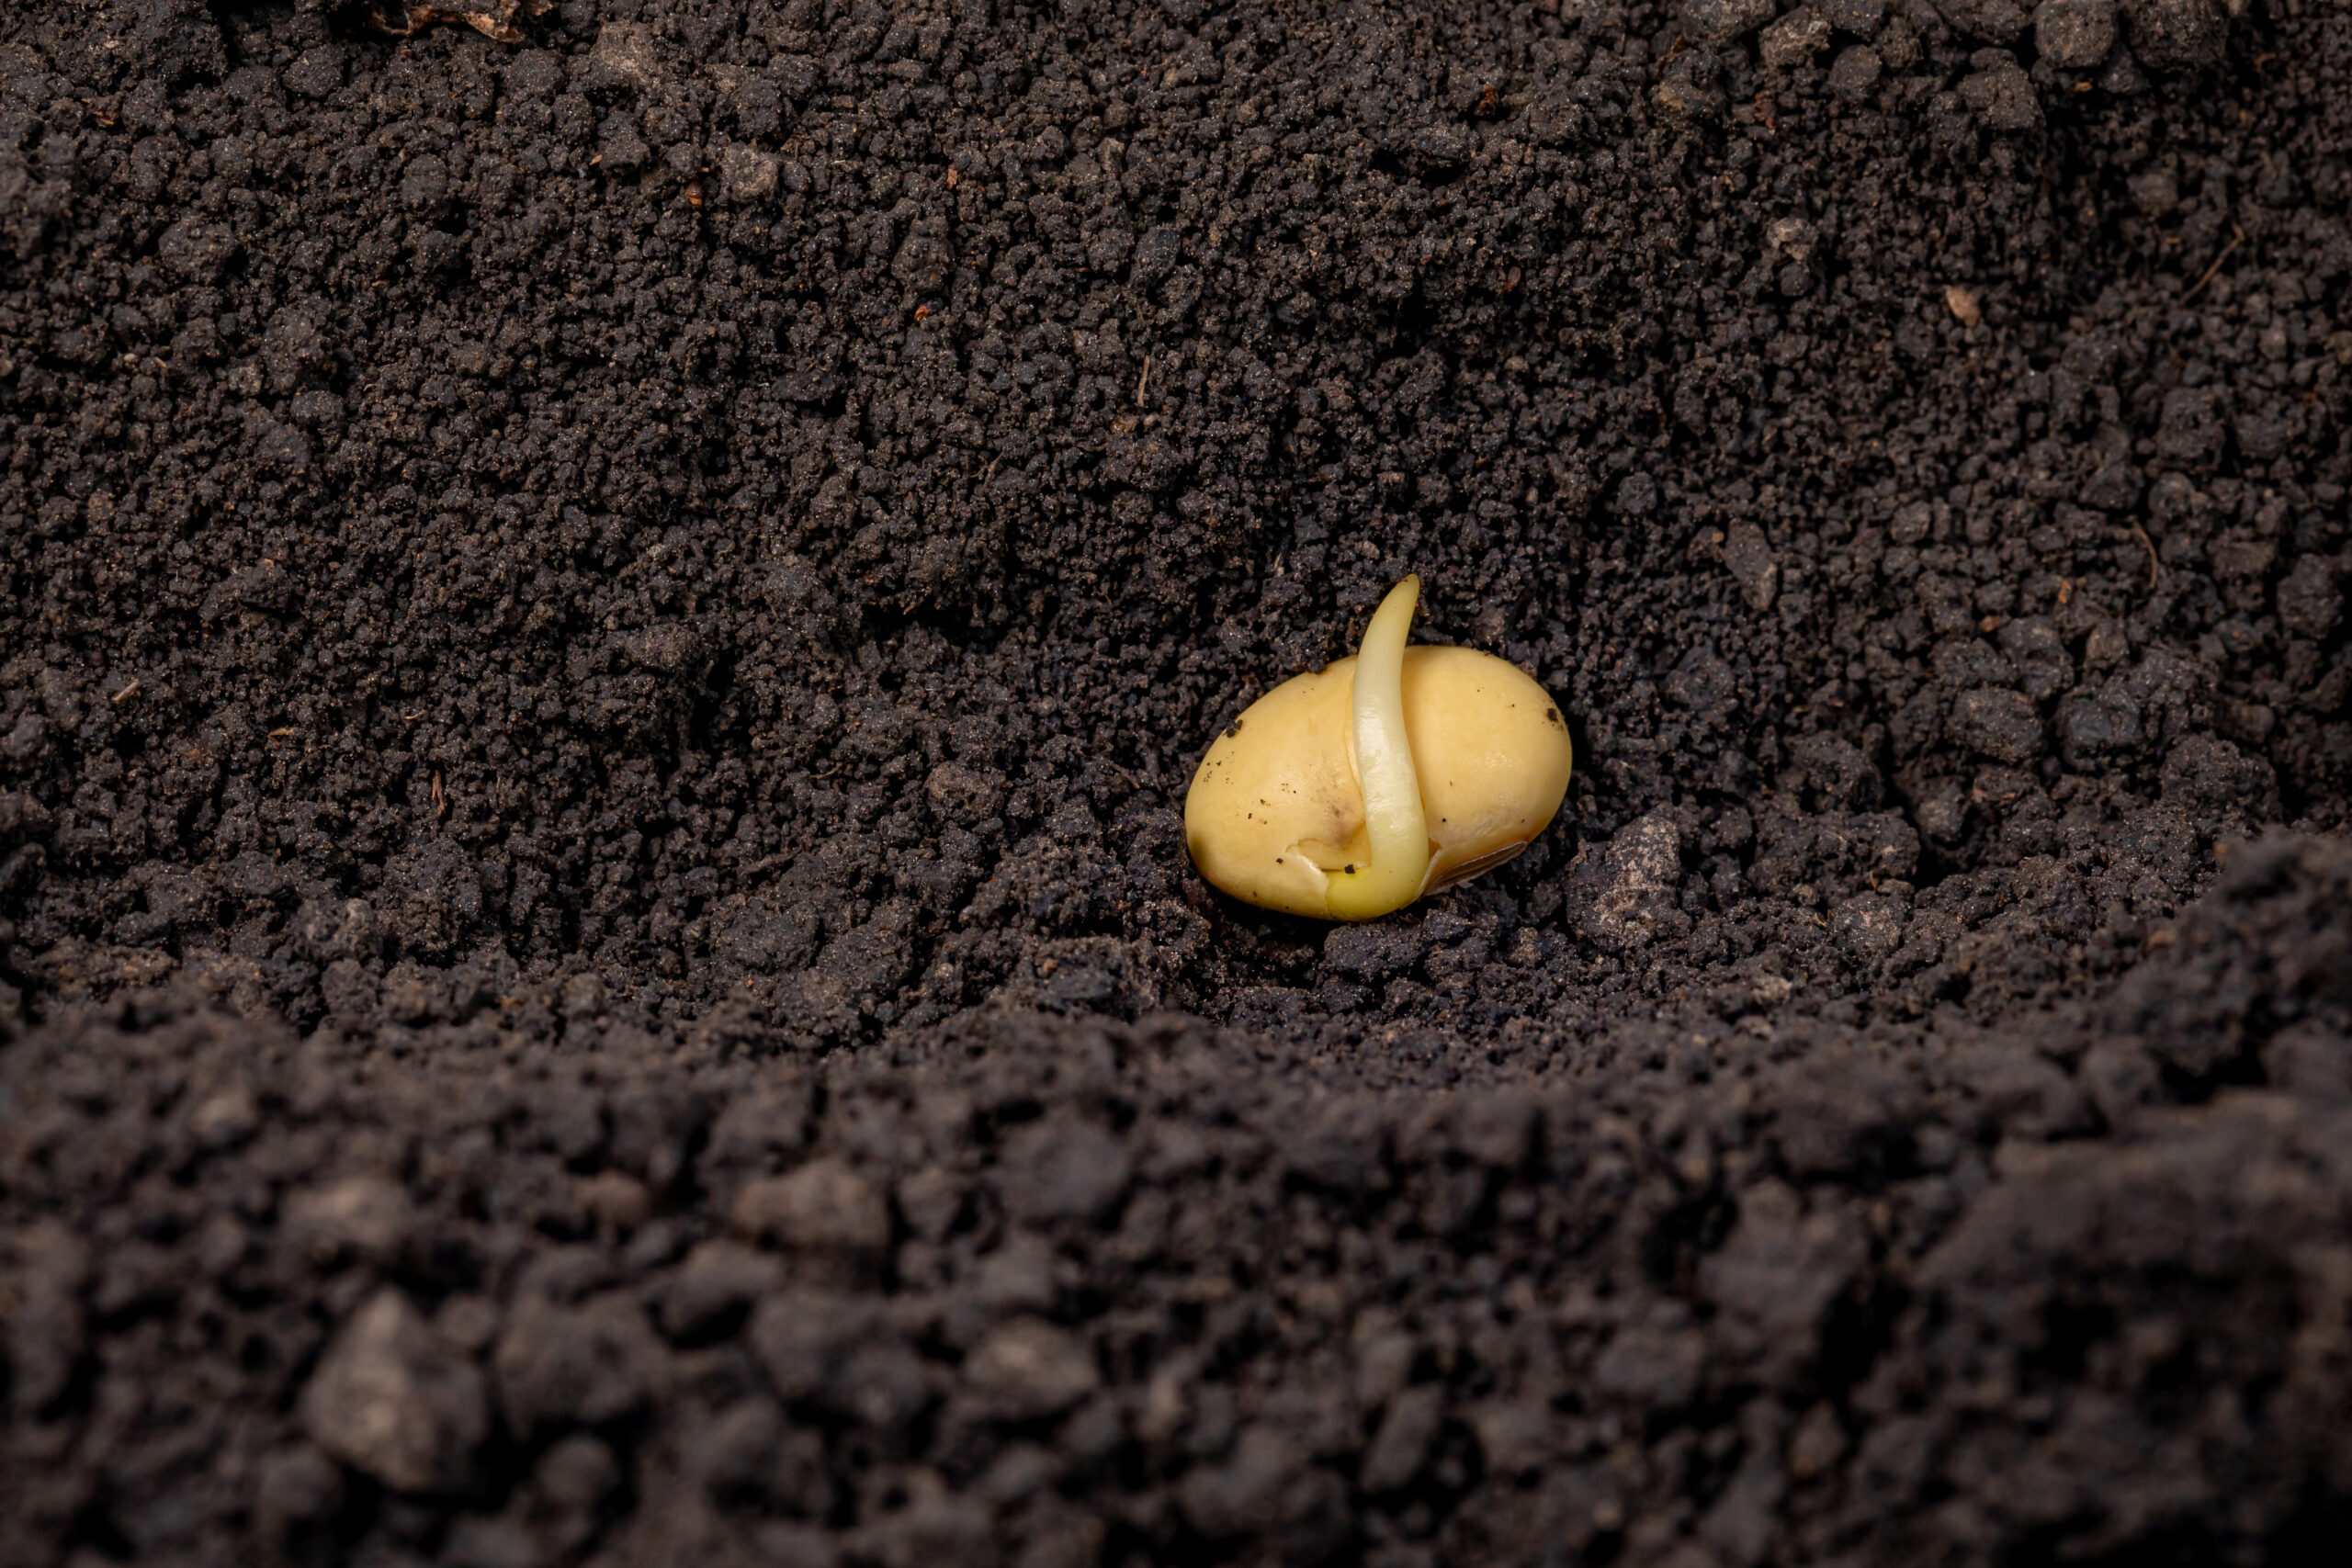
No matter the planting time, sets are sunk 1 to 2 inches deep into the soil, with the pointy tip protruding from the soil surface. Optimum spacing is 8 to 10 inches between bulbs because each set matures into a cluster of six or more inch-wide bulbs. The best soil pH for shallots is between 5.5 and 6.5, but other than that, shallots aren’t overly picky about soil conditions, as long as there’s good drainage.

Jessica Walliser
Pop Goes The Shallot
As the plants grow, the bulbs sometimes end up pushing themselves out of the soil and growing on the soil surface, rather than below the ground. If this happens to your shallot crop, don’t bury them or put mulch over them as this can lead to bulb rot. If they protrude above the soil line, just leave them be.
When To Harvest
Just like garlic and onions, shallots are ready for harvest when the leaves turn yellow and begin to die back. To harvest the bulbs, dig up the entire clump and carefully crack the bulbs apart. Keep the largest bulbs for use in the kitchen, and immediately replant the smallest ones for the next crop.
Spread the harvested bulbs out on an inverted plastic nursery flat or a window screen set atop some bricks in a dry garage or shed. Air must be allowed to circulate around the entire bulb during this curing period. Do not wash the bulbs before curing them. The papery skins will fully cure in about two weeks. The shallots can then be stored in mesh onion bags in a cool, dry, dark place. They’ll last for many months.
If you’d rather pick your shallots a few at a time, rather than harvesting them all at once, just dig up the edge of the plant and tug off a large bulb from the side whenever you need it. Leave the rest of the bulbs in place for later harvest.
Shallot bulbs are fully winter hardy, so as long as you leave some behind, you’ll have a continuous crop, always ready to flavor your next breakfast omelet.