By the time the first snowflake drifts to the ground, many chicken keepers are filled with apprehension about how many birds they’ll lose to the possibility of a cruel, cold winter. The answer to that can be none—and yes, it can be accomplished!
Coop Design
Chicken coops vary from kennel-like cages and movable chicken tractors to picturesque sheds and full-sized barns. While these may provide shade and a safe place to sleep during the warmer months of the year, these structures may not prove sufficient for chillier climes come wintertime.
There may be times when your birds will be locked in all day long, especially in northern regions of the country where blizzards can snow everyone in. Sometimes, your birds may simply refuse to leave their home if they see so much as a speck of snow on the ground. Long periods of coop confinement can cause even the friendliest hens to start pecking and bullying one another out of boredom, especially if they feel crowded.
To keep the peace, make sure that your flock has sufficient space to move around without literally stepping on each other’s toes. Provide at least 4 square feet of floor space per standard bird and about 3 square feet per bantam bird.
Don’t forget perch space, though: Chickens are apt to huddle together for warmth when it’s frosty at night, and they’re less likely to tolerate tight quarters during the day. Give each bird 1 foot of perch space to preserve their composure—and yours.
Ventilation
Open windows, hardware-cloth walls and cage-style roofing are all wonderful in warmer parts of the country during the heat of summer, but in winter, they’re a one-way ticket to hypothermia, frostbite and worse, as they allow the frigid air and glacial precipitation to enter the shelter.
To prevent your birds from becoming chick-sicles, close and lock your coop windows for the season and cover up hardware-cloth sections with panels of weather-resistant siding, which can be found at your local lumberyard or home-improvement center.
This doesn’t mean you should enclose your flock in a solid box for the season, though. Withholding air circulation can be just as disastrous for your birds as exposing them to the winter weather because methane and other gases released by decomposing chicken droppings have nowhere to go.
Avoid a buildup of toxic gases, let excess humidity dissipate and allow fresh air to circulate by providing small ventilation panels high up on your coop walls. A ventilation panel only needs to be 3 to 4 inches high and 1 foot wide. For maximum circulation, install a vent in two walls directly opposite each other to allow for a free flow of air, and be sure to securely cover these openings with 1/4-inch hardware cloth to keep out vermin and predators.
Leaks and Drafts
No matter how secure your coop might be, it won’t adequately shelter your birds if there are leaks and drafts coming in. A drafty coop can cause combs and toes to get frostbitten quickly, while leaks make for wet, cranky animals and increase the moisture level within the coop, creating a breeding ground for bacteria, fungus and other nasties.
The best time to secure your coop against leaks and drafts is in early autumn, while the weather’s still mild enough for you to work outside but brisk enough for you to recognize problem areas. Heavy-duty caulk is your friend and should be used to seal any gaps in seams and between panels. Tighten all screws, replace cracked and warped wood, and double-check doors to verify that they still close tightly. If it’s too late in the season to do outdoor maintenance work, sturdy tarps and extra-strength duct tape can provide temporary protection in a pinch.
The Importance of Light
Whether to provide artificial light in a winter coop is a choice every chicken owner needs to make. Some farmers follow heritage guidelines and only provide natural lighting for their hens, giving their reproductive systems several months to rest and recover from laying eggs. Other chicken keepers raise birds in order to have daily fresh eggs, which requires the installation of artificial lighting to provide the 14 hours of light necessary for the continual production of eggs. Either way, your flock will need some sort of light during the day to maintain their physical and mental health.
Natural Light
Ventilation panels that allow dangerous gases to escape the coop have a second benefit: They also let in natural light, which is another reason to install them if you have not already done so.
If your coop has windows, you’ll have all the natural daylight you’ll need to keep your chickens content during the winter. If not, be sure to open the pop doors daily, even if there’s no chance of convincing your birds to step out into the cold. An open pop door will provide the coop interior with minimal daylight, but that’s better than no light at all.
Another option is to install translucent corrugated roof panels. Made of strong, weather-resistant polycarbonate, these semiopaque panels let daylight shine through to the interior of the coop gently and mutedly.
Artificial Lighting
The key factor in providing artificial lighting for your coop is having a source of electricity for the structure. Whether it’s entrenched, dedicated electrical lines or a series of weather-resistant extension cables, you’ll need something to power your lights.
Some poultry owners have gone so far as to install solar panels on their coop roofs, with battery units charged and ready to provide juice. If you’re one of these, more power to you! If not, you’ll need to decide on the best way to get electricity to your coop.
You should visit your local farm-supply or home-improvement store to see the types of lighting available, as this can affect your choice. There are small, battery-powered lights that turn on with a touch or by flipping a switch. There are dusk-to-dawn lights that have tiny built-in solar panels that absorb sunlight to provide subdued but sufficient lighting throughout the night.
There are also LED strips and overhead lights that provide -plenty of illumination for those who have electricity ready for use. If you choose these, be sure to also install a timer that will turn the lights off once 14 hours of lighting have been provided. After all, your flock needs darkness to be able to sleep.
In “Proper Light Management for Your Home Laying Flock,” extension poultry specialist Sheila E. Scheideler and extension poultry assistant Chad Zadina at the University of Nebraska recommend that “any supplemental light should be added during the morning hours, as sudden darkness can cause chickens to panic and pile up in a corner, which can consequently cause them to suffocate one another. By applying extra light in the morning rather than the evening, chickens will naturally go to roost with the setting of the sun.”
Make sure your chosen lighting is as flush to the coop wall as possible: If your light juts out at all, a bird will surely find a way to perch on it.
To Heat Or Not To Heat?
Providing heat to a coop has long been an incendiary topic in the poultry community, with proponents of natural heating pointing at the multiple news reports of fires started by heating lamps and adherents of artificial heating indicating the number of birds who perish due to the cold. It all comes down to personal choice: You need to choose what you feel is right for your birds and what you are comfortable providing to them safely.
Natural Heat
For poultry owners who live in warmer regions of the country, all the natural heating your birds will need is the body heat they themselves generate. As social creatures, chickens will huddle together for warmth, usually on a perch, though some stubborn birds will pile into a nest box or heap together on the coop floor. Their shared body heat is usually all it takes to get them through the winter. Chickens are resilient creatures who adjust to the increasing chill quite easily, so shared body heat is often enough to see them safely through mild winters in other states—as long as the interior of the coop is kept free of leaks and drafts.
If your winter weather tends to flip-flop between mild and miserable, you’ll want to consider deep-litter heating. With this method, you allow layers of coop litter to build up, and the pressure from the top layers begins the decomposition of the chicken droppings and other organic matter underneath. The decomposition generates natural heat, which warms the coop.
If you choose to use deep litter, make certain that you have ventilation panels installed so that the gases released by the deep-litter method have a way to escape. When the weather grows mild again, be ready to fully rake out and clean your coop; you’ll have wheelbarrows of material ready to haul out to your compost heap.
Artificial Heat
The most popular and least expensive way to provide artificial heat for your birds is through a heat lamp. These hang from the ceiling of the coop and use special heat-generating bulbs that raise the coop’s ambient temperature.
If you choose to use heat lamps, use sturdy hardware to rig up the lamp and its chain. Screw these in securely; if the lamp rigging is loose, the potential for it to fall is high, and this can be disastrous and tragic. Don’t position the heat lamp directly over your chickens’ perch or right near their nest boxes, as the birds will not tolerate direct heat.
Install a thermometer to help you determine the proper positioning of the heat lamp. Remember that your birds are adults and not chicks; a temperature of 50 degrees is enough to keep them happy all winter long.
When purchasing your heat lamp, look for shatterproof bulbs and only buy heat lamps that come with protective cages that fit over the face of the lamp, in front of the bulb.
Should something happen and the lamp falls, the cage will help prevent the hot bulb from coming into contact with your birds and, perhaps more importantly, with flammable litter.
A safer option is a heating panel, which doesn’t use bulbs but rather provides warmth via radiant or convection heating. The panels mount on the walls of your coop and are easily turned on and off via a switch, making them ideal to hang at perch level. They are also safe for use near animals, as the heating elements are completely enclosed. The drawback to providing artificial heating, either via lamps or panels, is that your coop must have a source of electricity.

Linda N./Flickr
Diet
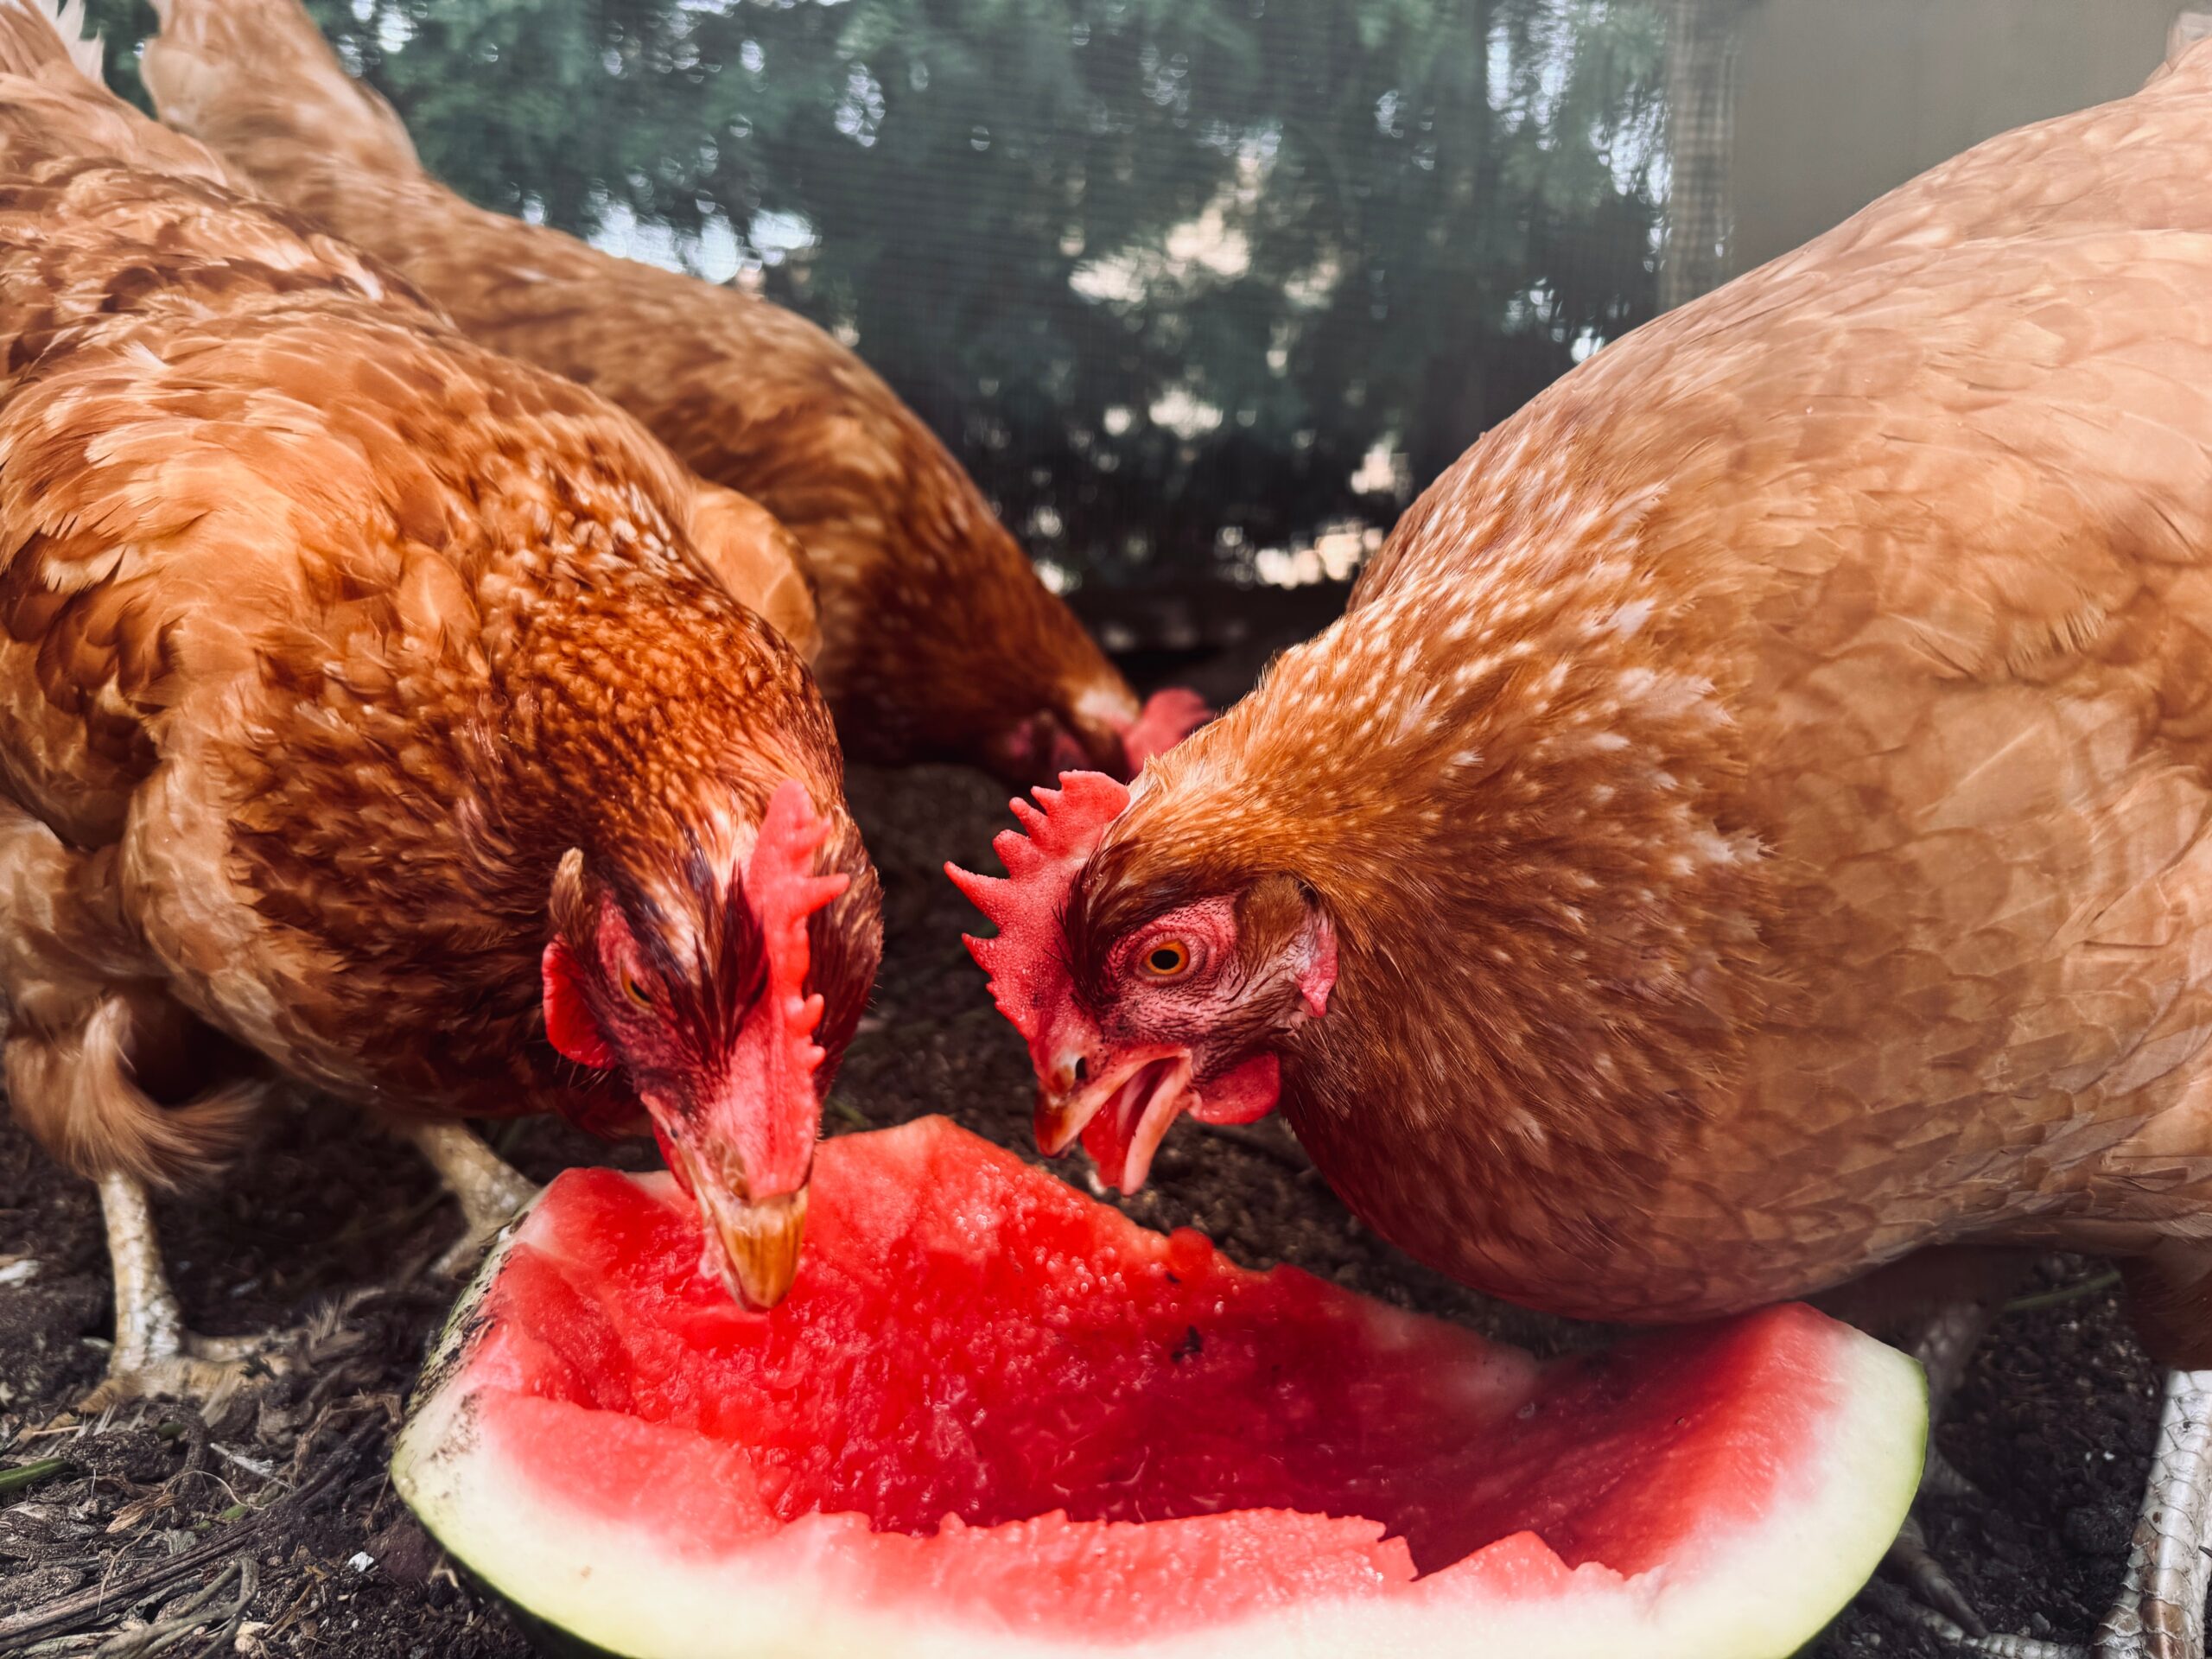
When considering the different ways to help your chickens survive winter, don’t neglect to modify their diet. While they may not be as active as they are during the summer, your chickens will be consuming more—about 1 1/2 times as much as they do in the warmer months—because they are -burning up calories trying to keep themselves warm.
For poultry owners using natural lighting, the cold season is also your layers’ rest-and-repair period: the time of the year that a hen’s body recovers from the stresses of egg production. If your birds molted in autumn, as many do, they’ll need some dietary assistance to grow their feathers back during the winter. A boost in the protein content of their feed will help keep your flock healthy, providing them with nutrients that will increase their constitution and grow new feathers, which consist almost completely of keratin, an important structural protein.
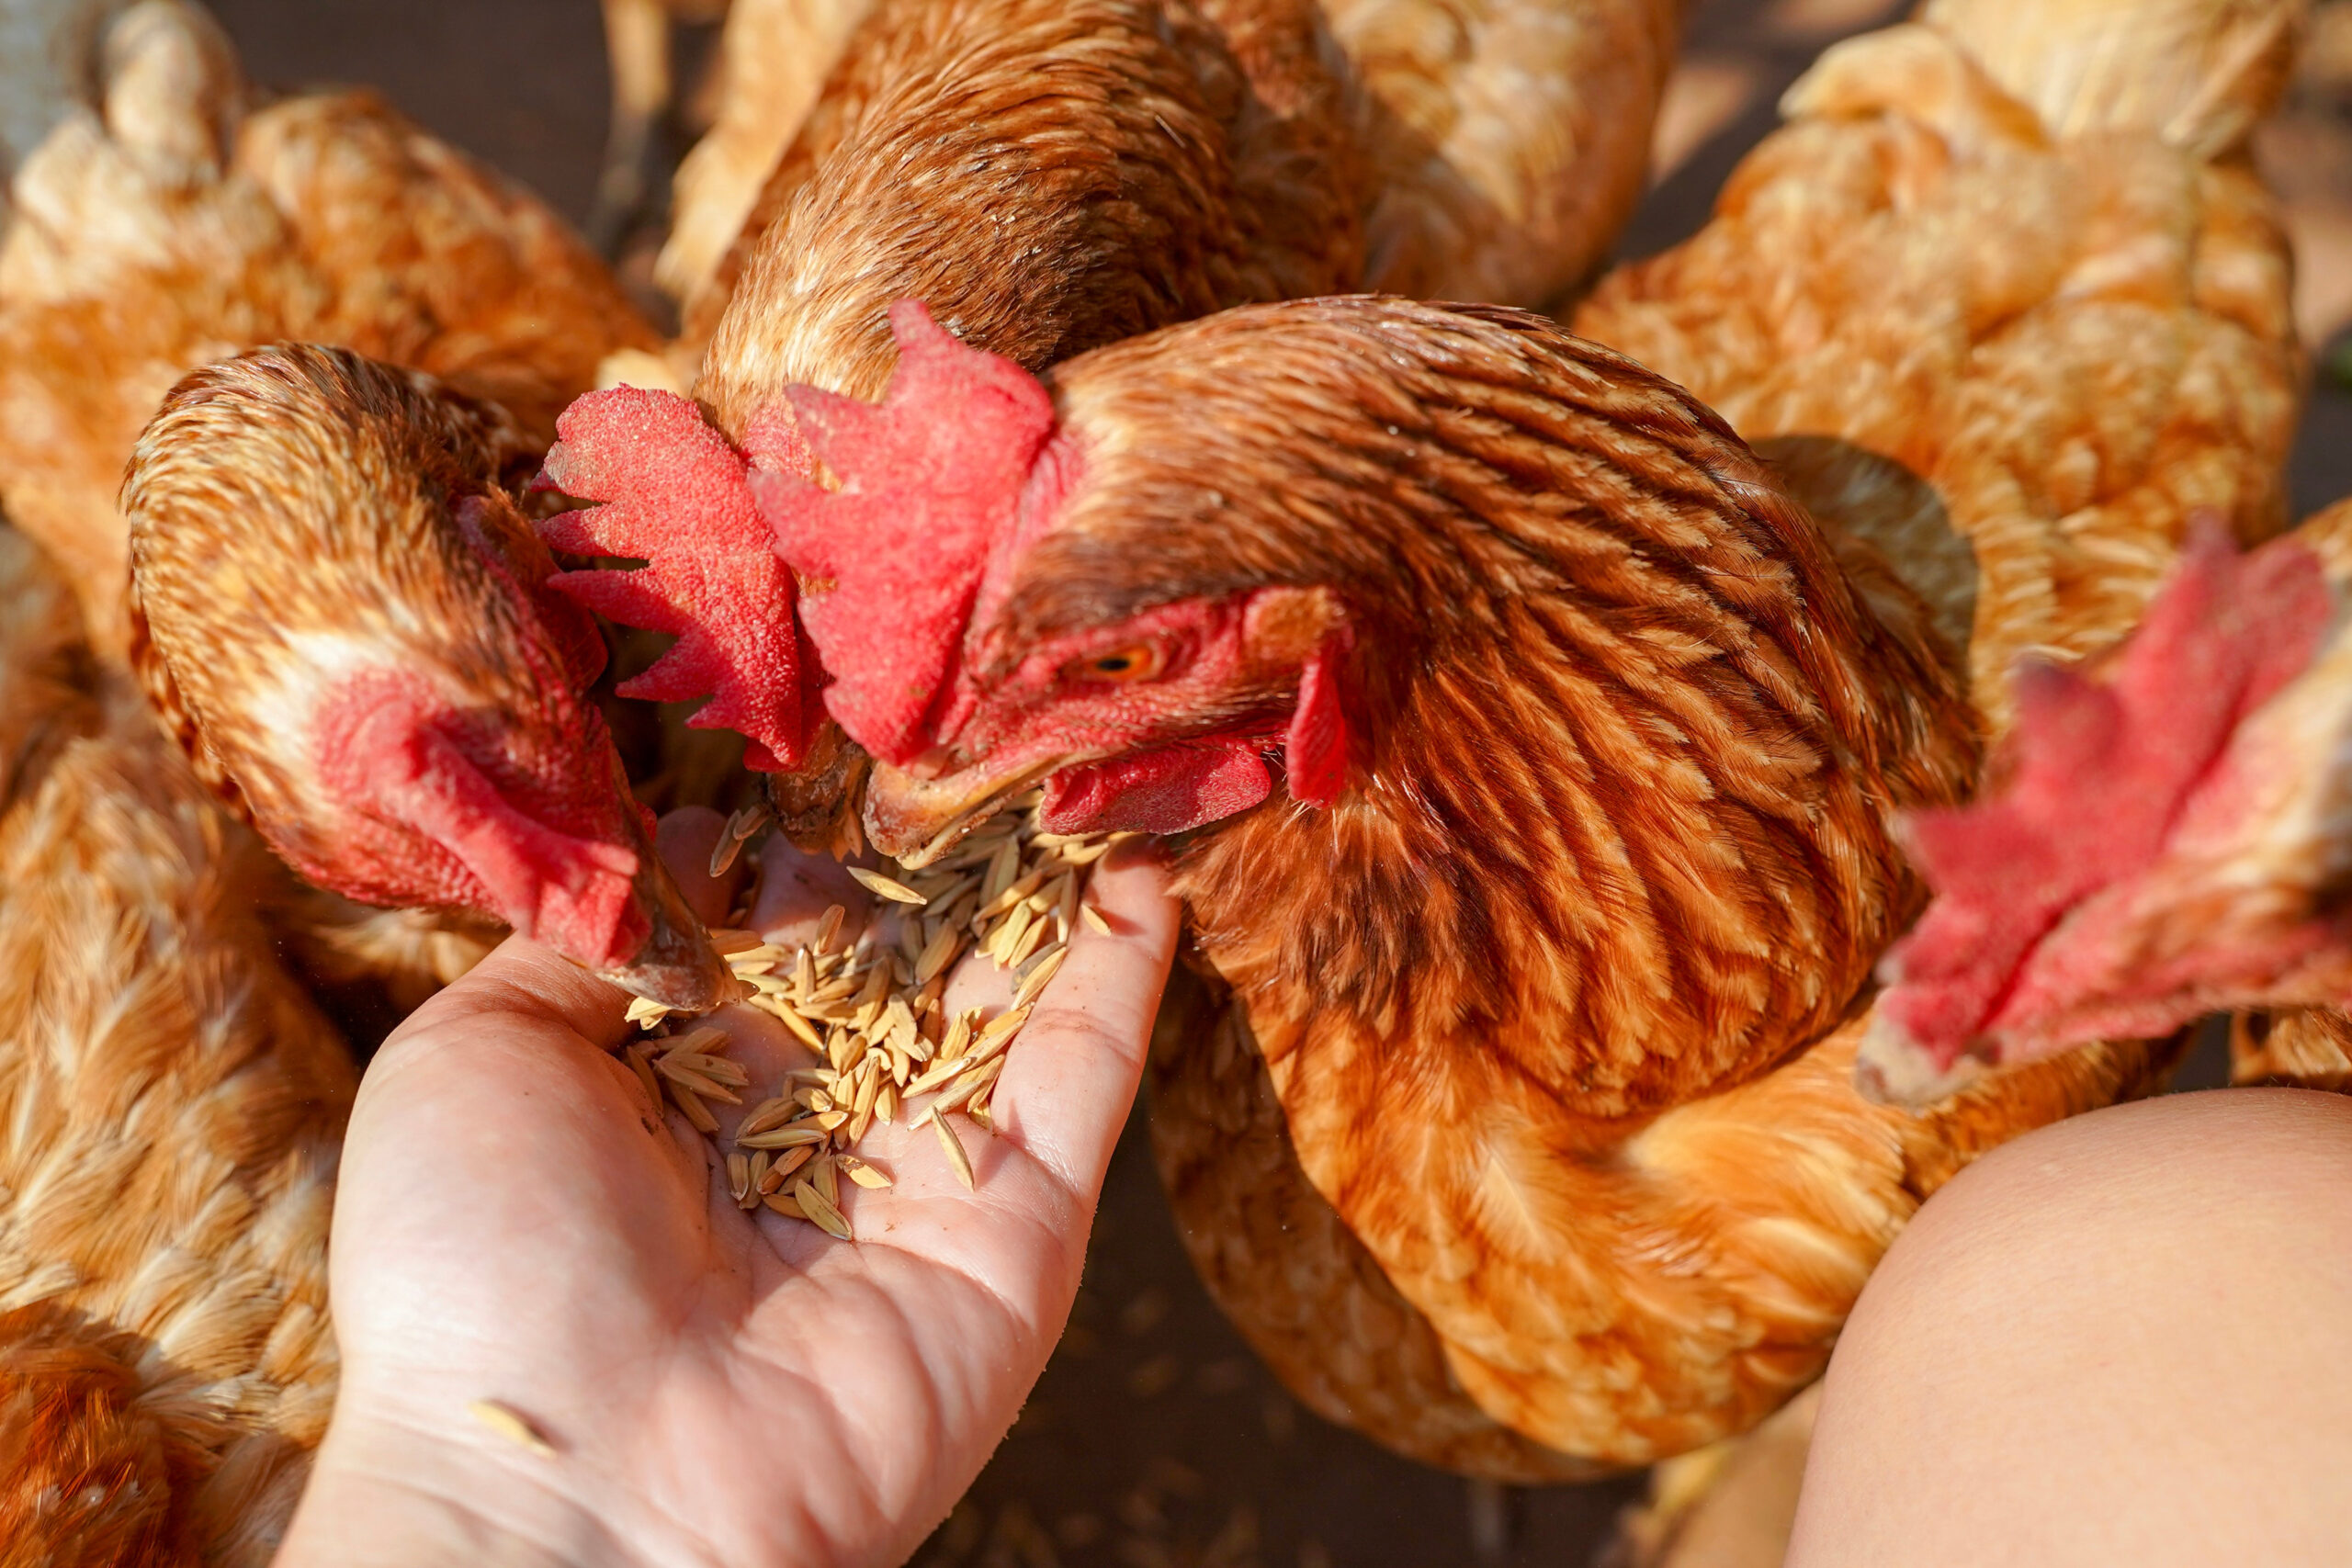
To add more protein, switch to game-bird feed, which has a protein content ranging from 20 to 28 percent depending on the manufacturer. If it’s not available in your area, switch to chick feed, which has a protein content of 18 to 22 percent, again depending on the maker. Both feeds have more protein than layer rations, which average about 16 percent protein.
Another option is to add a protein supplement to your flock’s feed, or to offer them well-cooked scrambled eggs. Avoid giving your chickens cat food; the high salt content is potentially dangerous to your birds’ kidneys and urinary system.
Fresh water is an important part of your chickens’ winter diet. Regardless of how cold it is, always make sure they have plenty of fresh water on hand. For many owners, this unfortunately means hauling out buckets of water and thawing out frozen-solid fonts. Save yourself some work and aggravation (and frozen fingers) by buying a second set of waterers for winter use.
Each morning, simply swap the fresh waterers for the frozen ones, then put the frozen fonts in your garage or barn to thaw out. Dump out the melted water, give the waterers a rinse, and they’ll be ready to go for the next morning’s water run.
If you have electricity in your coop, a heated waterer base is an easy and inexpensive way to keep your birds’ water thawed. Most bases automatically shut off when the temperature goes above freezing to conserve electricity. You’ll find them at your local farm-supply store; just be sure to use metal ones, as plastic ones can melt.
These steps don’t guarantee that your birds will see spring, but adhering to them will provide your flock with the food, warmth, and shelter necessary to give your birds their best chance at surviving the winter months—something you can take comfort in while you sit bundled by the fire.
This article appeared in the January/February 2017 issue of Chickens.