You can grow vegetables anywhere, earlier and without weeding. How? Create a straw bale garden!
These steps, excerpted from author Joel Karsten‘s Straw Bale Gardens Complete: Updated Edition, will help you make your own.
Step 1
Place bales on any surface—driveways, rooftops, anywhere. Treat bales with high-nitrogen fertilizer (organic or conventional) to accelerate decomposition of straw inside bale. Water heavily for 12 to 18 days.
Read more: Check out this video on how to build your first straw bale garden!
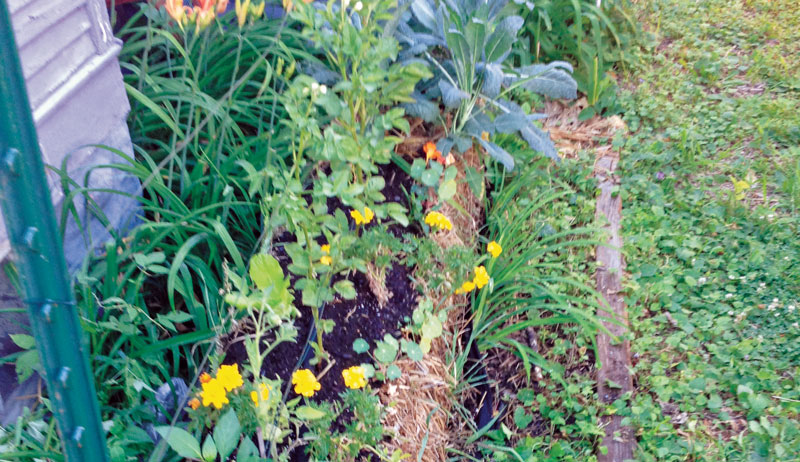
Step 2
Plant seedlings and seeds directly in the bales. Seeds require a bed of potting soil to hold moisture atop the bale until germination. Heat generated by decomposing straw allows you to plant two to four weeks earlier than if you are planting in the ground. Continue watering.

Cool Springs Press
Step 3
Water, watch and wait. No weeding.
Read more: Here are 8 tips for conserving water in the garden.
Step 4
Harvest. After the season, bales have turned into beautiful, clean compost for use in your other gardens. Next spring, repeat the process with fresh bales. Underground vegetables such as potatoes may be planted in second-year bales in some cases.
This article is excerpted from the book Straw Bale Gardens Complete: Updated Edition. Used with permission by Cool Springs Press.

Cool Springs Press


