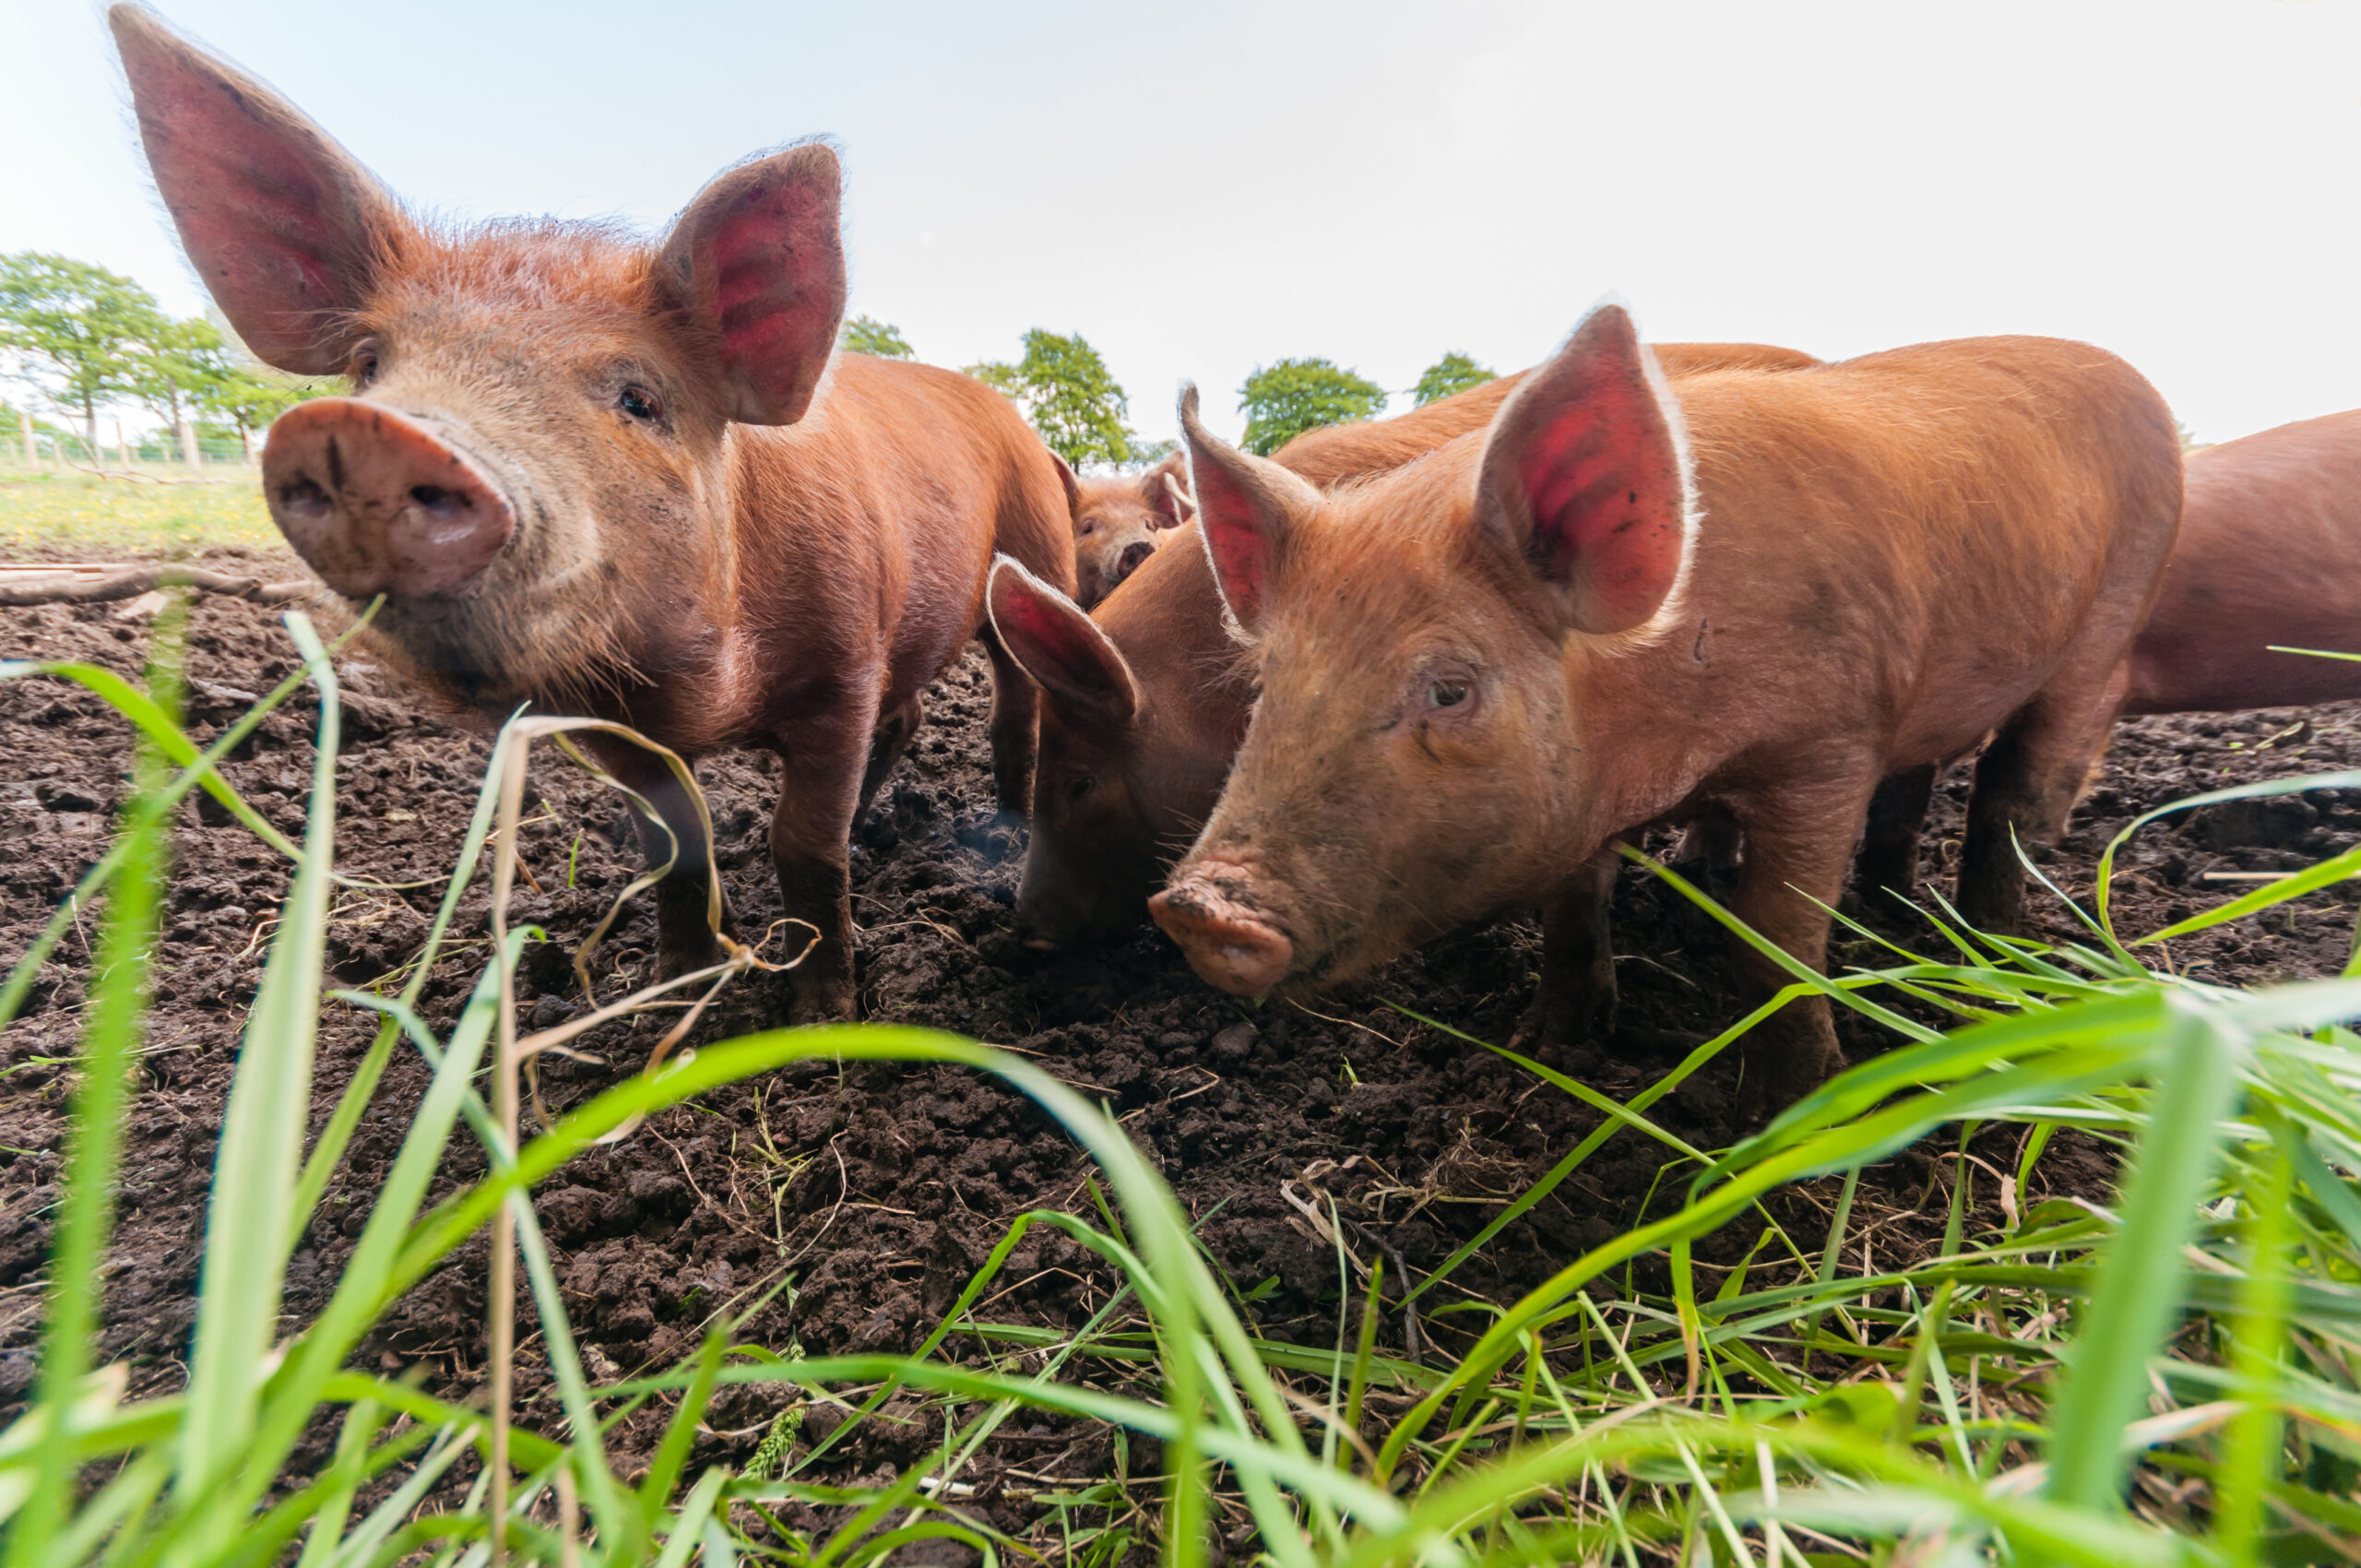
As the golden-auburn foliage of fall starts to color our landscapes, we chicken owners turn a sharp eye towards our coops. We know that, when the leaves begin to fall, frosty weather isn’t too far behind. Here in southeast Michigan, for example, we’ve already dropped to 39 degrees F at night despite sunny days in the high 60s/low 70s.
Those of us with sturdy, insulated coops know that our winter preparations might involve some quick repairs. Perhaps they need a bit of caulking and some fresh bedding, and we’re good to go.
Unfortunately, not all coops are created equal. Many eager newcomers to chicken keeping purchase ready-to-assemble coop kits online or at farm-supply stores. The building blocks of these coops are typically pressed wood, plastic or thinly cut softwoods. These lightweight materials are easy to handle and inexpensive to ship.
The resulting coops can be quite attractive, practical and perfect for housing birds during the warm spring and summer months. When it comes to standing up against a brutal, snowy winter, however, prefab poultry houses offer minimal protection.
If your flock inhabits a kit coop, don’t panic. There’s plenty to do in order to make your choice of chicken housing habitable during the snowy months. This week, we’ll examine the steps you can take to shore up your henhouse’s nest boxes, ceiling, floor and location.
Location, Location
Even the best-insulated home loses some heat during the winter months. Put that lost heat to use by moving your kit coop as close to your house as possible (check your local ordinances for any distance restrictions).
Heat emanating from your house help keep your coop warmer during the winter than if it were out in the open. And the actual building itself will also help block gusting winter winds and snow, further protecting your coop and the flock within.
Another option for those who have large garages, sheds or pole barns is to move the kit coop completely within one of these outlying structures for the duration of the cold season. Drawbacks to this include limited air flow and the potential to attract mice and other vermin. Also, there’s the mess of dust, feathers and droppings that will await your clean-up in the spring.
But this may be a small price to pay for the security of knowing that your birds will be out of the direct cold during the year’s chilliest months.
Read more: Curious about the deep litter method? Here’s what it is and why you should consider it.
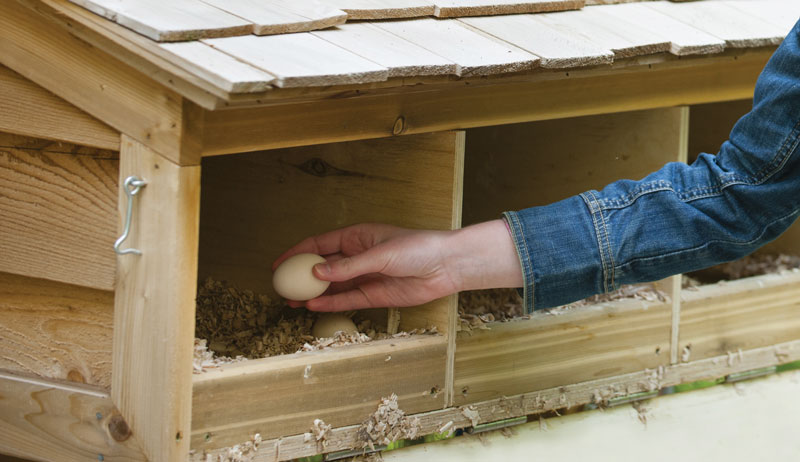
Secure the Nest Boxes
Most nest boxes on chicken coops, whether they’re assembled from a kit or are custom built, extend outward to avoid taking up the coop’s limited interior space. Because of this, cold air strikes them on all three sides as well as on the bottom.
If that isn’t bad enough, because nest boxes attach to the main coop, they are often constructed of materials that are lighter—in other words, thinner—than the rest of the structure. As a result, nest boxes are often the coldest part of the coop.
You’ll therefore want to discourage your birds from bunking down inside a nest box. This could be potentially life threatening for a solitary bird on a sub-zero day.
The Blanket Solution
To do so, hang an acoustic blanket (also called a soundproof or noise-dampening blanket) so that it blocks the nest box entrance and drapes down to just a couple of inches above the coop floor. You will most likely need to trim the blanket to the right size.
Most acoustic blankets come with built-in grommets for easy hanging. This sturdy, thick barrier will keep your birds from overnighting inside a nest box. It will also serve as an insulator, keeping most of the nighttime chill from entering the main coop.
When you open up every morning, you will need to pin the blanket up to allow access to the nest box for laying. But the benefits of this insulating barrier outweigh the minor inconvenience.
Temporarily Permanent
If your hens cycle naturally during the winter—in other words, if no artificial lighting is used inside your coop—you may want to consider blocking access to your coop’s nest boxes in a more (temporarily) permanent way. Once your hens cease laying for the season, tack down the acoustic blanket along all four sides to seal off the nest box entrance.
You can also use plywood or an exterior panel as a barrier if you prefer. Simply screw or nail this in place and remove it once the dangers of winter have passed.
Floor Treatment
The deep litter method remains a very popular way of creating coop heat during winter through litter decomposition. But it may not be a very practical approach given the cozy interior square footage of a kit coop.
For those wishing to give deep litter a try, simply add an inch or two of fresh shavings to your coop’s litter as it grows soiled, covering the existing litter completely with the new. It is crucial to have proper ventilation in your coop should you choose to use the deep litter method. Decomposition results in the release of gases that can adversely affect your chickens.
If you decide against the deep litter method, make sure to rake out soiled litter every week and replace it with at least two inches of fresh litter. And keep the floor surface even to help prevent such conditions as bumblefoot, which tends to occur more frequently during the colder months.
Read more: Here are some tips for protecting your flock against bumblefoot.
Insulate the Ceilings
Not many chicken owners consider the ceilings of their coops as a potential source of heat loss. Since heat rises, preventing heat from escaping overhead is the best way to help retain that heat for your chickens.
Most coops, regardless of whether they constructed from a kit or custom built, have support beams or rafters that jut downward towards the floor of the coop. The surface of these beams, if covered, creates a pocket of space approximately 1 to 3 inches deep between the ceiling and the covering material.
This pocket of space is the perfect location to add actual insulation to your coop.
Multiple types of insulation exist. A visit to the insulation section of your hardware or home-improvement store can give you an idea as to what might work best for your coop.
Whether you decide to install spray foam, fiberglass roll or soundproof insulation, make sure to cover the entirety of your new insulation with a thin wood such as plywood, creating a new coop ceiling. This new ceiling will keep the insulation from falling out over your birds. And itwill prevent the birds from pecking at the insulation.
Remember that these suggestions are steps to take beyond the basic winter coop preparation. Fresh litter on the floor and a well-insulated roof don’t go far if your roof leaks or if there are holes in the walls. Same if the roost is splintering or mice share the shelter.
Perform your routine maintenance on your coop. Then take these steps to ready it for winter. We’ll cover how to winterize the walls, windows, and doors next and discuss one final option for readying a summer coop for winter.