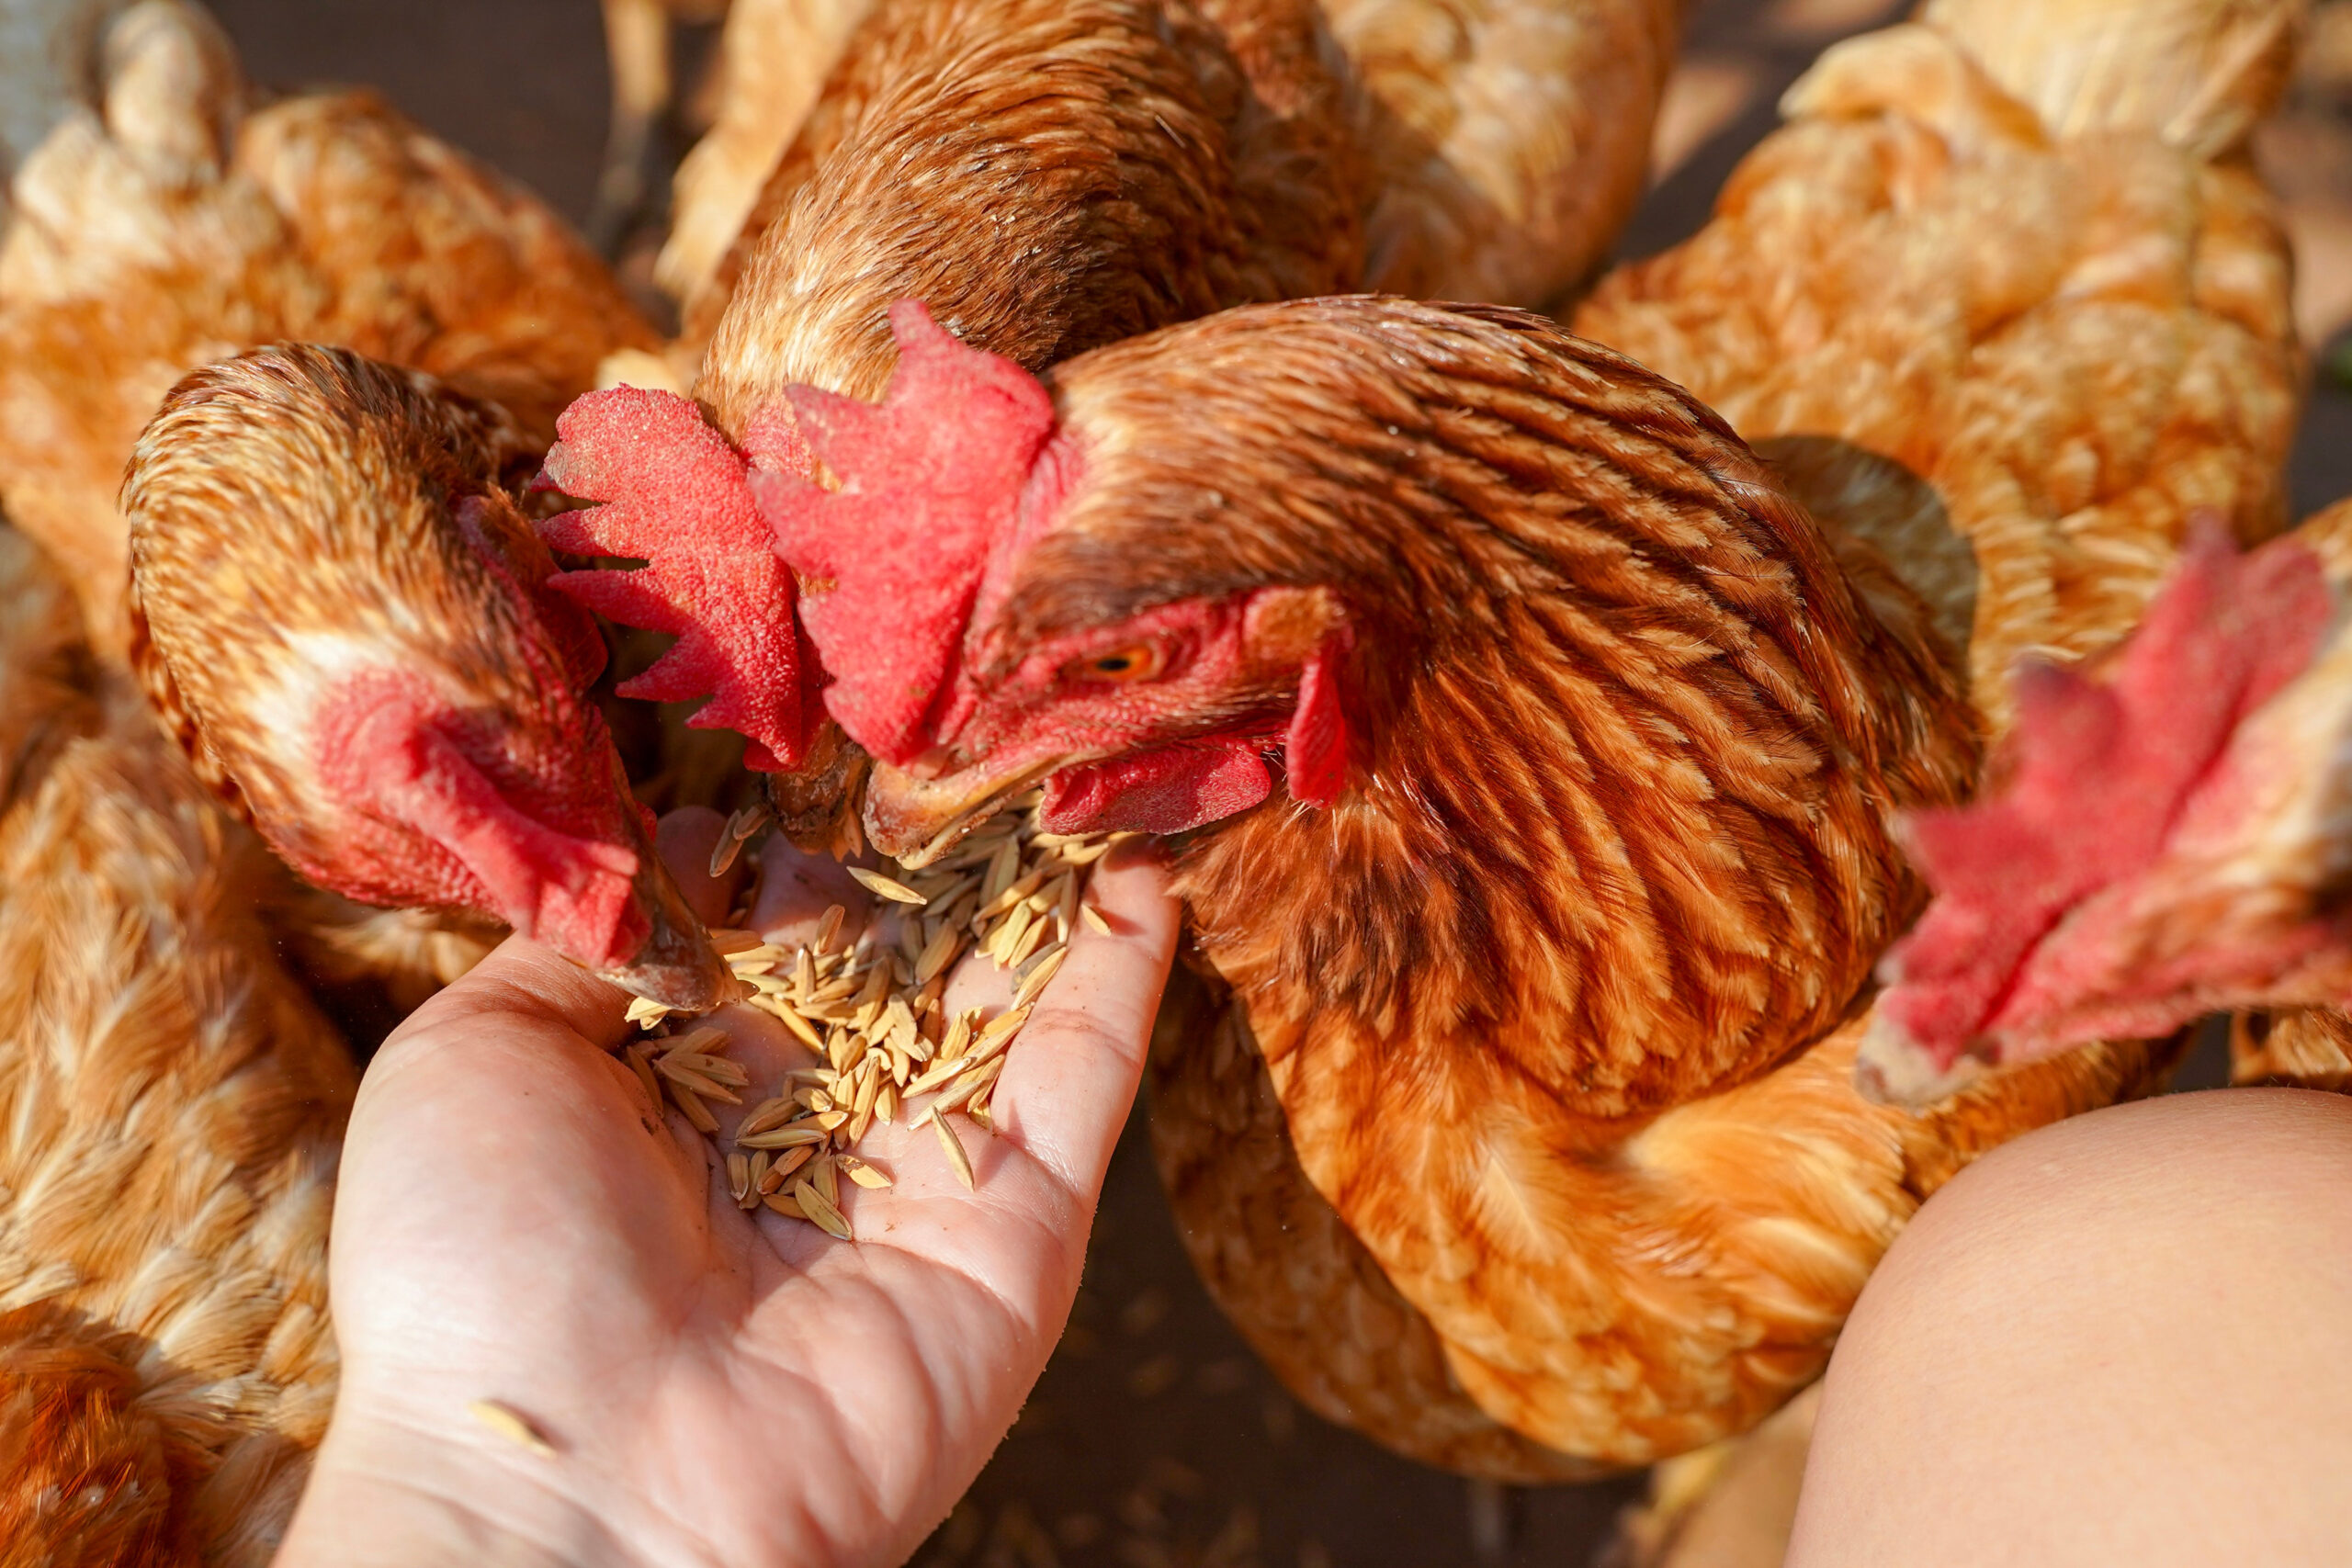
Preparing a lightweight, ready-to-assemble coop for the cold of winter is not an insurmountable task. As long as you have performed routine coop maintenance and repairs, shoring up your henhouse for harsh weather can be a breeze.
We previously discussed how to choose a winter location for your coop. And we covered how to winterize the nest boxes, floor and ceiling. Read on to learn the steps for preparing your walls, doors and windows for winter. Plus, I’ll provide one additional step to make your summer coop a cozy winter shelter.
Walls
Unfortunately, most ready-to-assemble coops do not feature space for insulation between their exterior and interior walls. In fact, most of these coops only have the one main wall. In addition, the interior dimensions of these coops are usually minimal. They cannot sacrifice the space needed for installing insulation.
Don’t let this stop you from blocking the chill for your chickens. You can create your own natural insulation! Just surround your coop with straw bales.
Stack these around the exterior of your coop, butting right up against the walls. We usually stack our bales two or three high, depending on the coop we are protecting. Straw is a natural insulator. The bales will not only block the frigid air but also keep your coop’s heat in.
Come spring, this natural insulation can be easily disposed of as compost.
Read more: Check out these other steps for preparing a readymade chicken coop for winter.
Windows
Windows provide warmth and light for your flock during winter days. During winter nights, however, windows are the focal point of your coop’s energy transfer, the location where the heat escapes to the outside through gaps or cracks in the framing.
Fortunately, these issues can easily be resolved with compression weather stripping and caulk. Both are available at your local hardware or home-improvement store.
If the chill is coming through the window panes, consider covering the interior of each window with shrink-and-seal plastic. This heat-triggered window sealant is sold in rolls and in convenient window-insulating kits that handily include weather stripping.
Another option to consider is purchasing adhesive plexiglass cut to your windows’ size. Once the plexiglass is aligned with your window, peel the backing off and press the plexiglass to your window surface. Either of these additional window barriers will still allow light to enter the coop while helping keep the heat from leaving.
Doors
Let’s face it: Coop doors are the hardest areas to insulate in a henhouse. Pop doors have to remain open all day to allow the birds to enter and exit the coop. Human-access doors have to open on a daily basis to fill feeders and waterers, do an evening head count, replace soiled litter, and more.
There is no way to block off the doors without reducing or prohibiting their function. What can be done, however, is adding door weather stripping. When sealed, weather stripping stops drafts of cold air from entering.
You can also add an additional protective barrier to your pop door and your human access door. Just purchase a SilveRboard insulation panel. Cut this to the size of your doors, and install it by gluing or stapling. This special polystyrene foam board is covered by a silvery reflective film laminated that not only protects the foam but enhances its insulating properties.
The reflective quality of the SilveRboard might tempt curious chickens to peck at it. So you may want to cover the insulation panel with a thin tarp or other light material. The insulation panel is lightweight and will not weigh down your doors or cause them to shift but will add an extra layer of winter protection.
Read more: Want eggs in the winter? Adding lighting in the coop can help.
Coop Tarps
One final method of protecting your ready-to-assemble coop—or your small, custom-built coop—from the harsh winter weather is by covering the structure with tarps. Most hardware and home-improvement stores sell extra-large, heavy-duty tarps. These can be draped over your coop and staked down, serving as a shield against inclement weather and creating a small area of covered, snow-free space should your birds wish to spend a little time outdoors.
A step up from this would be to use tarps specifically designed for use with chicken coops. These rugged vinyl tarps come in both transparent and opaque styles to allow light to enter while still protecting the coop.
Whichever type of tarp you choose to use, make sure that you do not block your coop’s ventilation openings. Not only does proper ventilation allow for dangerous gases to escape, it also permits the escape of excess moisture, which builds up during the winter months from such origin sources as spilled or splashed drinking water, droppings and even your bird’s exhalations.
Using these suggestions—and those made in Part 1—your flock can be as comfortable in their coop during the winter as they are in the summer. Just remember to:
- provide fresh water, a nutritious winter feed, and frequently refreshed bedding
- check for eggs should some of your layers still produce during the colder months
- inspect your birds regularly for signs of frostbite and dehydration
Before you know it, the longer days of March will be here!