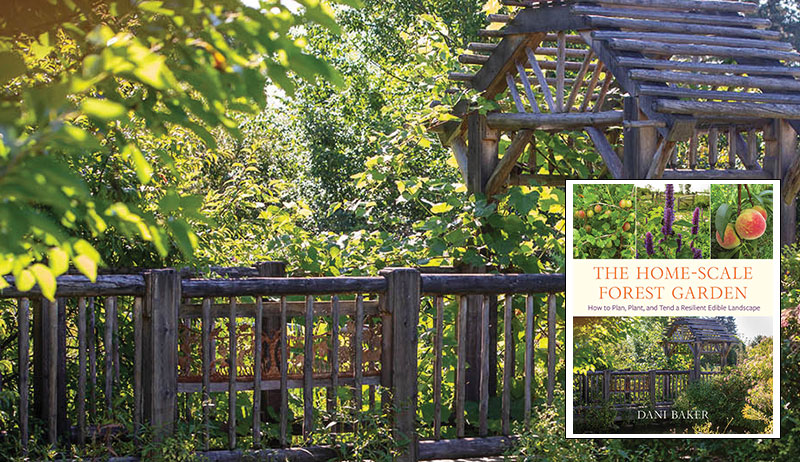
The following excerpt is from Dani Baker’s new book Home-Scale Forest Garden: How to Plan, Plant, and Tend a Resilient Edible Landscape (Chelsea Green Publishing, May 2022) and is reprinted with permission from the publisher.
Planting Potted Trees & Shrubs
If you order potted trees, check with your supplier to find out where the plants were stored before being shipped. If they were kept in a heated greenhouse or another location with ambient temperatures significantly warmer than your outdoor conditions, you probably need to harden off the plants. Hardening off involves gradually exposing plants to the outdoors by putting them outside for a short time the first day and gradually increasing exposure time over the next few days until the plants are left outdoors for a full 24 hours.
When a potted tree is adequately hardened off and you are ready to plant, water the root ball thoroughly. The best way to do this is to submerge the potted plant in a bucket of water in an upright position until air bubbles cease to rise to the surface. Then remove it from the pot and inspect the roots. If the roots are root-bound—encircling the outer surface of the root ball—trim them with a scissor or clippers until you can spread out the still-attached roots to examine their expanse. If you plant trees or shrubs in the root-bound state, the roots will likely continue to grow in this manner, circling round and round within the planting hole, and your plant will struggle to survive.
Once you’ve trimmed the roots as needed, place the root ball back in the pot or otherwise protect the root ball from the air and sun while you are digging a planting hole to size. Place the root ball in the hole to make sure the depth and width of the hole are adequate. Then plant as described previously, spreading out any loose roots to encourage their outward growth. If the root ball is a solid mass of fine roots, you needn’t build the mound of topsoil to spread the roots around. Just place the bottom of the root mass on the bottom of the hole and fill in around it. Water it well, then apply a trunk guard and mulch.

Dani Baker
Transplanting Trees & Shrubs
As your garden develops, there will be occasions when you need or wish to move an established plant. You may decide that a tree would do better in a new habitat that you think will be more conducive to its growth. Or you may want to relocate a shrub that is becoming too crowded or shaded by neighboring plants. When transplanting, the goal is to capture as much of a plant’s root structure as you can, retaining as much of the soil surrounding the roots as possible. This will give the plant the best chance of establishing itself successfully in its new location. Here’s the technique:
- Make vertical cuts with a shovel in the soil around the plant at a distance about half the height of the bush or tree. These cuts should overlap so you create a continuous vertical slice encircling the roots. If the plant is 1 foot (30 cm) tall, a circle with a 6-inch (15 cm) radius is probably sufficient. If it is 2 to 4 feet (60–125 cm) tall, a radius ranging from 9 to 12 inches (23–30 cm) should be adequate, and so on. The depth of the cuts also depends on the size and root structure of the plant. For shallow roots, cuts 6 inches deep may capture most of the roots. If the plant has deeper roots or a taproot, dig deeper to capture as much of the root mass as possible.
- Begin digging down deeper and toward the tree. Your goal is to extricate the roots in a bowl-shaped mass with the soil intact. You may encounter roots that you need to cut through using the point of the shovel or a pruning implement.
- Once you have cut through all the roots you encounter, spread a damp cloth on the ground nearby.
- Extricate the root ball from the hole, wrap it in the damp cloth to shield the exposed roots from the air, and transport it to the new location. Depending on the size of the tree, a root ball can be quite heavy; you may need help to move it.
- At the new site, dig a hole to match the size and shape of the root ball you have extricated.
- Remove the cloth and lower the root ball into the hole. The surface of the root ball should be level with the soil surface surrounding the hole.
- Use the excavated soil to fill in any gaps between the root ball and the sides of the hole.
- Apply some water to settle this soil, and add more soil again until it is level with the surrounding surface.
- Use more of the removed soil to build a raised circle around the tree to form a saucer to hold water.
- Water the tree just until the water begins to pool.
Finish by applying a trunk guard and mulch as described previously in the instructions for planting a bare-root tree. Sometimes soil does not adhere well to the roots, but instead falls away, leaving the roots bare. In this case wrap the roots in a wet cloth and follow the instructions for planting a bare-root tree.
Read more: Check out our review of The Home-Scale Forest Garden from contributor Susan Brackney.
Pruning
Pruning is the practice of selectively removing branches from a tree or bush. In nature, “pruning” occurs randomly when branches are broken or damaged by a windstorm, a fire, or the nibbling of wild ruminants. In a garden or farm setting, though, productivity and health of plants improves when limbs are systematically clipped. Thinning branches improves air circulation to ward off disease, lets in light to hasten ripening, encourages blossoms and can result in fewer but larger fruits. Removing dead, damaged or diseased limbs helps prevent infestations from spreading to healthy growth. Pruning also renews a tree or bush by encouraging growth of new branches that fruit more reliably than older ones. If your space is limited or you prefer not to climb high to harvest fruit, you can prune to manage the size of your trees and shrubs. Pruning can also result in plant forms that are more resilient and aesthetically pleasing or in dense growth of a hedge. Removing lower limbs of a tree can allow more light to bathe plants below.

Dani Baker
Learning to Prune
Each type of tree or shrub you plant may require slightly different pruning techniques. Permaculturist Sepp Holzer does not prune any of the plants on his extensive permaculture farm in Austria. That is an option for you as well, especially if you have a good deal of acreage and prefer to let your forest garden remain more natural. But if you would like to actively enhance the health and productivity of your plants, it is wise to apprise yourself of pruning basics. Most domesticated fruit trees benefit from pruning to enhance the quality of their fruit. I am admittedly a novice in this endeavor, though I tried my hand at pruning a few apple and peach trees the last few seasons. I learned that this enterprise is as much an art as a science, and takes much practice to master. I also observed that trees are resilient and will in most cases survive even the most egregious mistakes of the beginner.
Shaping and maintaining trees and bushes when they are young promote the best form and growth from the get-go. In addition, pruning cuts heal more quickly when only young, thin branches are removed. I recommend you seek expert advice to learn how best to maintain the plants you choose, and do so early on. Excellent references for pruning techniques can be found in the resource sections of some nursery websites and on YouTube. Your local cooperative extension office can also be a resource.
I recommend that you familiarize yourself with basic pruning principles and, if possible, apprentice yourself to a more experienced friend or neighbor to learn specific techniques.
Thinning Fruit
In addition to pruning, many fruit trees benefit from annual thinning of immature fruit. Thinning can remove diseased and distorted fruits while enhancing the size and quality of those remaining. It is also a way of helping a young tree by allowing it to direct most of its energy into expanded growth rather than fruit production. Each type of fruit tree will benefit from a slightly different thinning practice; consult your nursery or another source to determine the timing and technique best suited to your chosen trees.


