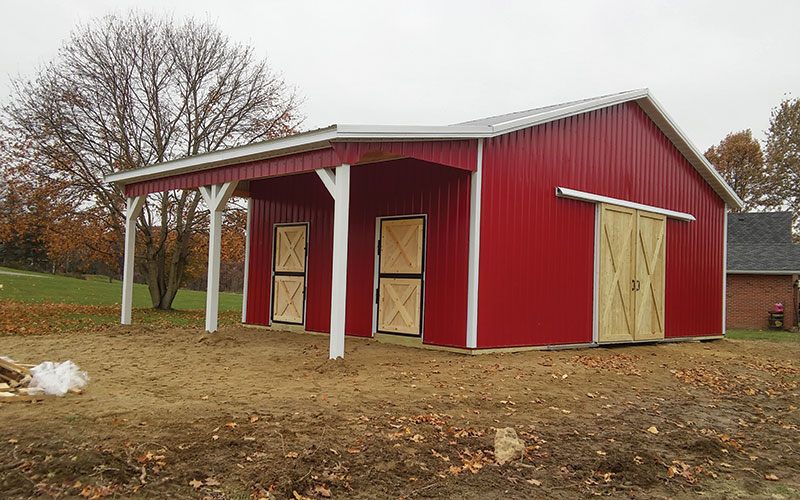
The pole barn has been around for a long time, but this post-frame construction method has become more popular for barns as farm equipment has gotten bigger and needed large buildings to protect it from the elements. Manufacturers of pole barns recognized the opportunity and made adjustments, such as chemically treating wood for greater longevity and using steel plates in trusses, allowing for greater height and length of buildings. Let’s tackle 10 key considerations before you have one built for your farm.
1. What Type of Foundation?
www.diypolebarns.com
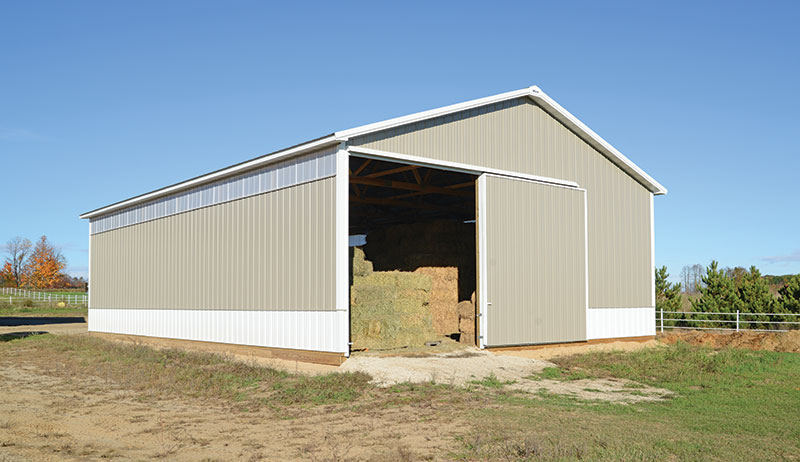
Pole barns were originally constructed by placing posts directly in the ground. The depth of the holes for posts is usually determined by the applicable building code and is based on factors including frost heave, wind speeds, wall size and building dead load. This method is the easiest and least expensive construction option, but it also leaves posts more susceptible to vertical movement as the building settles as well as rot where the posts contact the ground.
Many pole barns are constructed by placing each post on a concrete “cookie.” These cookies are 6-inch concrete disks that go in the bottom of each hole, below the post, before the hole is backfilled with dirt. Companies use this cookie to mitigate the potential settling of the barn as the load is applied to the posts after construction. This low-cost method has been used for a long time and does help prevent the posts from settling, but it still leaves the posts susceptible to rot at ground level.
www.diypolebarns.com
The last option can take many forms, but the concept is the same. The posts are anchored to a metal bracket that itself is anchored to a concrete foundation. The concrete foundation can be a concrete pier (a vertical column of concrete similar in size to the holes drilled for the typical post placement), or it can be anchored to a precast concrete post similar in size to the wood post or anchored to a traditional stem wall. Each of these more expensive options mitigates the potential for posts settling as well the potential for post rot, as the concrete acts as a barrier to the ground.
2. What Type of Posts?
The typical pole barn has two options for posts. Originally, pole barns were built with single log or one-piece post construction. These posts were typically 6-by-6 posts. In recent years, many manufacturers have been using laminate posts that are of the same size.
The single wood post is still a common construction material, and for smaller buildings or buildings with a lower roofline and sidewalls, such posts can be more economical. However, they aren’t any easier to work with and don’t offer the structural strength or resistance to rot of laminate posts.
Laminate posts are built from three smaller, individually treated pieces of lumber that have been glued and nailed together to make a single post. As an example, a 6-by-6 post would be composed of three treated 2-by-6 boards that have been laminated together. These posts have a greater resistance to rot—regardless of the foundation—and are less likely to twist as they dry and are put under load.
Paulette Johnson
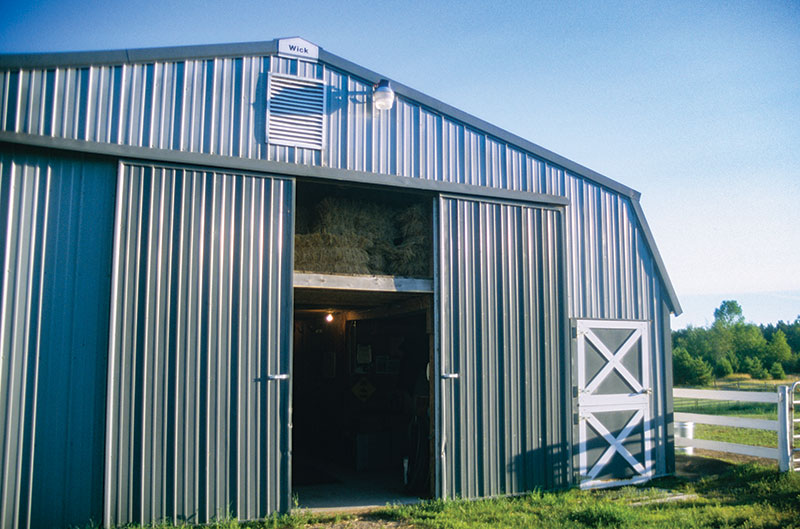
3. Are There Different Options for the Exterior Metal?
Manufacturers of pole barns use a variety of thicknesses in terms of the metal they use or recommend. Discuss the type of coatings they use to prevent rust and how long a warranty they provide against the fading of the paint option you choose.
4. How Thick Is the Metal?
The thickness of the metal for the outside walls and roof of a pole barn are standardized by the American Iron and Steel Institute. As an example, 30-gauge galvanized steel should have an average thickness of .0157 inch, while 26-gauge galvanized steel has an average thickness of .0217 inch. The key point is to recognize that the smaller the metal gauge, the stronger the metal. There can be a significant difference in the cost of the materials on a building with 26-guage metal versus a building with thinner, 30-guage metal.
Compare the painting process used by each manufacturer and the warranty each provides for fading and rusting. Some colors or finishes have different warranties or no warranty based on your selection. Some colors are also a significant upgrade from manufacturer to manufacturer.
5. Is There a Difference in the Pitch of the Roof?
www.WickBuildings.com
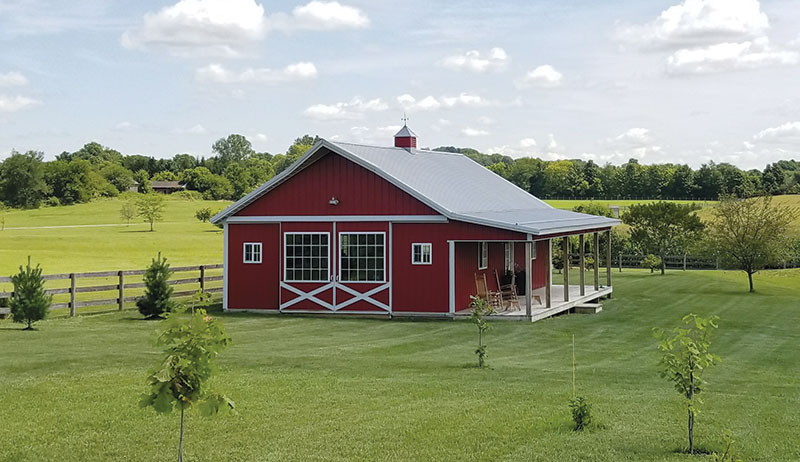
The roof’s angle, or pitch, is calculated by the number of inches it rises vertically for every 12 inches it extends horizontally. For example, a roof that rises 4 inches for every 12 inches of horizontal run has a 4:12 pitch (like the one shown above). Most pole barns have fairly flat roofs because the greater the pitch of the roof, the greater the cost. When comparing the costs of pole barn estimates, make sure the manufacturers quote the same roof pitch. A flatter roof, such as a 4:12 pitch, has fewer material costs for the trusses and metal than a roof with a 5:12 pitch.
6. Are There Options on the Spacing of the Posts?
Companies can vary the spacing of the posts greatly. The post spacing can range from 8 to 12 inches on the sidewalls (load-bearing sides) of a pole barn. These differences can be important in the overall construction of a pole barn but usually this factor doesn’t affect the cost much.
For example, a building with posts spaced every 10 feet uses fewer posts over a 40-foot span, but the changes to the rest of the structure of the building to reinforce the greater span between posts negates that savings. The spacing of the posts depends on the barn’s intended use. Overhead doors on the sidewalls, lofts, windows and walk doors can all affect the optimal spacing distance.
www.polebarnsdirect.com
7. What Are Girts?
The sidewalls of a pole barn are typically reinforced with 2-by-6s every 24 to 30 inches from the bottom of the posts to the top of the posts. Some companies space girts every 24 inches and use 2-by-4 lumber, while others stretch the distance to 48 inches with the use of 2-by-6 lumber.
Providing for the continuity of the quotes, ask what each manufacturer recommends. As you plan the use of the pole barn, determine whether you want to finish the inside of the pole barn or affix equipment to the inside walls, as this might dictate the spacing and the material necessary for the structure you desire.
8. What Are Purlins?
Purlins are the long, horizontal structural component of the roof. The purlins run perpendicular to the trusses, and the roofing metal is attached directly to the purlins. The three most common purlin systems are to attach the purlins flat (wide side of the 2-by-4 laying on the trusses), attach the purlins on edge (narrow side of the 2-by-4 laying on the trusses) or attach purlins by using hangers to affix the purlins between each truss with the top of the purlin even with the top of the trusses. Each of these methods should—if the spacing is properly calculated—deflect the weight necessary for the snow load in your location.
9. How Are the Trusses Attached to the Posts?
Methods for attaching the posts vary greatly but should correlate to the structural stability required of the building. Snow loads, wind speeds and earthquake susceptibility should be factors in the construction method, but it might be a component of how the manufacturer prefers to construct buildings.
Trusses resting on corbels are pretty common. A wooden block called a corbel is bolted to the post and then the trusses sit on top of the corbels and are attached to the post. Trusses attached to a header are more common in areas that don’t have quite as much snow load. In this system, a header is placed between posts—usually a 2-by-12—and the trusses are attached by metal fasteners to the header. This system is also used if a large door causes the spacing of posts to misalign the spacing needed for the trusses.
Laminate posts can be manufactured to allow the trusses to sit in a notched area either in the middle of the post or on one side of the post. Remember: These laminated posts are typically made of three 2-by-6s, so removing the top part of the middle 2-by-6 or the top of the outside laminated 2-by-6 is very easy. The trusses are then bolted all the way through the post, making a very solid connection.
Daniel Johnson
10. Insurance Information
Before you sign a contract, confirm that the company building your pole barn is bonded and insured. Building a pole barn is a fast-paced project with people working at potentially dangerous heights. Taking on the liability for the workers is the obligation of the company, but find out who takes on the liability for the materials from delivery to project completion and final payment.
Find out how the company you select handles this before you contact your insurance company. Each manufacturer aims to deliver as much material in as few loads as possible to save shipping costs. The means you must insure the material under what’s commonly called construction insurance or confirm that the builder insures the materials until the project is complete.
Pole Positions
Beyond these basic questions, take the time to read your contract until you understand all the provisions. These contracts are lengthy, so don’t sign one on the spot. The contract should specify how the building project will flow.
Many companies provide an anticipated build date. Recognize that the date is subject to change, and that the later in the peak build season you sign, the more it varies. Be aware of your payment obligations.
Many companies ask for three or four payments. Those could be a percentage when you sign, a percentage when materials are delivered and the remaining balance when the project is complete. Know whether the contract specifies a cost if you make changes to the building. Finally, be specific about who is responsible for cleanup. The cost of renting a debris box can be an unpleasant surprise.
Building a pole barn can be a huge undertaking, but with the right planning and a few good questions you should end up with a successful project.
This story originally appeared in the September/October 2018 issue of Hobby Farms magazine.