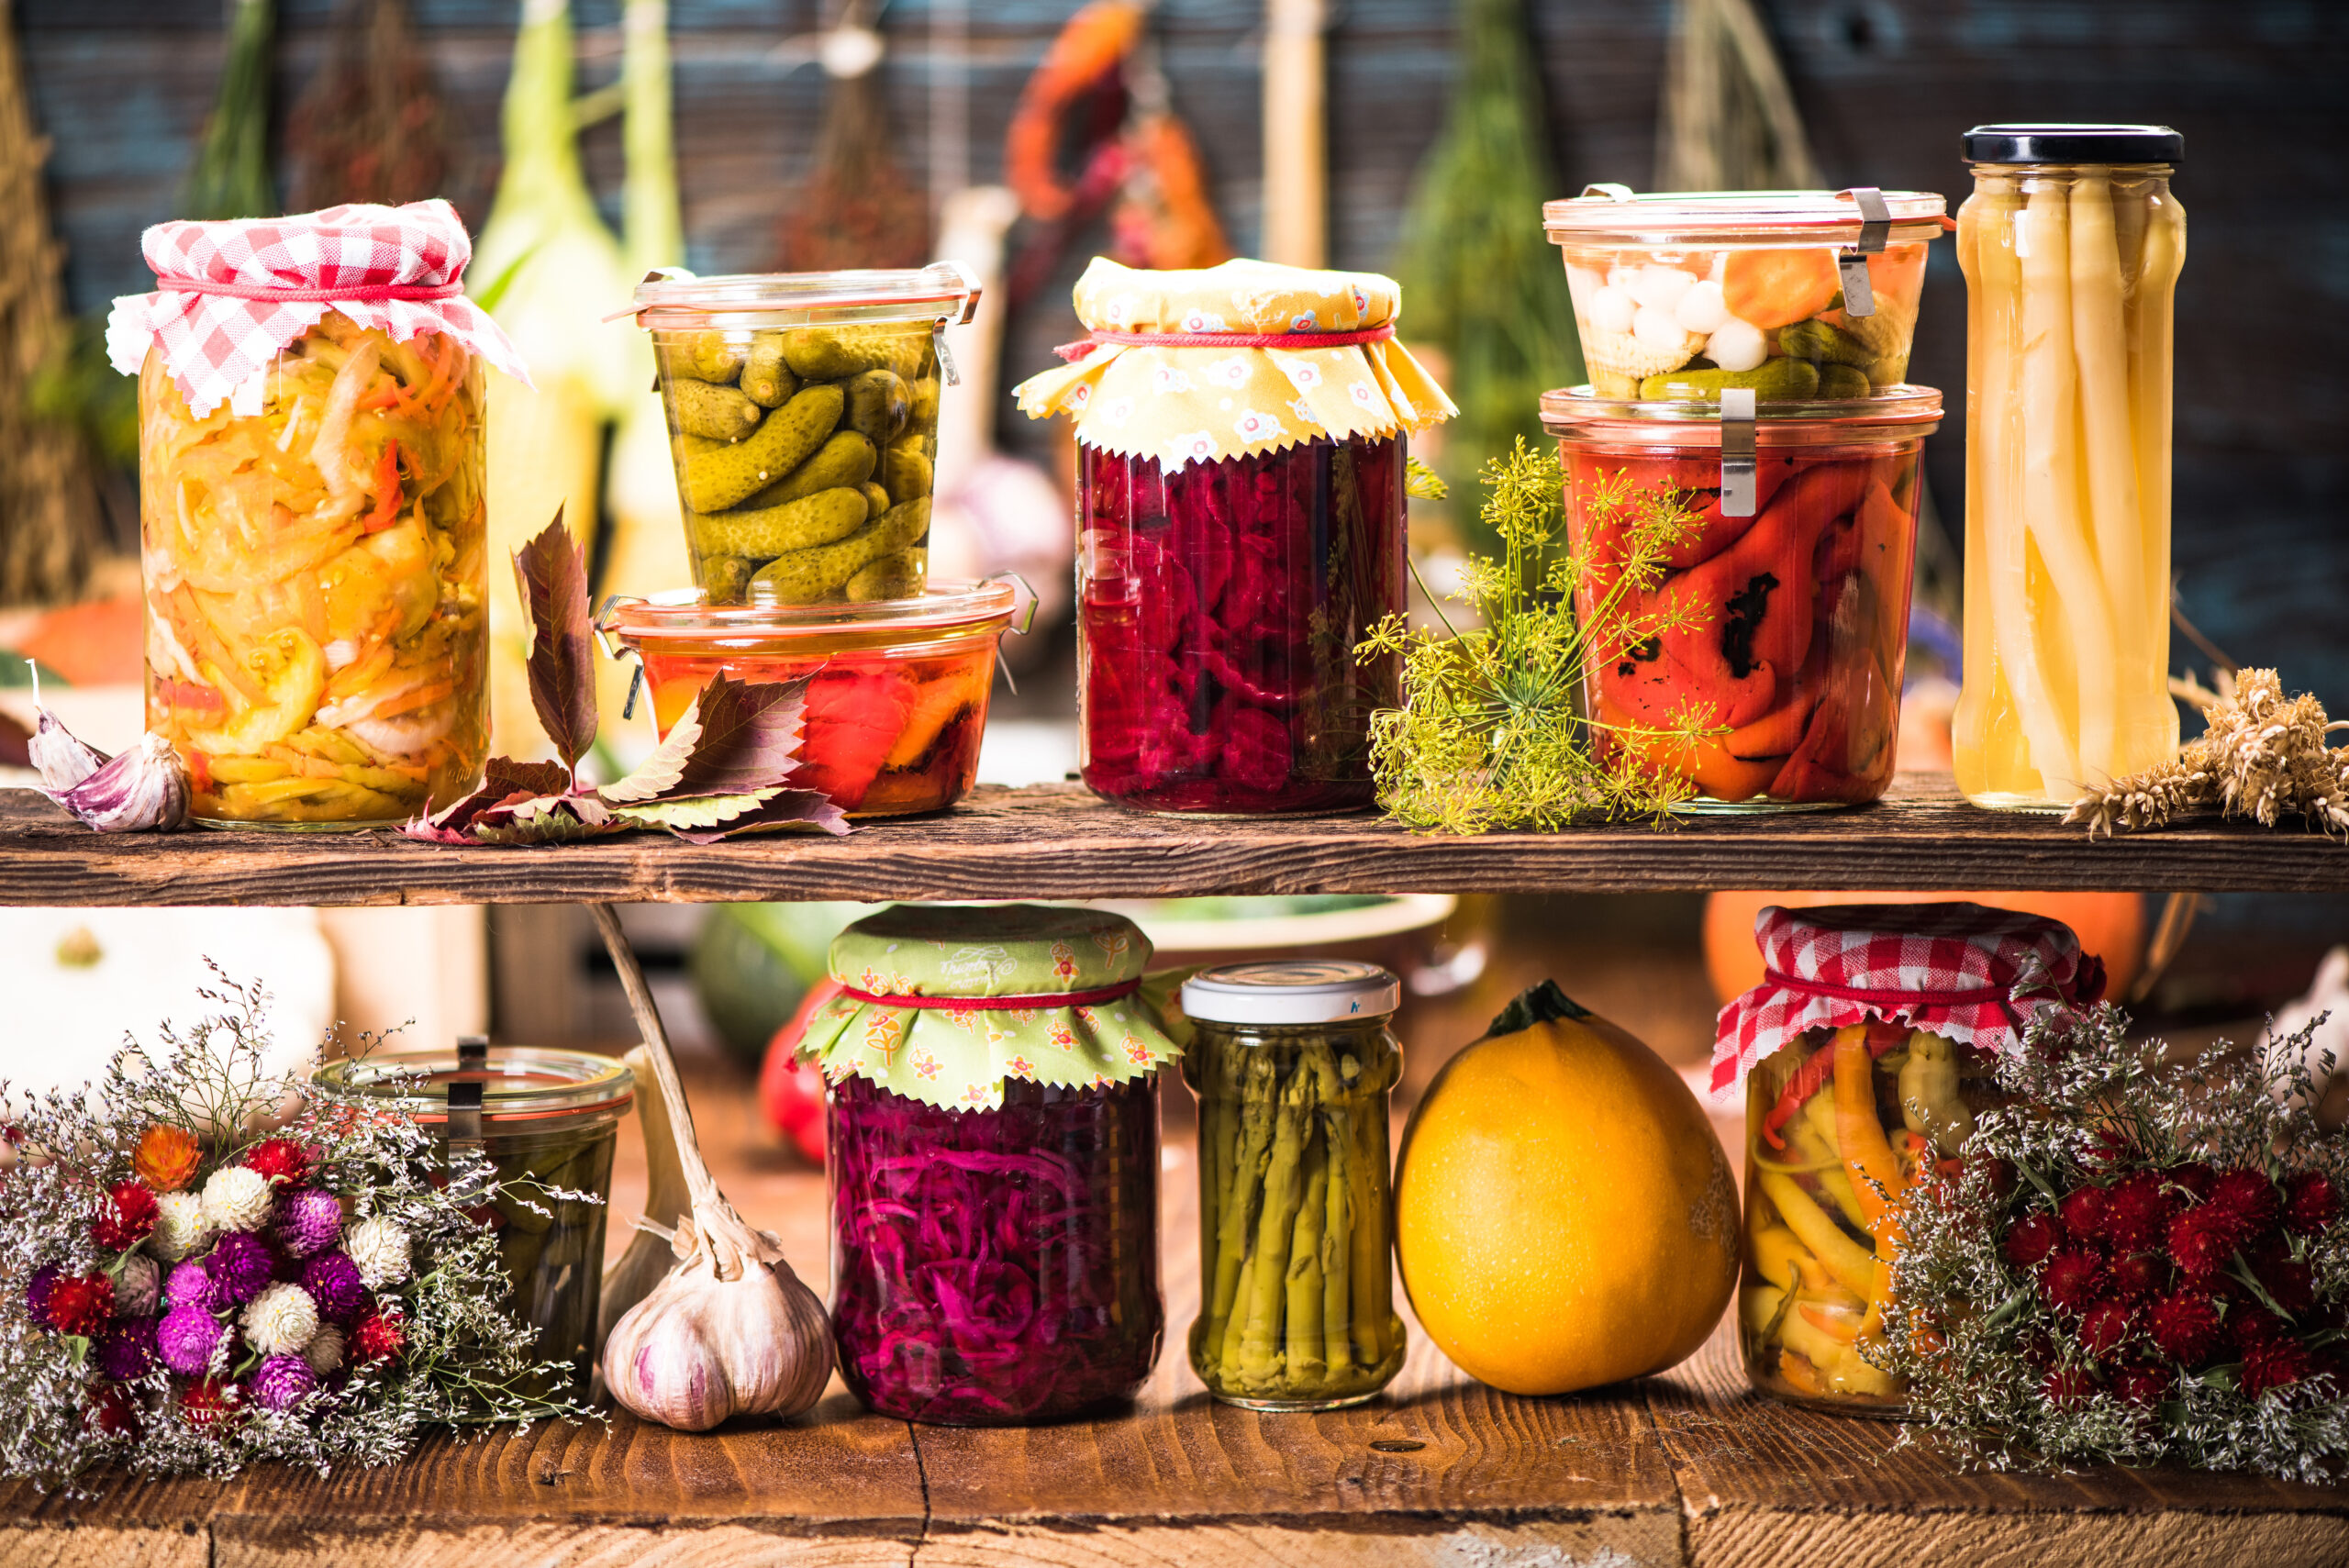
After fermentation, the beets will become more tender than when eaten raw, though will still retain a nice crunchiness. Reminiscent of a canned pickled beet, these fermented beets deliver the healthy-belly benefits of probiotics.
Yield: 1 quart
Ingredients
Main
- 6 small, tender beets (about 1.5lbs)
- 3 whole cloves
- 1 tsp raw honey (optional)
- 1 whole cinnamon stick (optional)
Brine
- 1 tbsp. coarse kosher salt, dissolved in 2 cups water
Preparation
Gently scrub beets clean of any dirt, but do not peel. The bacteria naturally present in the skin aids in the process of fermentation.
Trim the ends of the beets off. Cut beets into uniform sizes, about 1/2- or 1-inch cubes. The benefit of cutting them in like-size pieces is that they will ferment evenly.
Add the clove (and optional honey and cinnamon stick) to the bottom of the jar. Then fill jar with beet chunks, leaving 2 inches of headspace (room from the beets to the rim of the jar).
Once the jar is filled, mix up the brine. Pour the brine over the beets until they are completely submerged by at least 1/4 inch of brine. If you have a small fermentation jar weight, add it to the jar to hold down the beets under the brine.
Remove any small pieces of food that float up to the top of the brine, as produce above the brine will increase the risk of the ferment spoiling. Wipe off the rim of the jar with a clean dampened towel.
Finally, add the canning jar lid and tightly screw on the ring.
Read more: You can’t beat beets, a tasty, three-season crop.
Fermentation
This is a two-week ferment. Ferment at room temperature, ideally between 60 to 75 degrees F (15 to 23 degrees C), and keep out of direct sunlight.
Check on the ferment daily to make sure the brine is covering all the produce. If the produce has floated above the brine level, use a clean utensil to push it back below the brine.
Burp the jar daily. Unscrew the lid briefly and tighten it back on to allow any built-up gas to release (and avoid possible jar breakage or the ferment from overflowing).
After 1 week, taste test a chunk of beet to see if it has a sour, tangy fermented flavor or if it still tastes like beets in the raw form. If it still tastes too raw, allow it to ferment another few days and taste test again.
Likely this will take two weeks to ferment, though it is truly up to your personal flavor preference to determine when it’s “done.” Once the ferment reaches an ideal flavor, transfer the jar into the refrigerator, with the brine and all.
Fermentation does not stop once the ferment is transferred to the refrigerator, however it does slow the process way down. The taste and texture will continue to change, therefore this ferment is best enjoyed within six months.
Read more: These five supplies will get you ready to start fermenting at home.
Side Notes
If you do not have a glass jar weight, you can improvise by using an easily removable small food-grade glass dish that fits inside the jar. Or, if you have a smaller glass canning jar that can fit into the mouth of the jar you are fermenting with, you can also use that to keep the produce pushed under the brine.
Here are a few ways to enjoy your fermented beets.
- Eat them as you would other pickled beets, as a side dish.
- Slice them up and add them to a salad.
- Snack on them between meals for a healthy flavor filled snack.
- Mix them with feta and make a beet salad.
Don’t forget to drink the beet brine after eating the fermented beets. The brine is chockfull of health benefits.
This recipe has been adapted from Can It & Ferment It by Stephanie Thurow with permission from Skyhorse Publishing, Inc.