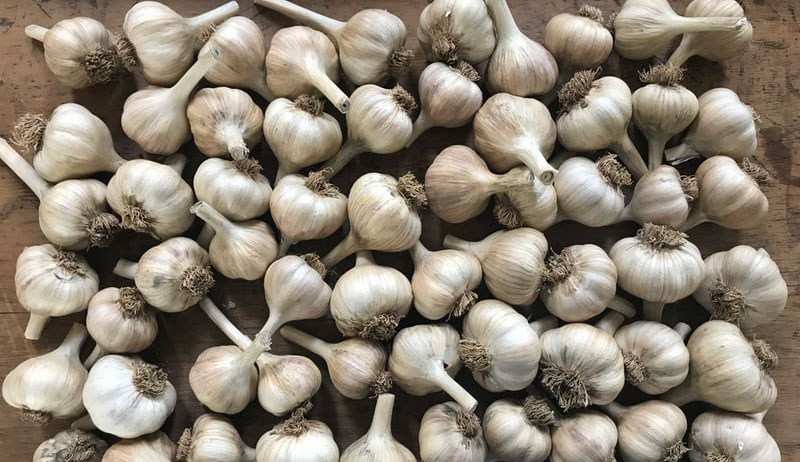
For many, fall is the right time for planting garlic. The garlic will overwinter nestled under the soil, and if you time it right, your bulbs will be ready right around July 4.
While garlic is fairly easy to grow, you do need to follow a few, simple rules when planting it. Here are some key points to keep in mind for best results.
Ready Your Soil
Make sure the soil has been re-prepared in your Permabed by either broadforking and raking or using a grub hoe to work the bed top and then rake. If you use a walking tractor or 4-wheel tractor, then you can power harrow the bed top.
The bed top should be worked at least 2-3 inches deep for best planting efficiency. Why? Most hardneck garlic is planted by hand, and you want to be able to easily put the garlic into the ground without dealing with hard-packed soil from a whole summer of growing compaction.
Read more: What’s a Permabed? Click here to learn more.
Check Your Width
After the bed has been raked smooth, make sure it is wide enough to handle at least five rows of garlic 6 inches apart. If you have the space, you could even have six rows.
You can manage this by turning an 18-inch path into a 12-inch path, and a 30-inch bed top into a roughly 40-inch bed top. When it comes to garlic, you want to pack them as tightly as possible to make them more competitive against weeds.
Because garlic has a linear leaf and is in the ground for almost a full year, you want to minimize weed management. This is done with mulch and with high-density planting.
Zach Loeks
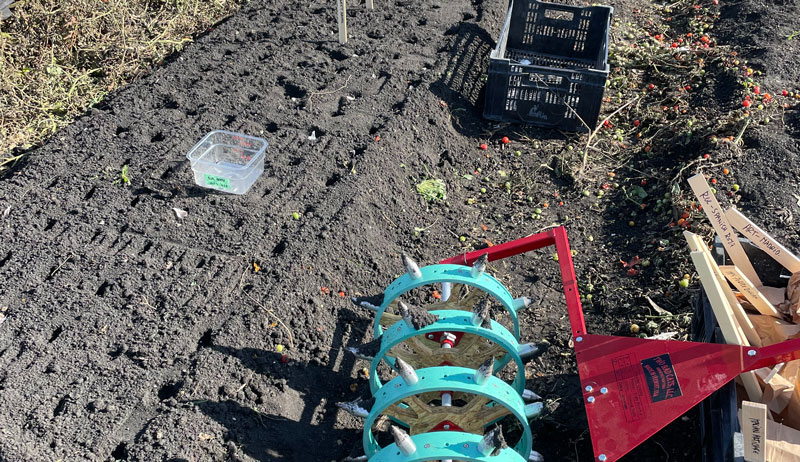
Dibbling Makes for Efficient Planting
Now it is time to dibble. Dibbling is very important because it will make sure you plant exactly five or six rows on a 6-inch spacing. Garlic is also planted 6 inches in-row.
You can use a number of different dibbling methods. For large farms, a tractor-mounted dibbler (such as one modified from Water Wheel transplanter’s wheels with adjustable dibbles) works well.
For hand tools there are a number of great rolling dibblers. Examples include the seed bed roller from Johnny’s, with added adjustable dibbles, and the infinite dibbler from Two Bad Cats.
Dibbling will also make a small hole into the soil to improve planting. In ideal conditions dibbling will allow you to simply push the garlic cloves into the soil instead of having to open a hole with you hand. This results in only three motions required when planting each clove:
- Pick clove out of planting container with right hand.
- Press clove into soil with right hand.
- Cover clove with left hand.
This economy of motion is critical to making your planting experience ergonomic, efficient and profitable.
Read more: Once your garden is done, you’ll harvest and cure your bulbs. Here’s how.
Get the Right Depth
Planting garlic cloves requires an understanding of seed planting depths. It is too simplistic to simply say plant your garlic 1.5 or 2 inches deep. As with all seeds, depth is a factor of the size of your seeds.
With garlic this varies quite a bit depending on:
- the variety
- size of the seed bulb
- size of the actual clove
Some small-bulb garlic varieties have small cloves. Or you may have purchased bulbs with extra large, large or medium cloves. Knowing this, we then apply the basic principle that larger cloves will be planted deep, while smaller cloves are planted shallower.
I plant cloves twice as deep as they are tall from base to tip—generally 1 to 2”= inches. Also, if your soil is harder come planting day than you desire, you can compensate for this depth by adding more mulch.

Zach Loeks
Clove Orientation Matters (a Lot!)
Remember to plant the flat basal plate side of the clove down, with the tip up. But even knowing this simple rule, it’s all-too possible to get carried, away planting thousands of cloves, and forget to do that for 100 of them. Don’t do that!
Label Your Garlic
Once you’re done planting all your cloves, make sure all the garlic is well labeled. Use wooden stakes in the field and map where everything is in a spreadsheet or design notebook.
Keep posted for future garlic management articles!
Grow On,
Zach


