I’ve sited the plot for my new garden shed and placed the blocks, the latter of which took me some time to level. I consider this time well-spent, though, as I don’t like any wood, even treated lumber, to contact the ground, which will rot any wood over time. I also placed the perimeter beam for the structure, so now it’s time to fill in the base frame with floor joists.
Granted, I’m building the base of my structure much stouter than necessary, but the project allows me to use materials left over from a previous project. The upside, of course, is that this structure will be very durable, and the process was pretty simple—I was able to use long timber screws to quickly and securely attach the beams to each other at the corners.
After a quick application of the “x method” of checking for square—I simply measured interior corners to ensure they were equidistant—I was ready to cut and attach my floor joists.
Read more: Check out this video to see where the farm garden shed project started!
Floor Joists
Installing floor joists isn’t difficult. If your frame is square, you cut the lumber to the same length and attach using a nail gun. But one thing you do want to do is, before attaching the joist, look down the length of the lumber and look for the natural crown. The bow of the crown (which shouldn’t be extreme—an extreme bow indicates poor lumber) needs to go up when you install it in the structure’s floor base.
You’ll see in the video that I go for overkill by installing my farm garden shed joists 16 inches on center. Again, I had the wood, and this project isn’t overly large, so I did that simply because I could. I explain more economical measuring options in the video above, though.
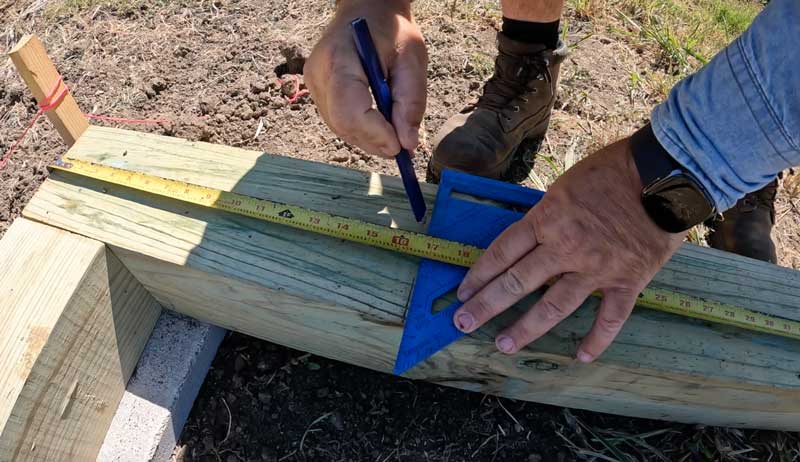
I show you in the video how to measure for joist installation, but it’s worth reiterating that you need to measure for the same distance on both sides of your frame to ensure your joist beams are parallel. After the joists are installed, you can go ahead and put on plywood for the flooring.
Next up? It’s time to frame the walls!


