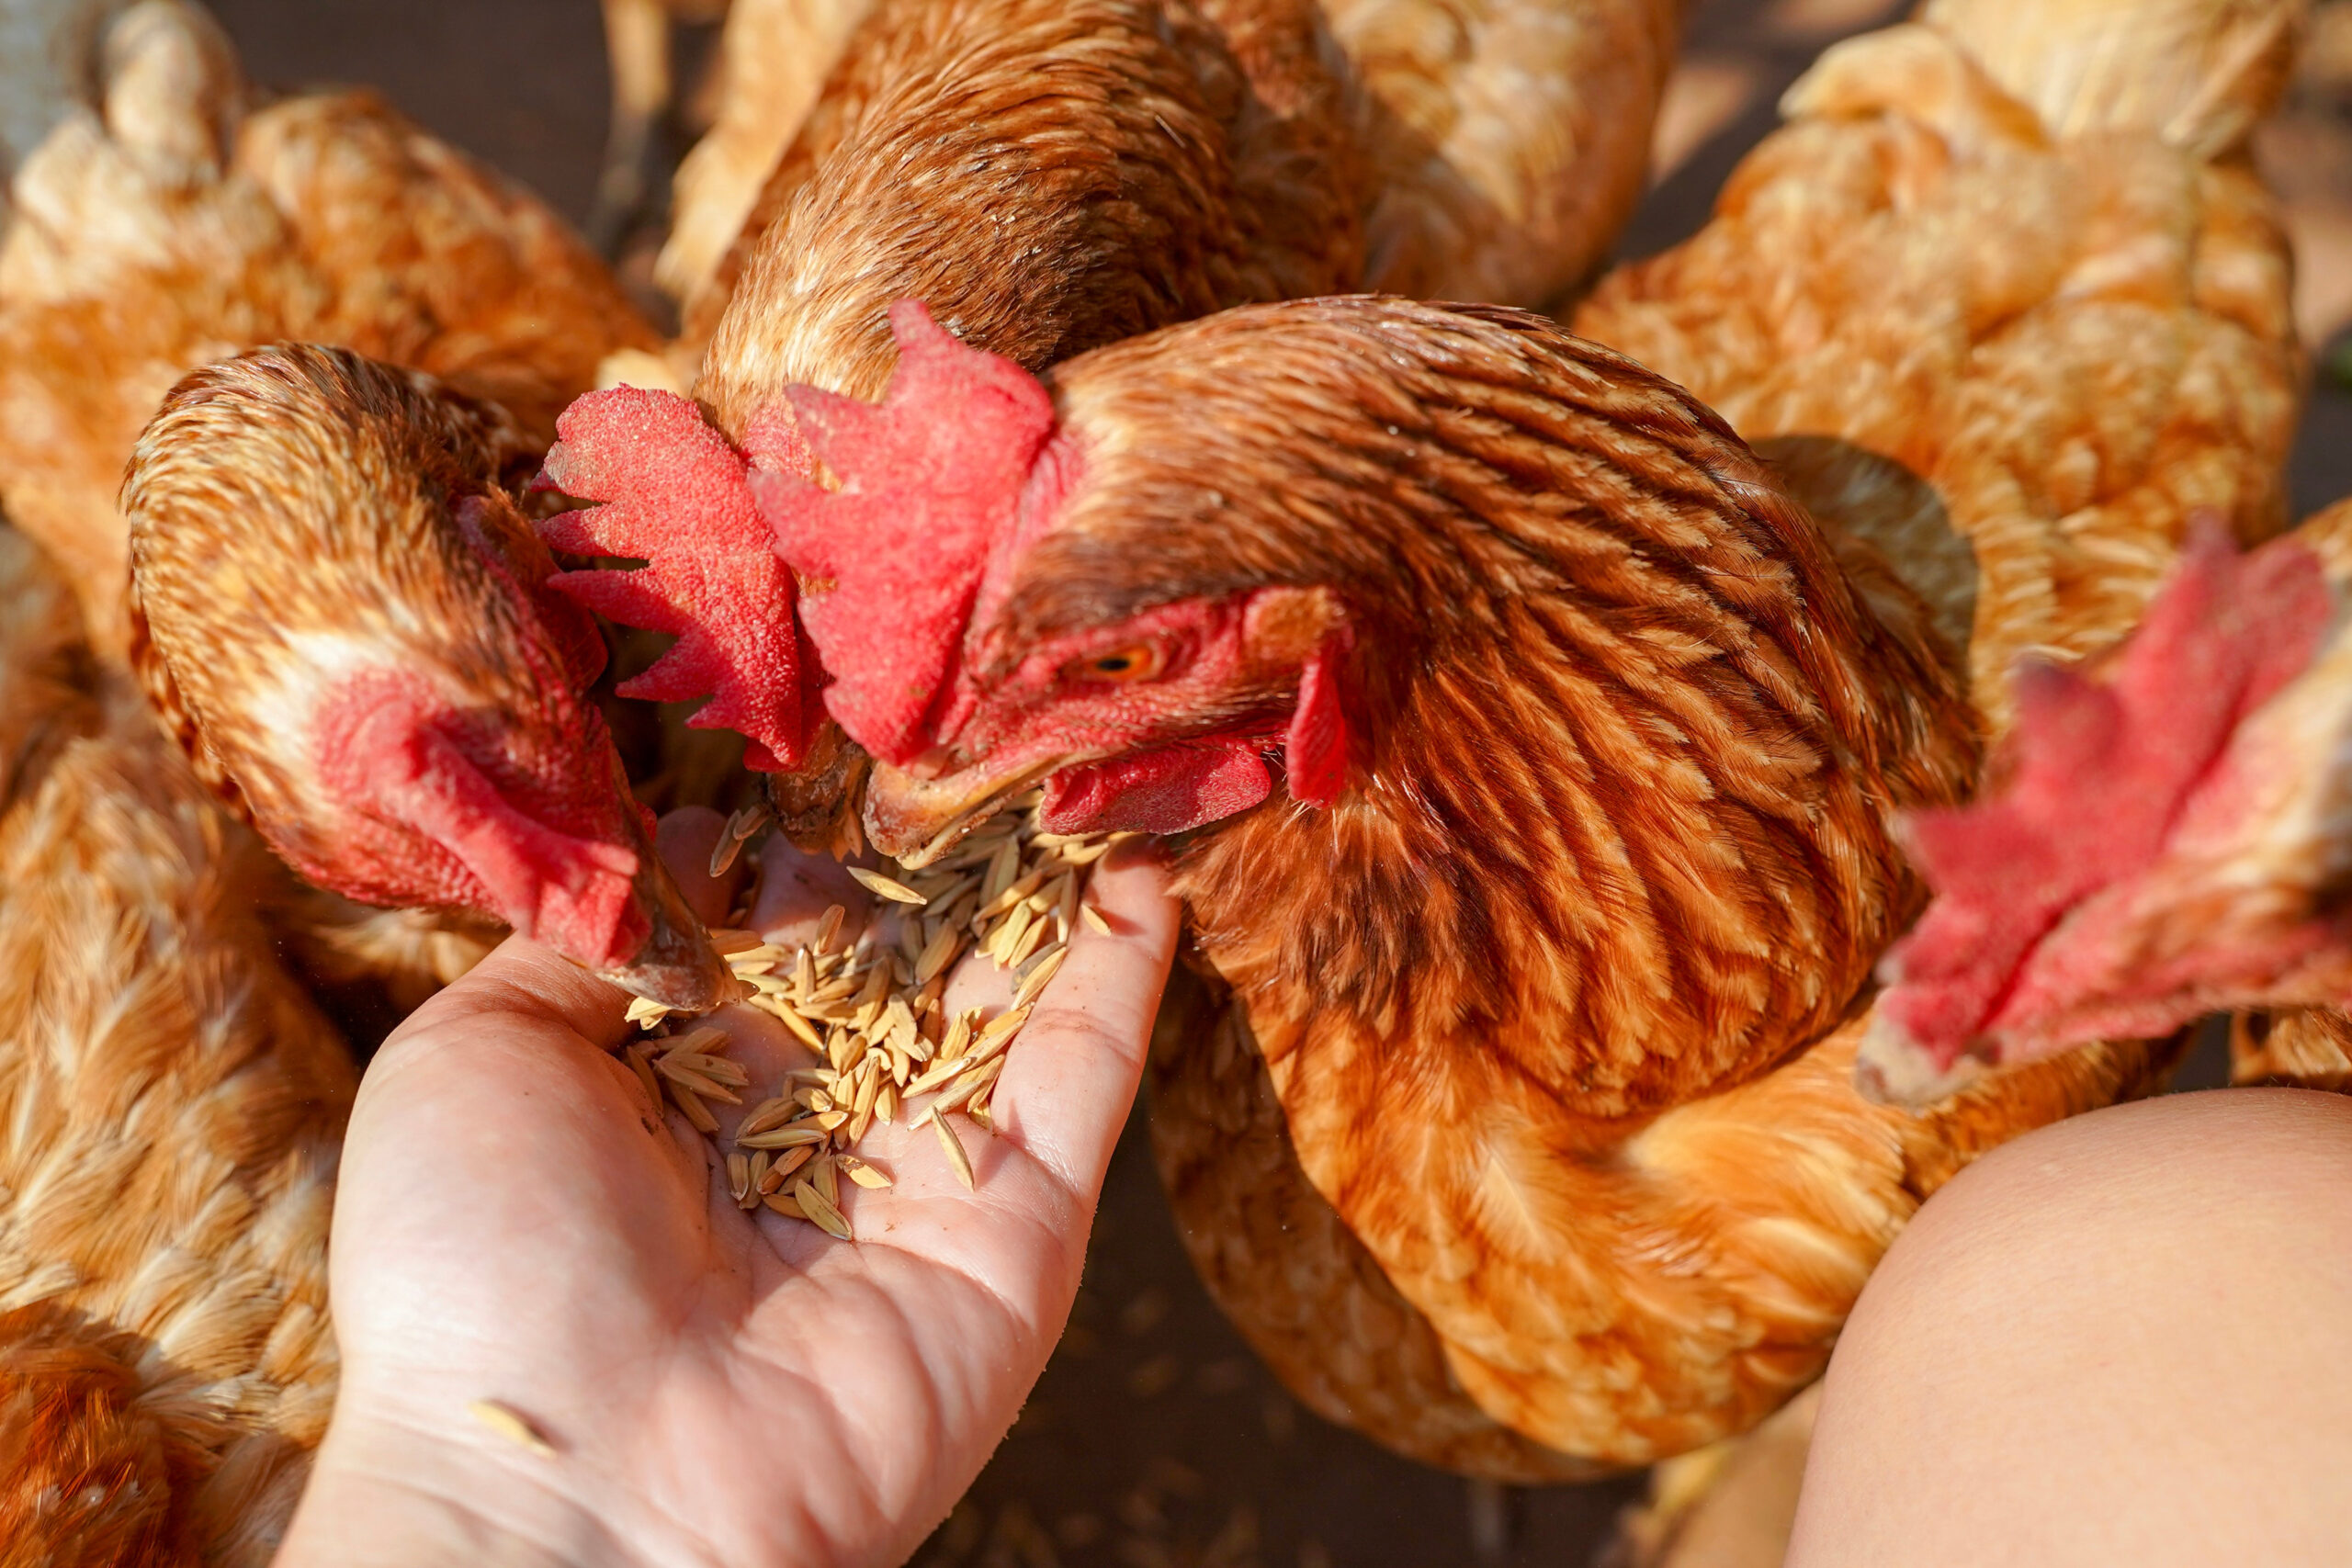
Between feeding my hens and feeding the wild birds, I was awash in empty plastic bags. And because they were designed to be able to hold a lot of weight, they were really heavy-duty. (They were actually quite pretty, too!) I didn’t have the heart to throw them away. Besides, I don’t think my local recycling center takes them anyway. But I decided I could sew an old feed bag into an attractive, reusable shopping tote.
I take you through all the steps to make your own in the video above. To start, you’ll need one large plastic feed sack—the plastic woven kind that usually opens via a string stitched across the top.
Other Supplies
Besides your empty feed sack, to sew a feed-bag shopping tote you’ll also need:
- a bucket of warm, soapy water and a scrub brush
- scissors
- a tape measure or ruler
- a straight edge
- marking pen
- sewing machine and thread
Read more: Recycle your junk mail into handmade paper!
Step by Step
Cutting off the bag’s bottom edge will make cleaning it with warm, soapy water that much easier. You can turn it inside-out and back again to scrub, rinse and hang up to dry.
Once the bag is dry, use a tape measure or ruler to draw a straight line across the its bottom edge. Carefully cut away any excess material until this bottom edge is straight.
With the bag turned inside-out, stitch the bottom closed. (I typically sew a half-inch to an inch away from this bottom edge.) With it still turned inside-out, crease the original edges of the sides of the bag, so that a rectangular bottom begins to take shape. You should be able to fashion a triangular flap along the the bottom right and left side of the bag. Measure, mark and stitch across both of these to create the market bag’s box-like bottom.
Next, you’ll trim the top edge off of your bag and cut out a larger portion of the top to fashion into handles. Exactly where you cut depends on how large you want your bag to be and how much of its artwork you want to show.
In this video, I show you how to sew a tote with a pair of extra-long shoulder strap handles with a couple of simple folds and stitching. (But if you prefer shorter handles you can cut one of the shoulder straps into two pieces and use those.)
When it’s time to attach your handles, you’ll decide where you want them, measure and mark the top of your bag accordingly, and stitch them on. For durability’s sake, I prefer to fold and stitch my handles under the bag’s top edge a couple of times and follow up with box stitches.