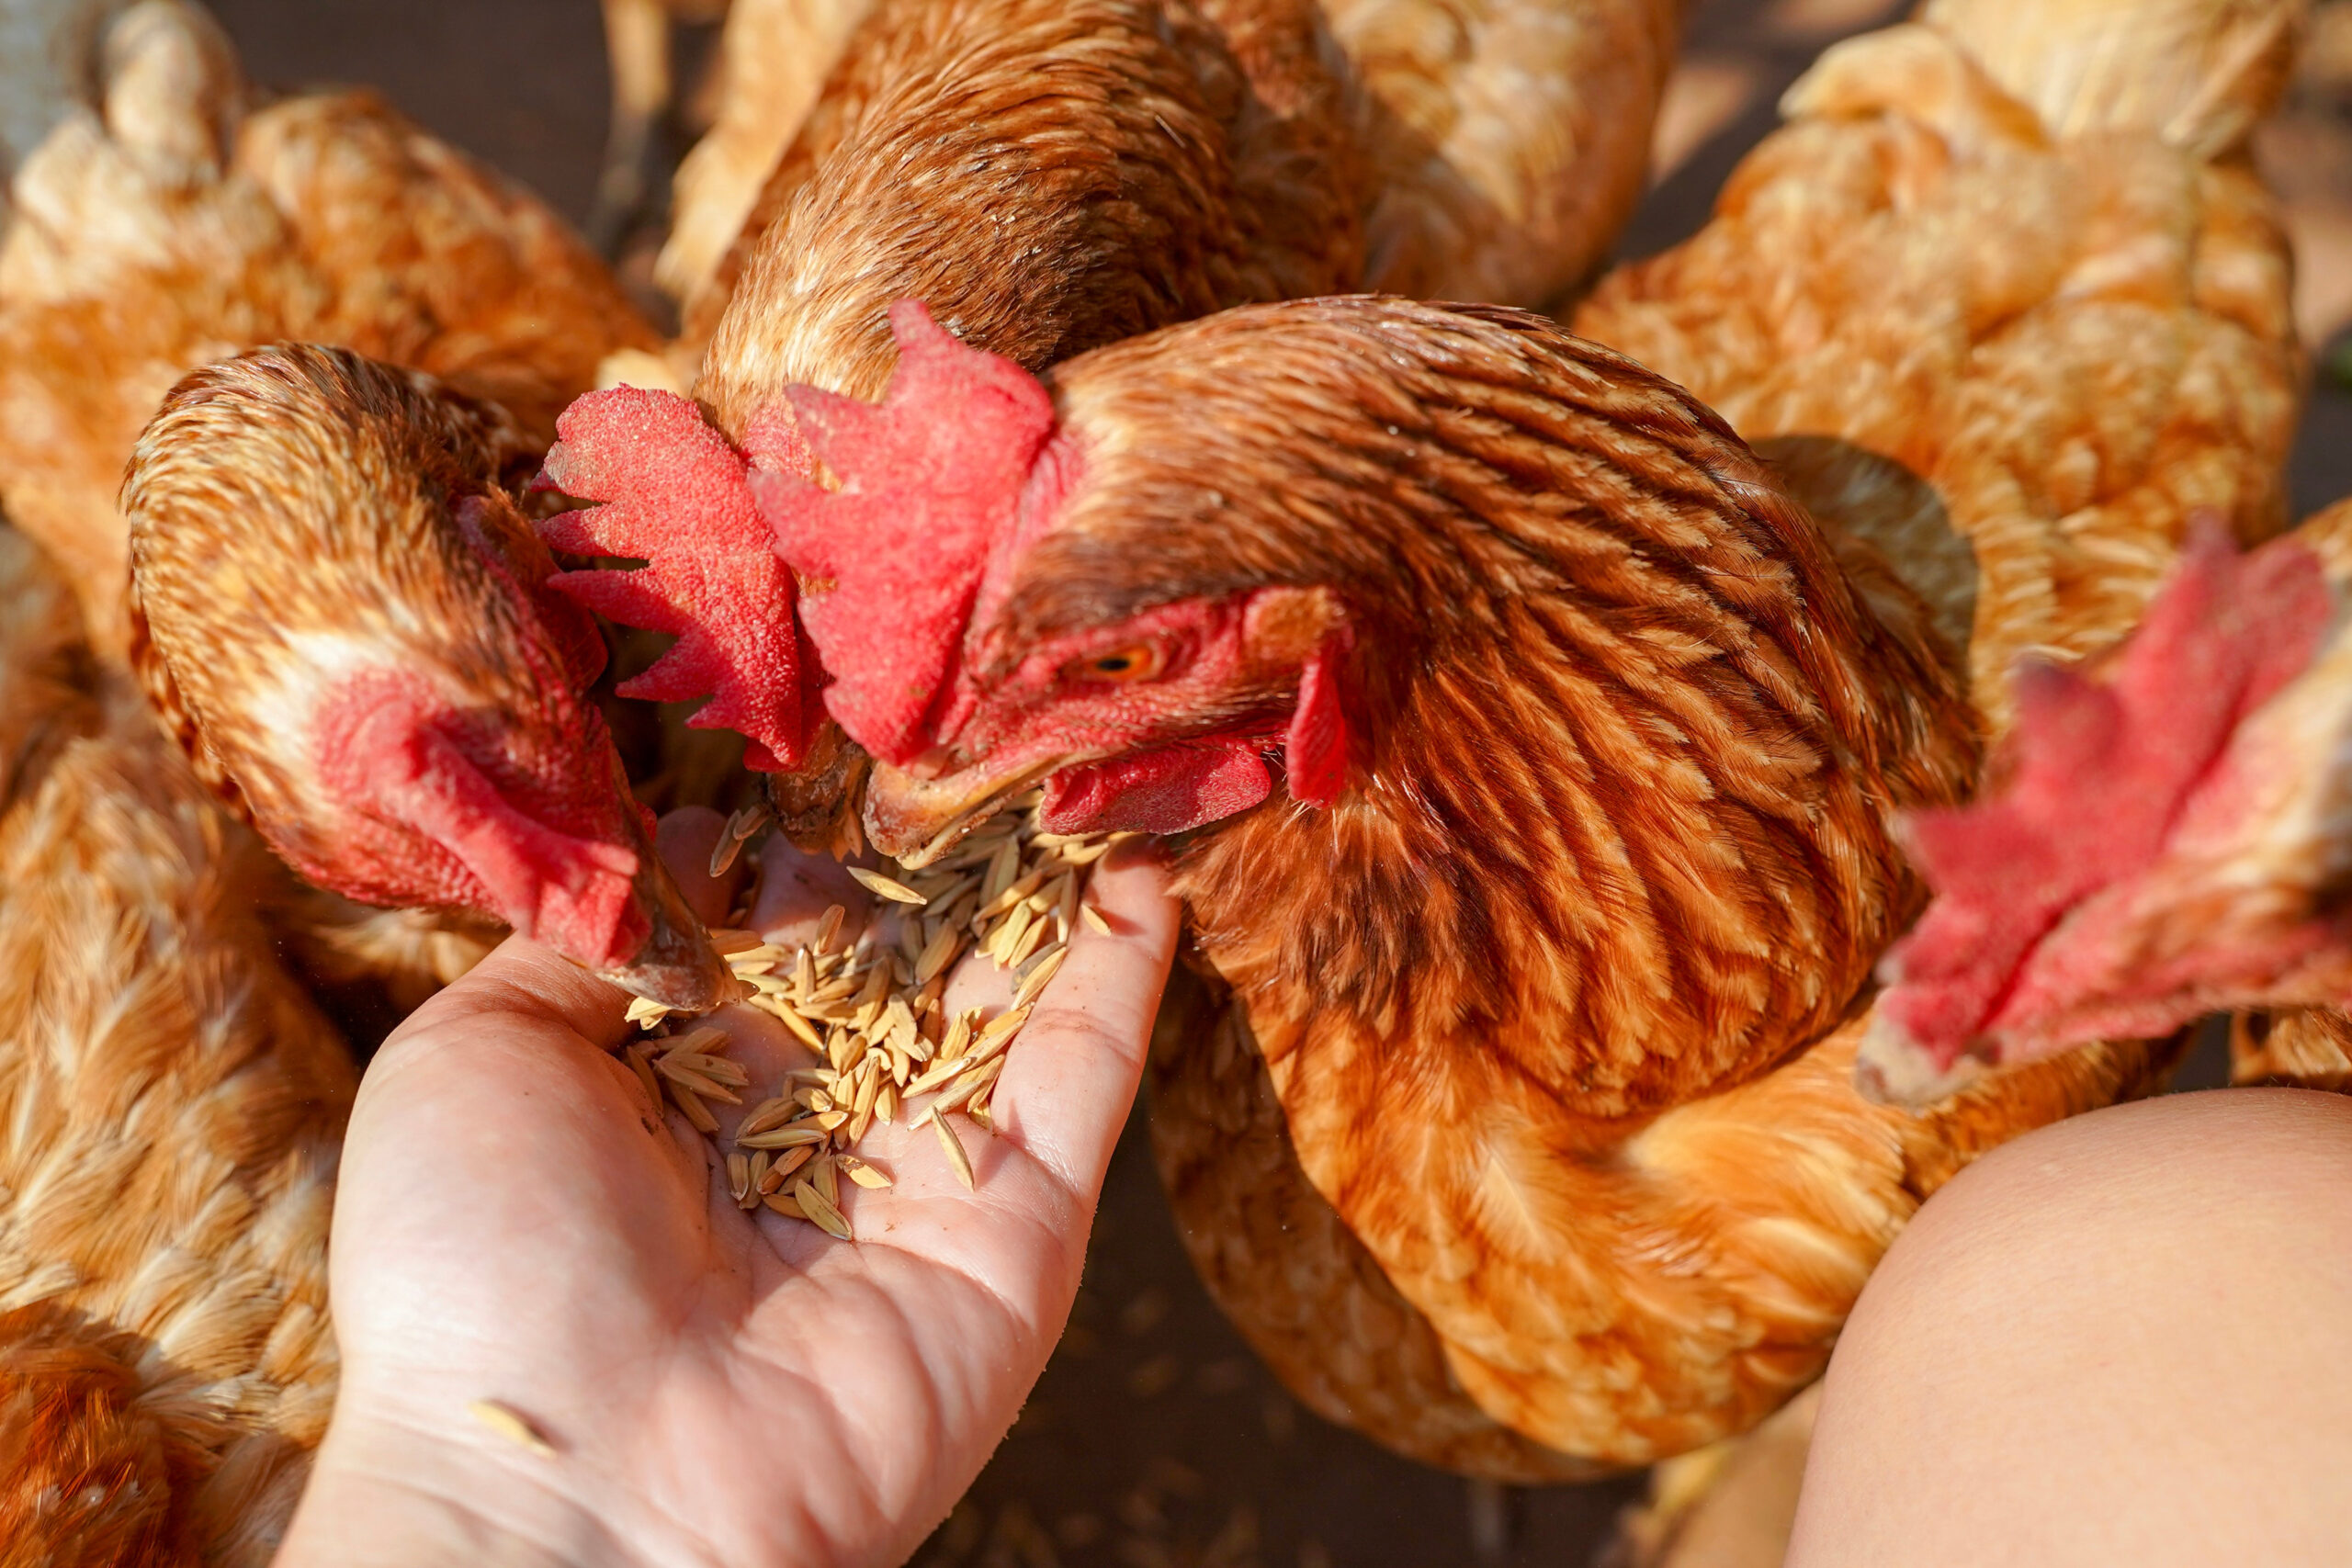
I’ll begin by stating that I don’t understand the expression “The best laid plans of mice and men.” I fathom completely that the best laid plans of men (myself in particular, and, specific to this article, my attempts to build a chicken tractor) oft go astray. But the mice seem to do alright.
They plan to eat a hole in the feed sack so the contents will fall out for them to make off with, and that plan goes swimmingly. They plan to avoid any store-bought or homemade traps, and they come off like some cross between Einstein and Houdini. In this article, I’ll share with you my experience planning and building a chicken tractor: what I wanted to do, how I did it and what I learned.
Plan Parameters
My mobile pen parameters were simple: build a low-cost, high-mobility, low-maintenance chicken tractor that allowed me to use chicken litter and chicken behavior to fertilize my pasture. Rotational grazing livestock followed by chickens makes sense to me. The idea is that chickens spread the livestock manure by their natural scratching and add their own litter to the soil.
So, I wanted to be able to move my chickens around 20 acres of pasture.
My design needed the ability to let the chicken litter from daily activities and roosting to amend my soil under the tractor. Low maintenance dictated a plan where I didn’t have to shovel the tractor out every few days. Low maintenance also meant not having to provide water and food or open and close chicken doors multiple times each day.
Finally, my farm is an absolute hobby farm rather than a quasi- or full-blown commercial operation. Therefore my budget needed to be low enough that egg sales could pretend to offset the cost.
I started with a condemned car hauler trailer that a friend gave me. This was a flat 16-foot-long trailer with two axles and a wood floor. It had a ball hitch that would permit me to pull it around the fields easily with my actual tractor.
I feared the wood floor would quickly rot out with wet chicken manure all over it. And the floor would clearly not permit manure to drop to the ground where I wanted it. My plan was to replace the wood floor with chain-link fencing.
I expected chain-link to be sturdy enough for chickens to walk on and keep out predators. It would have large enough holes for the litter to fall through without clogging. The cheap solution was to buy scraps from a fence installer. I also made overhanging roosting areas along each side that would allow the litter generated nightly to fall straight to the ground below.
In my area, people are disassembling old, unused chicken houses and selling the various parts of the structures online or through social media. It’s easy to find tin, hanging nest box sections for $25 to $50 that have 20 nests, 10 per side. I sprayed mine down with bleach and pressure washed them.
After a few tweaks with pliers and a couple of replaced screws and rivets, they were ready for hens again.
For the water supply, I installed a piece of guttering on one side of the roof that feeds into a 55-gallon drum inside the chicken tractor. The outlet of the drum is a PVC pipe with several automatic chicken waterers inside the tractor. The pipe elbows down and continues through the floor to a few more waterers underneath the tractor that the chickens can reach from outside.
The low-maintenance feeding solution seemed easy. I bought a plastic chicken-feeder at the farm-supply store and hung it from the tractor beams. For the structure itself, I used wood from a small building a friend asked me to tear down and haul away. This worked great from a cost standpoint. But the trade-off was extra time and labor.
In one example, for the main vertical supports I used knobby cedar posts from the building tear down. They had to be notched and squared to meet up evenly with the flat metal surfaces of the trailer and the dimensional lumber of the rest of the chicken-tractor frame.
I covered the entire exterior of the chicken tractor with repurposed henhouse tin, which is readily available in my area for about half the price of new tin. The used tin also lends a nice nostalgic appearance to match other buildings and features of my farm. I also found an automatic, solar-powered coop door online to let the chickens out in the morning and lock them in at night.
And so, with dozens of eggs in a friend’s large incubator to account for new tenants, I neared completion on construction of this chicken tractor. This is where the planning ended and the learning began.
I’ll share a few of my many failures with their attempted solutions.
Read more: Check out these plans for a DIY chicken tractor!
Problem 1: Mounting
The first problem was how to attach henhouse parts to the metal trailer frame. I needed to attach round cedar posts to the square metal trailer frame. I used a chainsaw to cut rough flat places on the posts and bolted them to the frame.
For the flooring, I didn’t want to save money on the fence and then overspend on fence hardware to attach to the frame. I solved this problem by stretching the fencing tight and screwing it to the frame with self-tapping screws and large washers.
Problem 2: Fence Floor
The chain-link fence floor was awkward. It was too flimsy for me to walk on to check on birds or collect eggs. I had to step gingerly on the original metal crossing braces that previously supported the wood floor, spaced every couple of feet.
I added a few narrow strips of wood that run lengthwise and attach to the metal cross braces. I use these as walkways.
Problem 3: Roosting & Floor
My most catastrophic failure was not anticipating the chickens’ reaction to the fence flooring. The floor seemed high and airy enough to the chickens that felt they were roosting on it, even though they were only 2 feet off the ground. This was also how I learned first-hand the horrible damage a raccoon can do to a flock.
We lost 10 birds in one night. We learned by the fryer pieces strewn about the yard and research that the raccoons didn’t even kill chickens to eat them. They yanked whatever portion of a bird they could grab through the fencing only to get to the contents of the craw.
They leave the entire carcass uneaten.
The miserably time-consuming but necessary solution was to enter the tractor every night for the first few weeks we have any new chickens and physically move them from the floor to a higher roost. Eventually, they learned to roost high on their own.
Problem 4: Automatic Door
The automatic door has been a regular source of heartache. My kit included a solar panel, a battery, a battery box, an electronic timer and a relay. The solar panel was too weak to keep the battery charged, which resulted in the door not opening or closing at times. This meant watching every night and morning to ensure the door had operated and doing it manually if it hadn’t.

For temporary fixes, I recharged the battery with a car battery charger. I hated wrestling around the battery box cover, which had a securing strap that was difficult to remove.
My current, more permanent solution has been to add a second solar panel on the other end of the tractor so I get the benefit of sun from more angles. I also added charging posts that go through the side of the battery box and connected to the battery terminals, so if I ever do have to recharge, I can leave the cover on and simply clamp my charger to the posts.
Read more: A good automatic door can be a chicken-keeper’s dream.
Problem 5: Water Worries
Winters in Arkansas (where I live) are typically mild. If you hail from farther north, you’ll say I should have seen this next problem coming. I would counter that we just had the two coldest winters in many years.
But my wife would chide me for quibbling and defending myself.
One day after a cold night, I went out and heard water gushing somewhere around the tractor. The lines from the rain barrel had frozen and burst, and were spewing water.
My solution after replumbing the lines was to wrap thermostatically controlled 120-volt heat tape and foam insulation around them. Now, I bring my chicken tractor close enough to plug the heat tape in if the night is going to be cold. This solution has worked so far in low temperatures down to single digits.
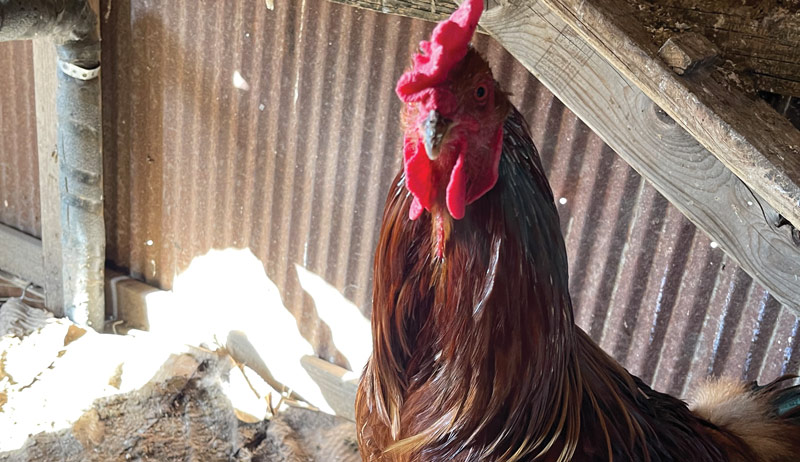
Problem 6: Chicks
My farm currently has a laissez-faire attitude toward broody hens. All attempts to stop broodiness, move broody hens and their eggs to “better” nests or interfere in other ways have failed miserably. This policy means that occasionally we have a hen raising one to three chicks in the tractor.
On one hand, I have been amazed at how a young and tiny chick can navigate the steps in and out and the ramps up to roosts and utilize big chicken food and water sources. But they do tend to fall through the gaps in the chain link and do it before they are old enough to have figured out how to get back in.
My first solution was to add a nursery inside: a box for a broody hen to lay on eggs, with a front porch area of 1-inch grid metal mesh where chicks could stretch their legs and where I could put chick feeders and waterers.

You could hear the chickens laugh at this solution. They destroyed the water and food stations hourly. Nonbroody hens discovered the nest box and kicked the broody hen out to drop their daily egg. Now, I just let the moms do whatever they want. If I have recently hatched littles, I cover the entire floor in cardboard until they’re bigger.
If you’re considering a mobile home for your flock, do lots of research. I hope some of my design goals help you assess your own priorities. By adding together your favorite concepts from several chicken tractors, you’ll have the features you and your birds love. And hopefully, hearing about the shortcomings and failures of my plans will help you avoid some yourself!
This article originally appeared in the March/April 2023 issue of Hobby Farms magazine.