Chickens tend to get all the glory, but... Read More

Rabbits are herbivores and have some unusual digestive... Read More

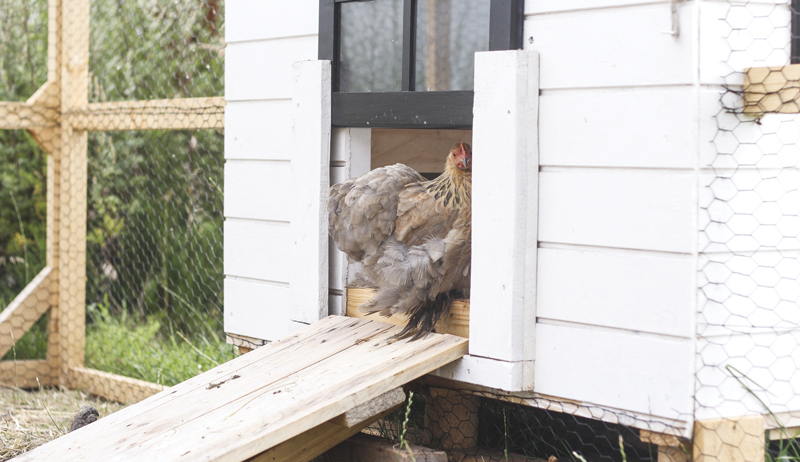
Chicken-keepers know that coop doors are critical to... Read More

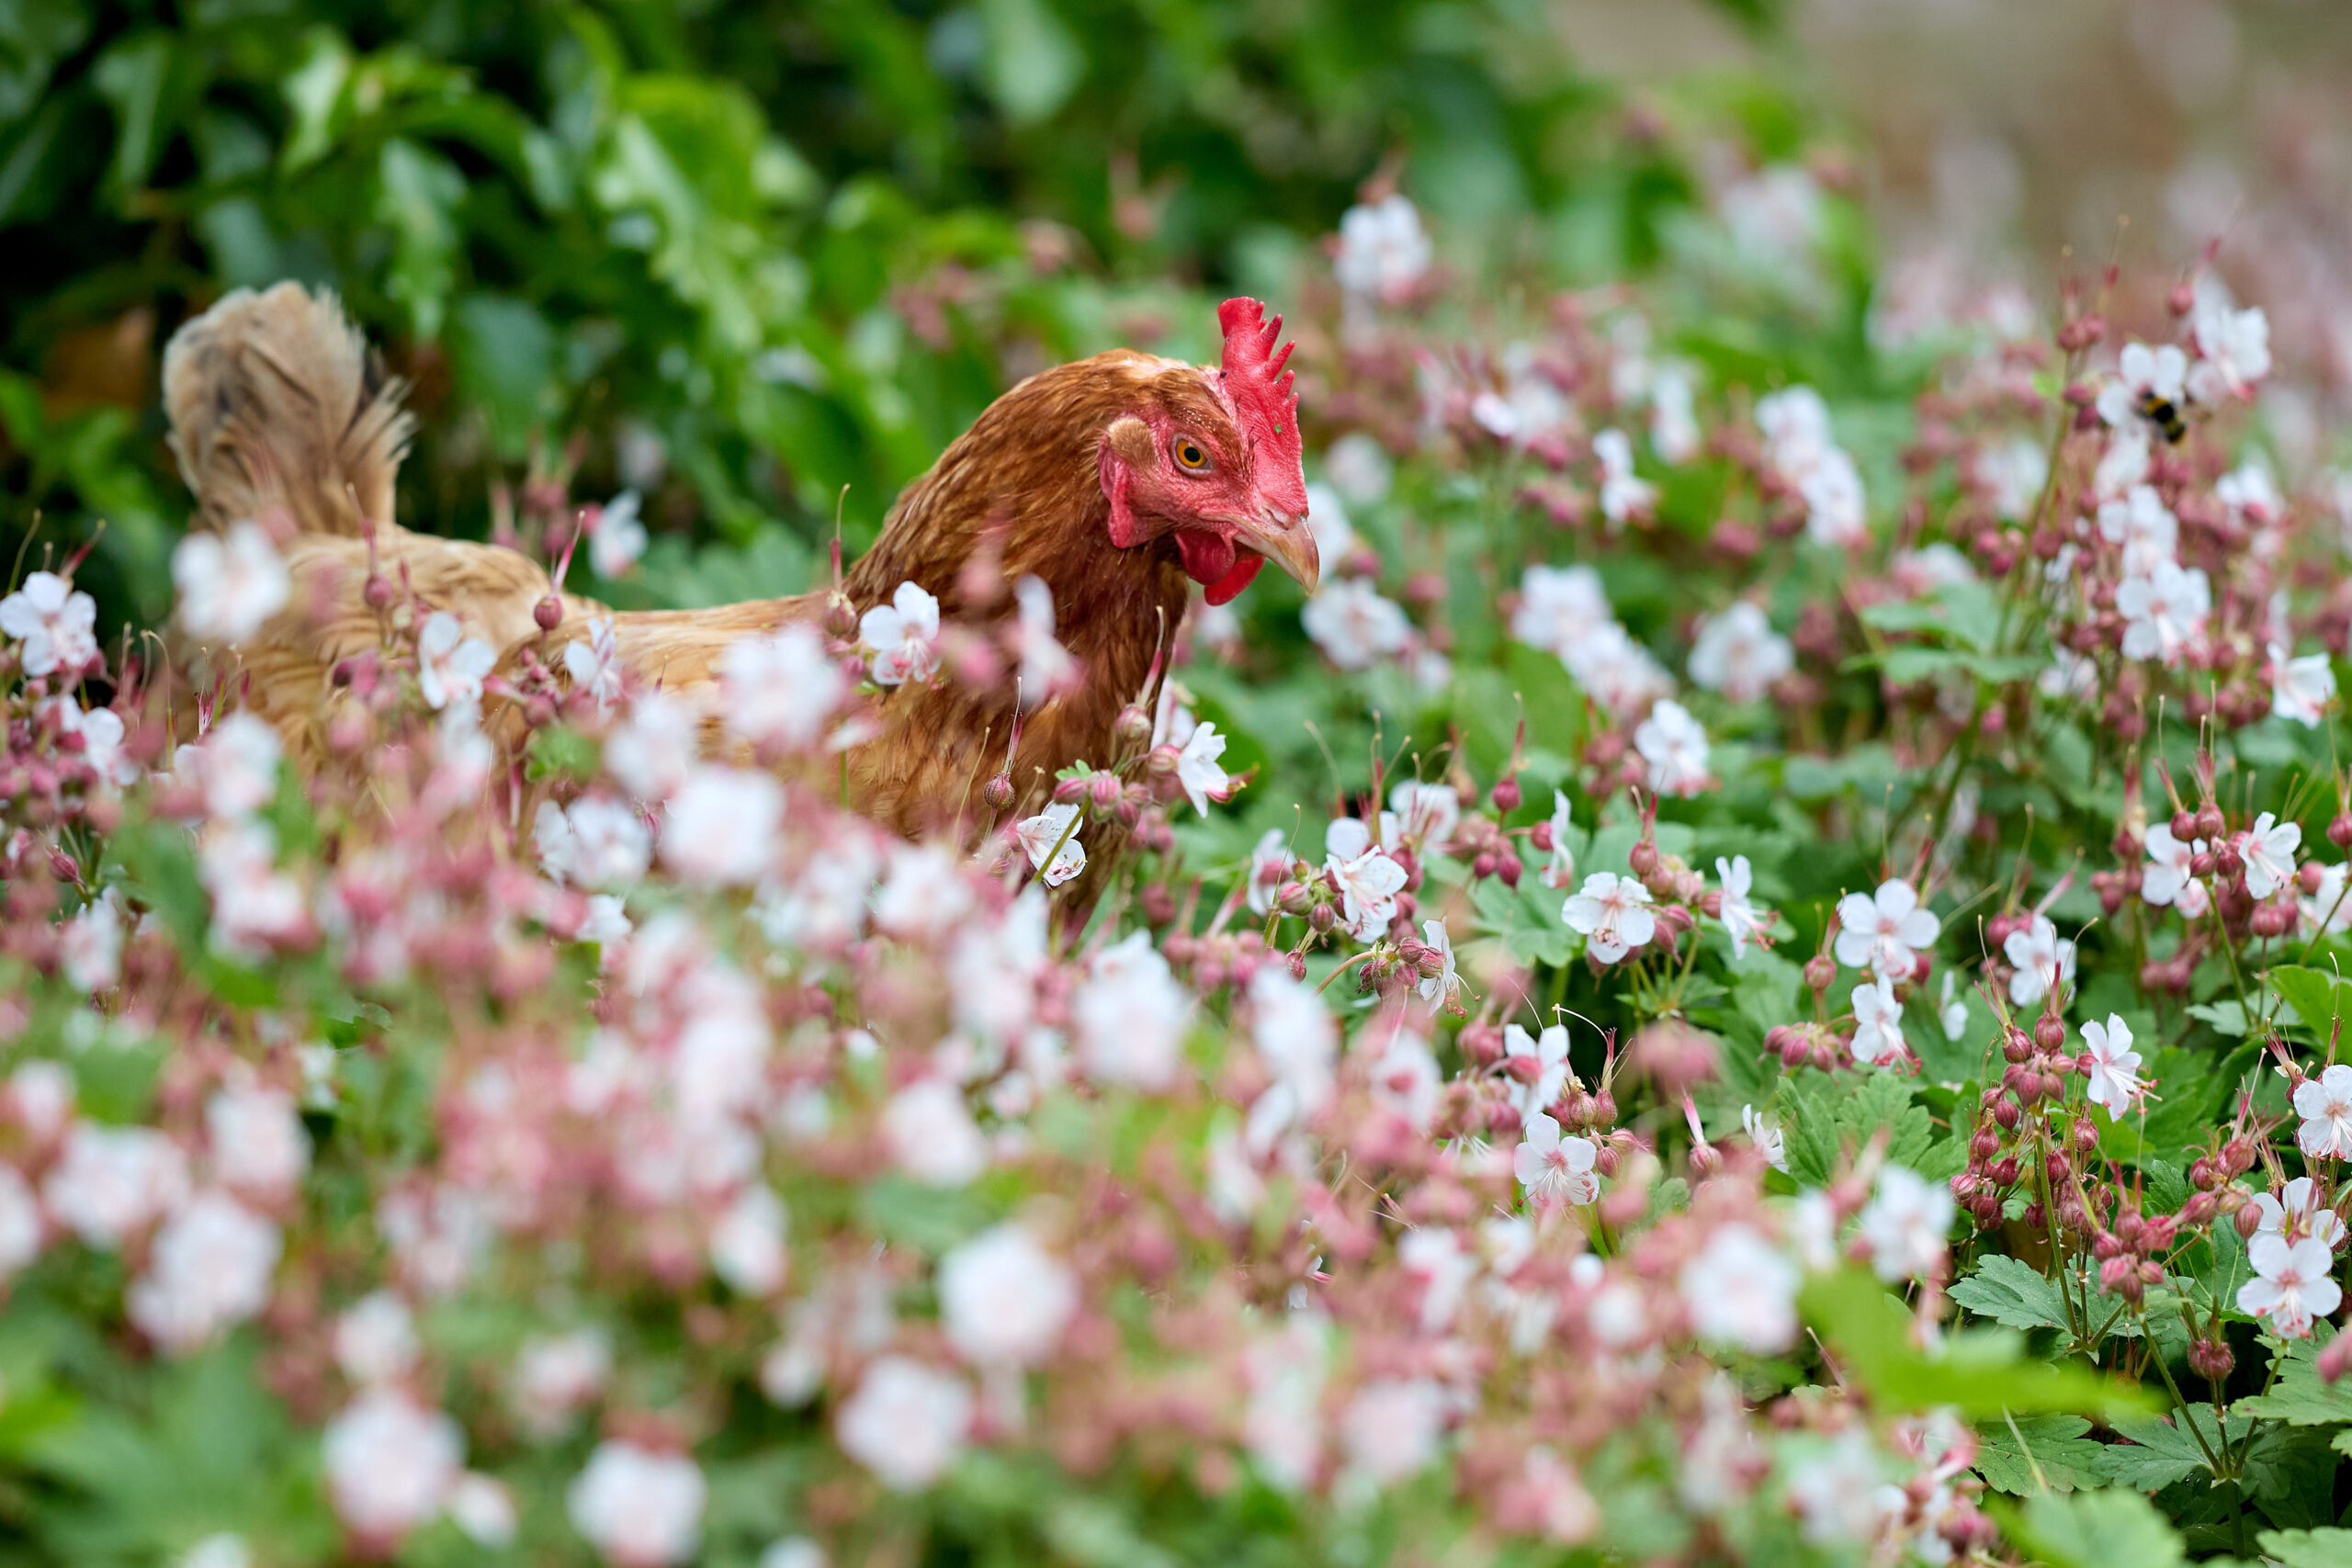
Can chickens eat flowers? Yes, many flowers are... Read More


Parts of a seed may seem simple from the outside,... Read More
Farm animals love feeding time…and so do farm plants! Gordon’s®... Read More

How Companion Planting & No Dig Cleanup Can Be Combined... Read More

Chickens Digital Edition
$19.95

Chickens Print Edition
$24.95

Hobby Farms Print Edition
$24.95

Hobby Farms Digital Edition
$19.95