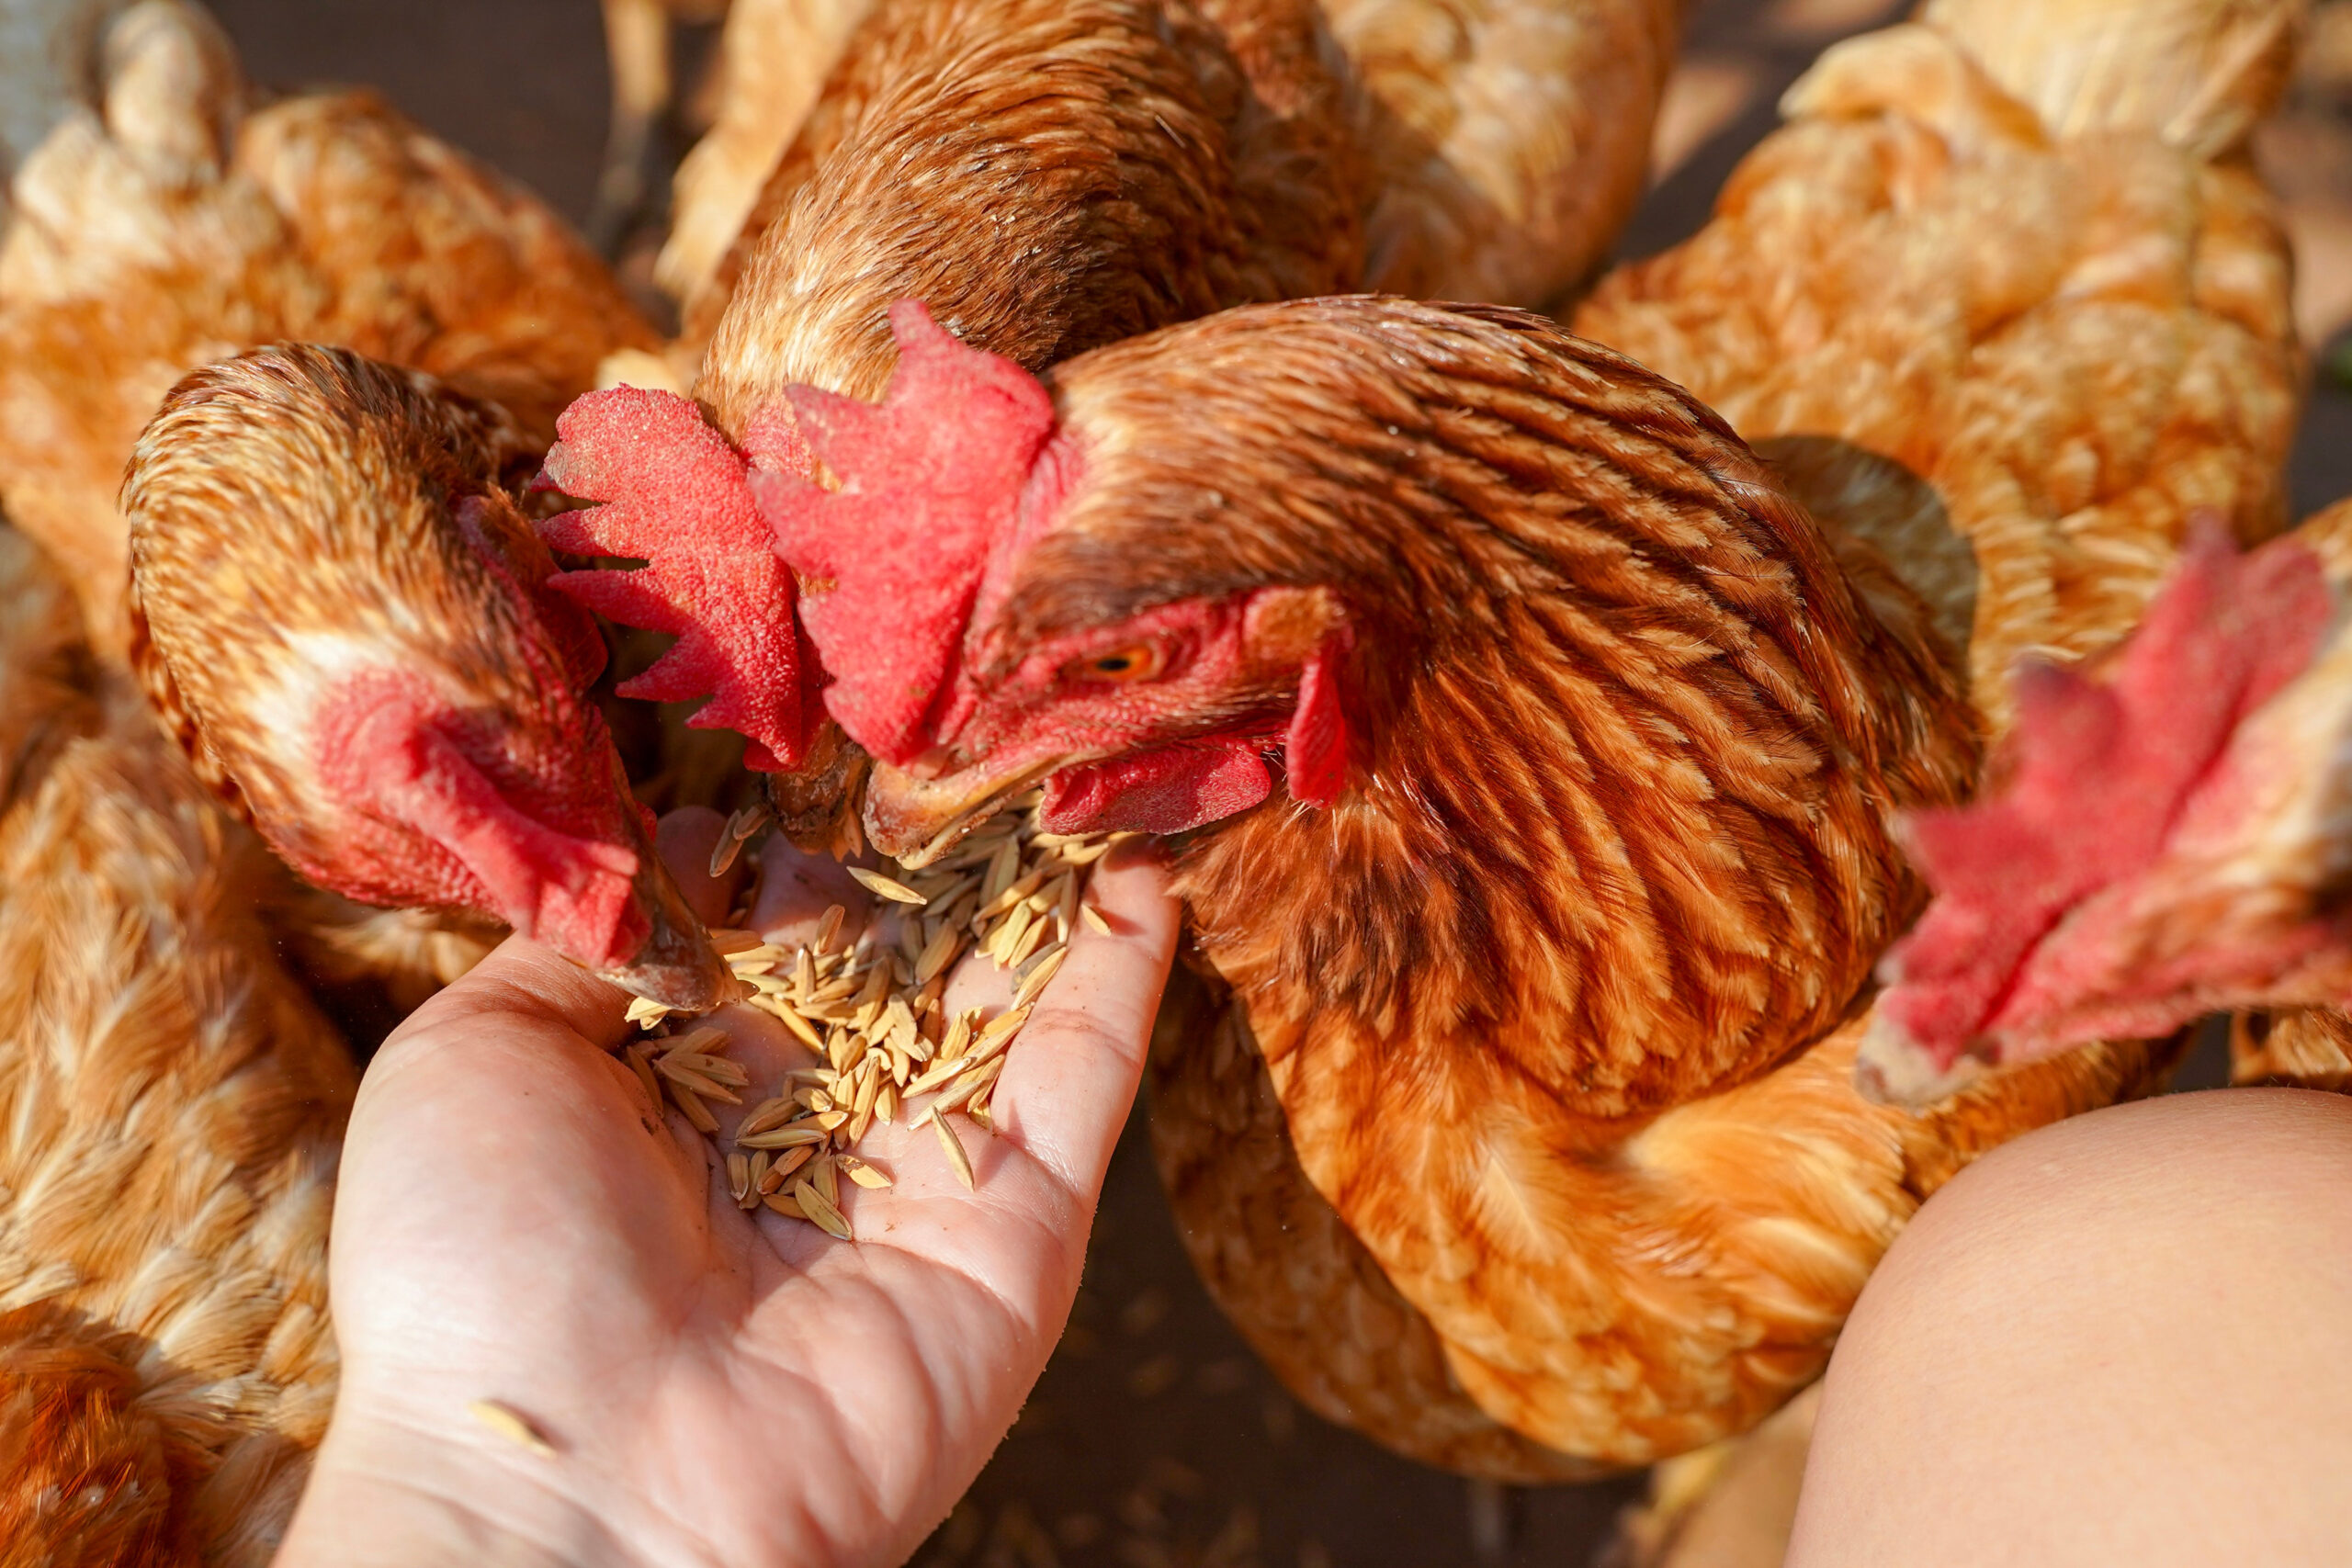
Access to fresh, clean water is one of the most important aspects of feeding chickens. During cold-weather months, it’s important to make sure that the water you provide for your birds is available when they need it.
If you’re anything like me, I barely want to climb out of my snug, warm bed on a winter morning. So the thought of trudging through the snow and ice to deal with a frozen-over watering system is not my idea of a good morning. With that in mind, I’ve put together a few tricks that will help you winterize your chicken waterer and keep the water thawed and flowing smoothly through the coldest months.
With just a little effort, you can winterize your chicken waterer so you can feel good about catching a few extra snuggly moments in bed, while your chickens are happy and healthy outside.
1. Embrace Solar Power

Tracey Hagan
I live in a temperate climate, with temperatures in the freezing range occurring only two weeks per year on average. In this relatively mild winter climate, simple, nonelectric methods that harness the natural sunlight help keep the water flowing.
For instance, if you’re able to modify the placement of your coop, position it for maximum sun exposure and minimum exposure to cold, freezing winds. Once you change the placement of your coop, you can position the waterer in the best area to harness the sun’s warmth.
It’s important to note that the chickens don’t need access to their water during the night when they’re snug on their perches in the coop. Simply bringing the waterer inside for the night eliminates the problem of overnight freezing.
The waterer should be made available first thing in the morning and placed in the sunniest spot to ensure that it does not freeze during the day. If you normally use a metal waterer, consider changing to a plastic one, as metal naturally gets much colder and is more susceptible to freezing.
Another nonelectric method for a winter watering system in a milder climate is to simply fill a deep, black tub with water and place it in a sunny spot. The black tub absorbs the heat from the sun and keeps it from freezing.
2. Keep the Water Moving
Remember that moving water is less susceptible to freezing. A small, submersible circulating pump is an inexpensive trick that keeps the water moving through freezing temperatures.
A few table-tennis balls or even a floating plastic lily pad create ripples on the surface of the water and keep it from freezing over. However, if your climate has long, hard freezes, you might need to consider electric options.
3. Electric Waterers

If your coop has access to electricity, there are many commercially available options designed to keep your chicken’s water from freezing during the winter. Heated electric chicken fountains, ranging in cost from $20 to $50, are a great option, especially if you prefer a simple, non-DIY solution.

A submersible birdbath warmer plugged into a ground fault interrupter (also called GFI) outlet can be placed inside the reservoir of a nonelectric bell waterer or inside a basin of water to keep the water warm on nights when the temperature drops below freezing.

A heated pet dish is also a great option within this price range.
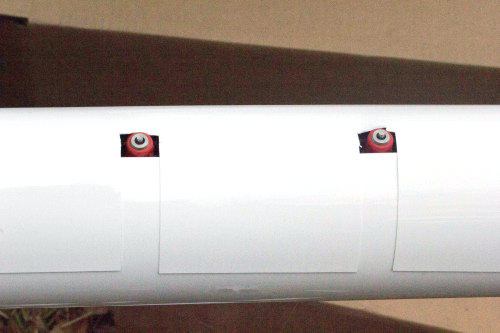
4. Make Your Own Heated Base
Although commercial heated bases are available for use with metal chicken fountains, sometimes they’re slippery and can cause the fountain to tip over and spill. For minimal cost and just a little bit of effort, you can build a much sturdier heater from a cinder block.

Home Farm Ideas/YouTube
Attach a light bulb socket to the inside of the cinder block. Depending on the socket, you can do this a number of ways with a makeshift bracket screwed into the block itself after drilling a hole for the screw. You can also attach the socket to a piece of plywood mounted underneath the cinder block.
You then can either drill a hole in the block and thread the cord through, attaching it to the socket, or you can use a hammer and screwdriver to expand the groove at the base of the block and just run the cord underneath it. (Read further on this method in City Girl Farming.)
Place a paving stone on top of the cinder block to create a level base for your chicken waterer. The light bulb emits enough heat to warm the cinder block, keeping the water fluid. The rough texture of the paving stone has the added benefit of keeping the waterer from sliding off of the base.
Bonus Tip: You can winterize a pipe-and-nipple style chicken waterer by wrapping it first with heat tape, followed by a layer of foam insulation.

No matter what method you choose and regardless of the season, providing plenty of clean, fresh water for your chickens to drink is the most important consideration for keeping a healthy and happy flock.